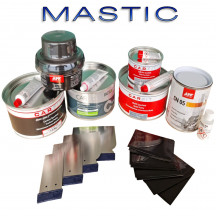
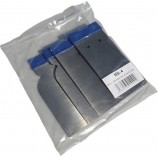
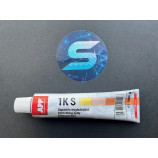
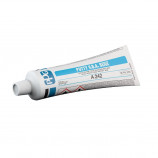
Fillers are products from the bodywork primer and adhesion primer family used in car body painting, but also in industrial painting, which take the lead in the various stages of painting systems. They are applied as a levelling and filling agent directly onto bare metal sheets, before the filler primers, paints, and clearcoats..
Body fillers are resin-based, either epoxy or polyester, infused with micro powders, which grant them their filling properties, high resistance, and ease of sanding.
Body fillers come in the form of thick pastes, accompanied by a hardener. They are used to fill and level surfaces that the car body painter needs to correct following impacts or significant scratches.
The step of applying filler to a car comes directly after dent removal. The filler can be applied in thicknesses ranging from 1 mm to 2 cm, without causing any shrinkage during curing and drying.
Car fillers are resins that dry with the help of a coloured catalyst. The colouring of the catalyst ensures a uniform mix. Once the catalyst is added and mixed into the filler, the curing is extremely rapid. The filler sets in just a few minutes and can be sanded immediately.
Different types of body fillers
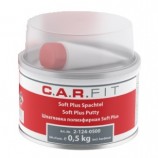
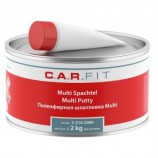
Within the family of fillers used in professional painting trades, there are traditional car fillers (a thick pink paste) used for any type of application.
There are also special car fillers, such as the aluminium filler: this is an epoxy paste loaded with aluminium powder, giving it both a metallic appearance and increased resistance and hardness after curing.
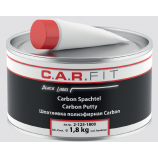
For repair work on carbon bodies and frames, there is a new body filler, which is loaded with carbon filaments. This provides unparalleled hardness and lightness compared to other types of filler..
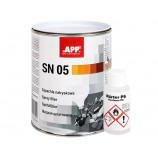
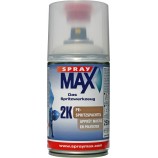
Lastly, Stardust offers a special body filler, with very low viscosity, allowing it to be sprayed using a standard paint gun. Much thicker than a primer, this liquid filler enables the filling and levelling of even the most uneven surfaces..
Sanding for car and body fillers
Before applying a body filler, it is advisable to prepare the best possible adhesion conditions with aggressive sanding (abrasion at P120). The sanding area should extend well beyond the area to be filled, as the filler should be applied across the entire area surrounding the impact.
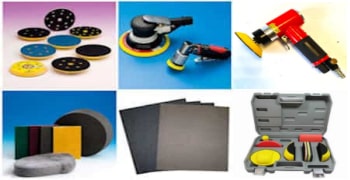
After they have cured, body fillers must be sanded before being primed. A sanding grain between 180 and 320 is used, from the beginning to the end of the sanding process.
It is absolutely necessary to prime the car filler before applying the paint. Only a primer can create perfect surface conditions to receive the paint.
On which substrates can body fillers be applied?
All materials may be suitable to receive the filler, as long as they are sanded. Most metals can be directly covered with filler. Indeed, fillers allow direct adhesion without an adhesion primer on most ferrous and also non-ferrous metals. However, it is crucial to properly sand the metal sheet and degrease it before applying the filler.
Some tips for properly applying filler to the car.
► Please refer to our tutorial regarding filler application.
Place an approximate dose of about 2% catalyst on the filler. Mix by crisscrossing the metal spatulas until a uniform colour is achieved, resulting from the combination of the filler and the coloured hardener.
Caution! As soon as the catalyst is mixed with the filler, the filler must be applied to the surface very quickly.
Make decisive and smooth movements, generously applying the filler, and importantly, avoid going over the same area multiple times.
Anticipate a thicker layer, so you can sand without having to reapply multiple layers of filler.
If possible, apply the right amount of filler: if too much filler has been applied, a lot of time will be spent sanding. On the other hand, if the amount applied is insufficient, you'll have to reapply a layer of filler..
After complete curing (about 5 to 10 minutes), you can proceed to the sanding step, always using a sander or a sanding block.
Primers in Pots
Colouring Chrome
Minimize
