


Cupra is a manufacturer that belongs to the German Volkswagen group. Previously it was the sports branch of the Spanish car manufacturer SEAT until 2018 to become the successful brand that we know.
The ingredients of this success are high performance, affordable prices, but also innovation, style and talent. CUPRA models redefine racing, and today, in just a few years, it has become a recognized brand of sports cars .
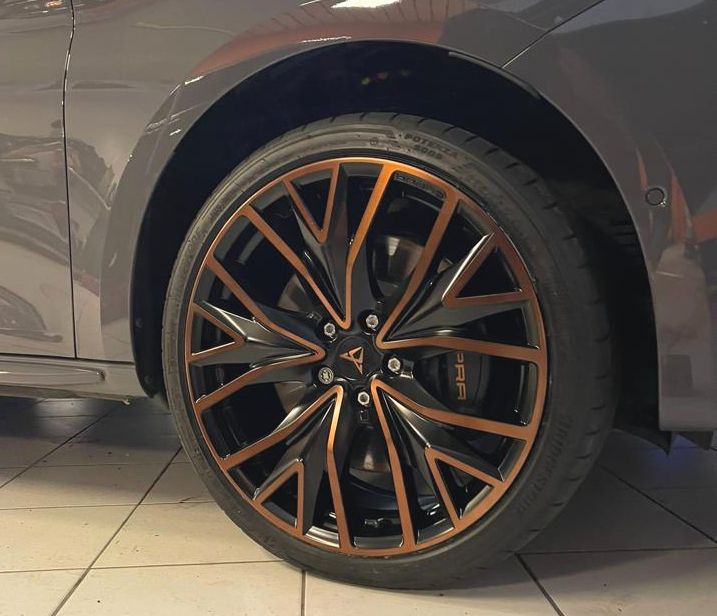
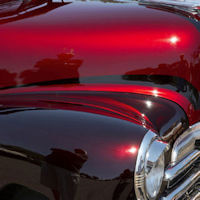
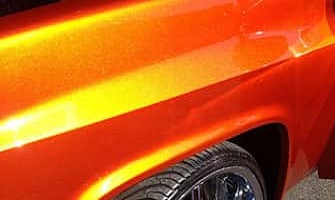
How to reproduce the colors of the copper rims of Cupra cars?
Design and colours are important elements integrated by the CUPRA brand.
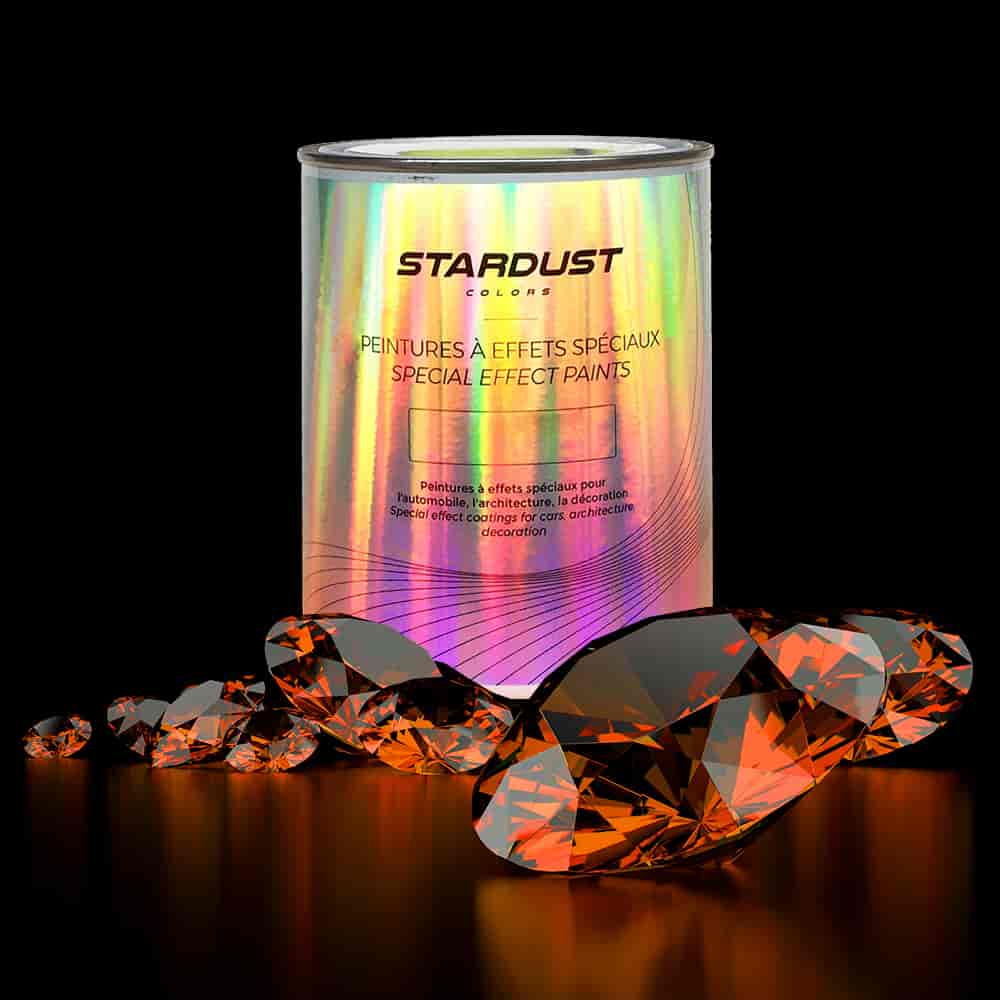
In this blog post, we present some special recipes developed by one of our customers to reproduce the effect colour of CUPRA rims..
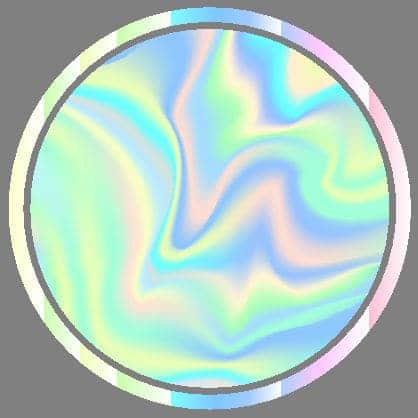
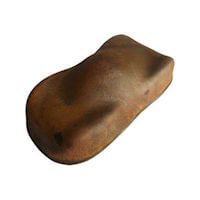
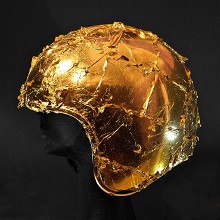
There is a CUPRA metallic shade with the color code L27A and the name is “CUP COPPER”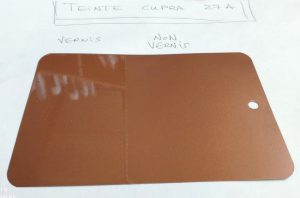
It is a color available in a solvent-based matte base, in a pot or in an aerosol, which should be applied on a RAL 7040 gray primer.
There is a similar color, whose appearance is always copper, but which is made with a transparent tint
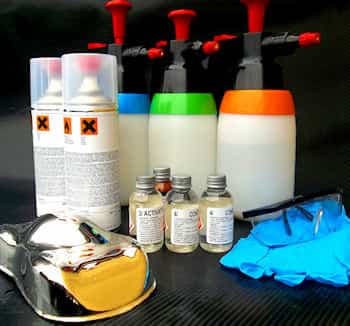
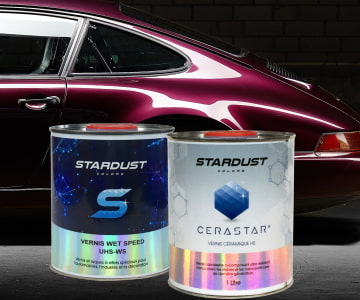
We give you below the recipe which was concocted by one of our professional bodywork paint applicators.
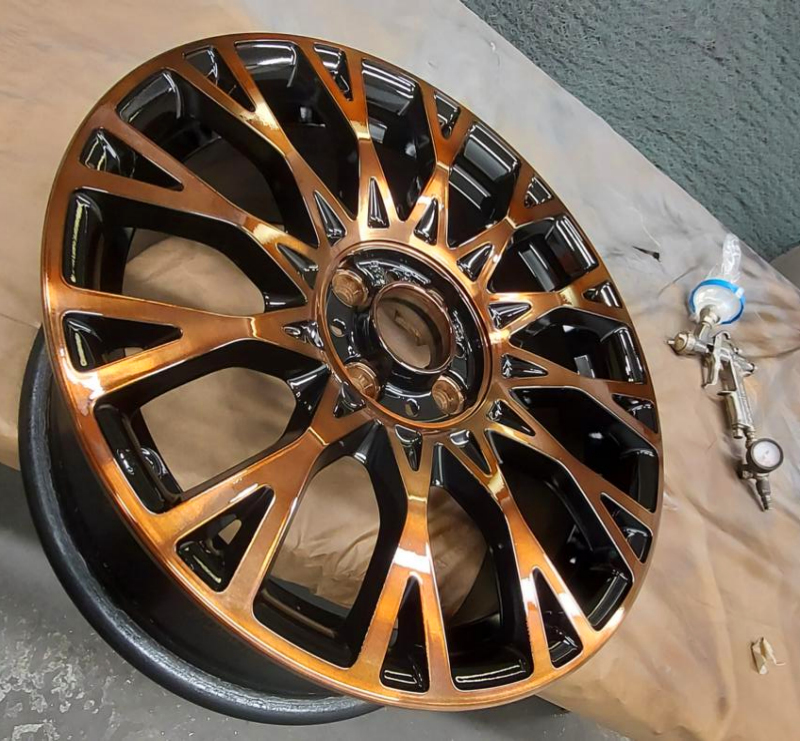
This is a matte Candy finish, which can be applied directly to the metal rim (our matte varnishes can stick to the metal) or applied to an ultra-fine metallic base such as BC60
Special recipe: Seat Cupra Red Copper Varnish
100g of extra matte varnish St822
20g hardener
25g thinner
4g of Candy “RootBeer 18”
2g of Candy “Gold C27”
2g of concentrated black tint*
It is possible to use any concentrated opaque black tint. This addition allows to “break” excessive transparency.
Apply a few coats until you get the desired color..
Special recipe: Fiat 500 Copper Varnish
100 g of varnish (matte or glossy)
Hardener (20g or 33g according to type)
Thinner
+
3.5g of pure Black tint (opaque tint)
6g of « Candy Root beer 18 »
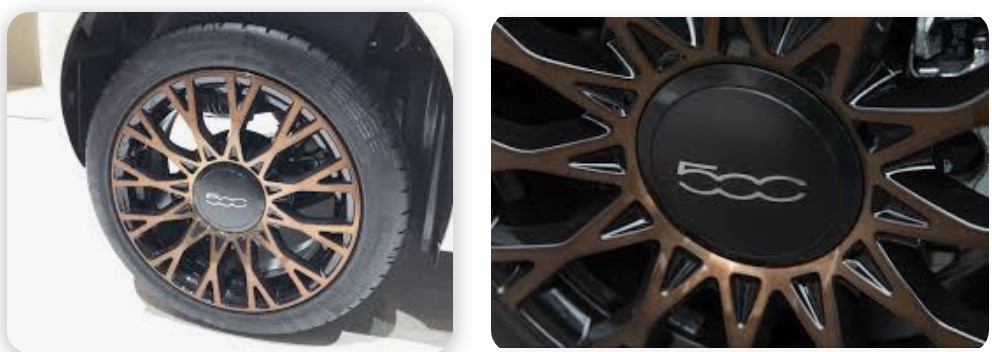
Mix well!
Apply on the aluminum base or raw rims
with a few crossed layers, until you get the desired result.


Leave a Reply