How to make a river table with epoxy resin?
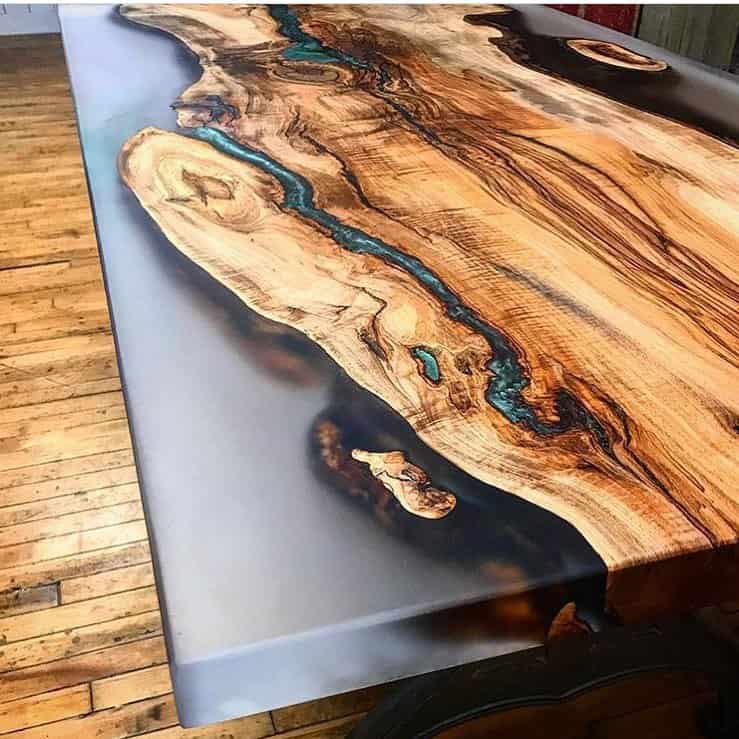
River tables are truly unique artistic creations, which resemble a river flowing between two sides of a canyon. These masterpieces were created by combining wood, a natural and raw material, and resin, an amazing technical material which transforms whenever you want.
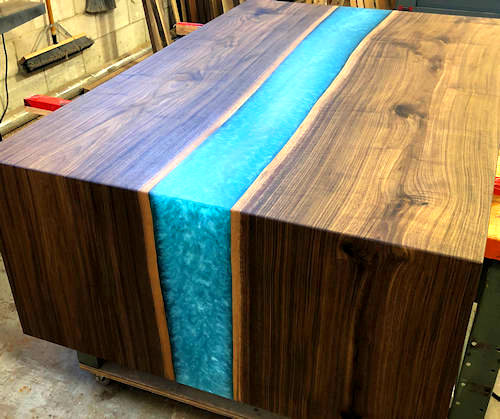
“credit : photo courtesy of JeffMackDesign Canada”
We can find on the site stardustcolors.co.uk all the products necessary for the realization of its own personalized “river table”.
How to choose the right type of wood for your epoxy table project?
All wood species (oak, poplar, chestnut, pine, Douglas fir, etc.) do not show the same characteristics, and some are more recommended than others:
Indeed, some woods are more porous than others, and will tend to “absorb” the resin during casting and to release air bubbles.
Wood species such as maple, hazel and olive tree are preferably used
More porous woods, such as pine, are not recommended.
The wood is also selected according to its thickness, price, shape, patterns and colour, more or less light. You can of course tint the wood with a lasure to colour or darken it, and offer a better contrast with the coloured epoxy resin casting.
Most often wood coming from the base of the trunk and the roots is used on the transverse section.
Wood preparation:
Cutting and drying:
It is very important to have a completely dry wood. Wood drying can sometimes take 1 year after felling the tree.
The wooden boards must be perfectly flat. Therefore, it is necessary to contact a carpenter or a cabinetmaker to obtain good quality cuttings.
Once you have chosen the board, cut it lengthwise, in the middle: flip each half and place the flat edges on each side of the casting frame, to form the future table’s edges.
Cleaning:
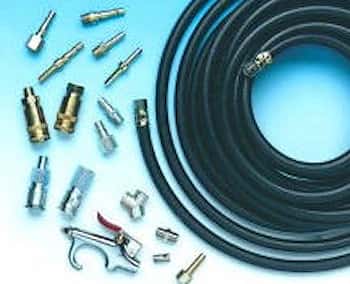
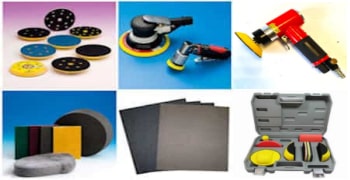
prepare meticulously the wood, by removing the bark, and sanding the surface and the edges. To remove sanding residue and dust, blown out with compressed air.
Stabilize:
Wood is a porous material, which has cavities and cracks: when covered with an epoxy resin, it frequently releases air in the form of bubbles.
To prevent any bubble formation and trapping in the epoxy casting during curing, a primer is applied over the full surface of the wood. For this, we use either:
– our water-based clear coat (very fast drying)
– Resoltech 1010 waterborne multi-purpose epoxy resin
Soak the brush, and generously dab each crevice. This will also prevent leaks through cracks and crevices in the wood.
It is also at this stage that a tinted lasure can be applied, if one finds that the tone of the wood is too light.
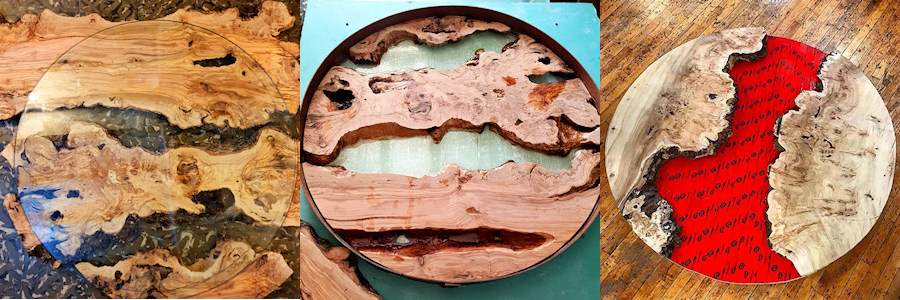
Prepare your casting frame:
A structure is made to contain the epoxy resin casting. It’s the mold (or frame).
The frame must be perfectly sealed and tight using seal clamps, because of the fluidity of the resin which has a tendency to flow easily if the frame is not sealed. The walls of the melamine frames as well as the bottom board are covered with a gloss and resistant PVC adhesive, to facilitate subsequent removal.
Logs must be secured to prevent them from moving or “floating” after casting.
It is possible to apply a bit of silicone to help contain the potential pouring overflows, and remove the silicone later
Epoxy resin casting:
It is recommended to pour first a thin 5mm layer of resin into the frame before placing the wood in it and immobilizing it. This avoids the formation of air pockets, and also potential leaks during casting.
For this fine casting, use Resoltech 4000 epoxy resin, which allows quick drying and a thickness of 1 or 2cm.
Once it has partially hardened and you can run your fingernail over it, then you can pour the resin.
To make a river table with a layer of casting several centimeters thick, WWA resin is recommended as it is a “slow” resin for its drying time. It permits a thickness of 16cm in one single casting, with a perfectly transparent result, and without shrinkage after hardening.
Successful epoxy casting:
The technique is easy, however two critical points should be respected:
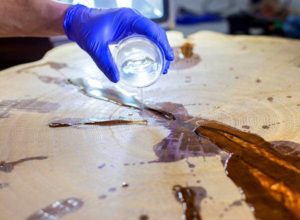 1 – The mixture:
The resin-hardener mixing accuracy and quality will depend on the good curing of the resin:
Make a precise mixture, “in weight”, not “in volume”, using a precision balance.
In order for the polymerization chemical reaction to take place, each hardener particle must mix with each resin particle.
To do this, use a rounded pot and a ruler and stir vigorously scraping well the edges and corners of the pot.
The mixture can be re-poured into a second pot, to keep only the “mixed product” and remove the unmixed product remaining on the walls.
2 – Thickness and temperature:
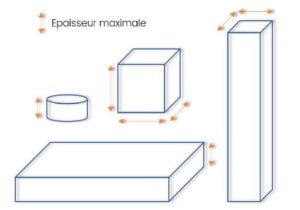
The epoxy resin produces exothermicity during its hardening: the reaction releases an energy amount in the form of heat. The greater the thickness, the higher the heat emitted (above 250°C!). Beyond a thickness of 16cm, the heat is trapped.
The shape affects how heat is released:
A low ambient temperature slows the hardening, while a higher temperature accelerates the hardening and increases exothermicity.
Similarly, the greater the thickness, the faster the resin hardens. On the contrary, the more the casting is fine, the more the curing time is slowed down.
Avoid, at all costs, a too high temperature increase: pay close attention to the ambient temperature, the temperature of the product stored (the resin), the shape and depth of the casting, and even the material that constitutes the mold. For example, an ambient temperature that is just a few degrees high can result in defects in the cured resin: yellowing, shrinkage, cracks.
River table casting:
With the WWA epoxy resin and a 5cm thick casting of resin, it will be necessary to work in an air-conditioned room and an ambient temperature between 20 and 24°C
For a perfect very thick casting, choose a lower temperature, which will lengthen the curing time.
If the ambient temperature is too high, it will require several castings, in smaller thicknesses, and a sanding with an abrasive sponge between each layer, to create the grip.
Drying:
The WWA epoxy resin drying (polymerization) is achieved in 24h/48h. Optimum curing is achieved after 14 days.
To accelerate the curing, it is possible to steam the casting once dry, overnight at 40°C.
Customize your epoxy resin with dyes and pearls:
Inks:
Tinting the resin in the mass is possible thanks to Candy epoxy inks: They are extra translucent and ultra-concentrated dyes, which are added to the epoxy mixture in small quantities. There are about twenty colours, from turquoise to red, black, purple, lime green, or even cobalt blue. Other opaque colours are available.
Pearl powders:
These are ultra fine mica powders, used as a “load” to provide an iridescent effect.
About 25g of pearls per liter of mixture can be added to create a richly-coloured sparkling resin.
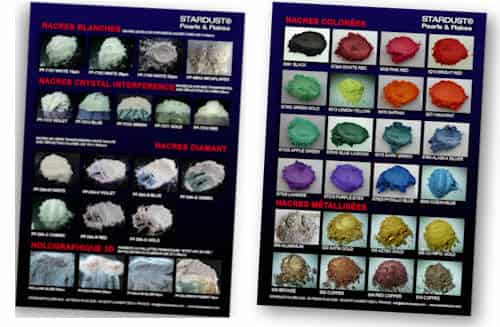
There are many different types of pearls, transparent, opaque and tinted
(see the colour chart detailing the 48 colours for Stardust® pearls)
Pearls and dyes can be combined to create extraordinary visual effects.
.
Finish:
The WWA resin provides an extra hard and gloss surface. One can apply topcoat of course, or polish using a polisher and a polishing paste, to increase the gloss and remove any defects.
Make a light table with a phosphorescent casting:
Phosphorescent (or photoluminescent) pigments store the light and release it gradually in the form of phosphorescence.
They are naturally whitish by day, or coloured and glow in the dark.
There is also a range of day-coloured phosphorescent pigments.
Find the complete range here, in many colours and sizes.
Successful implementation with an epoxy resin:
These pigments are compatible with epoxy resin and easy to mix.
About 50 to 100g per liter of resin are added.
These pigments are quite heavy, and we must absolutely prevent them from falling before the resin curing.
There are two ways to keep them in suspension in the resin:
– use the finest pigments (1-5µm or 5-15µm) as they are lighter
– choose a quick-setting resin, such as Resoltech 4000 resin, which allows a 2cm layer to cure in 30min.
How to effectively protect your epoxy resin against UVs?
Although having been considerably improved in their sensitivity to the sun,
epoxy resins must protect from the sun, to prevent yellowing.
Resin 4000 and very resistant to UVs, but the resin WWA and more sensitive.
There are relatively effective methods to protect these works with resins:
1 – Apply a UV varnish. Depending on the number of layers, this will block much of the ultraviolet light.
(application after sanding with 500 paper)
2 – Apply nano ceramic protection: this will not only protect against scratches, but also UV rays very effectively
(application directly on dry and glossy resin)














Leave a Reply