


 How to create an epoxy table ?
With our complete tutorial, learn everything about the techniques and materials you need to use
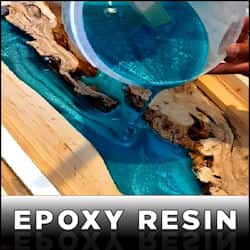
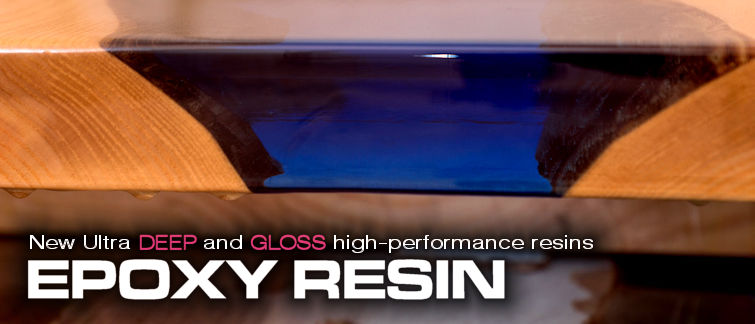
Among the various ways to work with epoxy resin, one of the most stunning is the creation of an epoxy river table. These river tables are true unique artistic pieces, evoking the image of a river flowing between the banks of a canyon.
An epoxy table is the result of a perfect fusion between wood—a raw and natural material—and resin, a versatile technical material that can be transformed in countless ways.
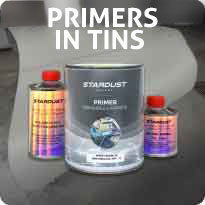
Before we begin this tutorial, note that you can find all the necessary products for creating your own epoxy table in the "Resin and pigments" section of our website.
credit : photo courtesy of JeffMackDesign Canada"
River table : choosing the right type of wood
Further below, we will go over the detailed steps and tips to successfully create an epoxy table.
Take a moment to check it out! :-)
 Not all types of wood (oak, poplar, chestnut, pine, Douglas fir, etc.) share the same characteristics, and some are better suited than others for an epoxy table. Indeed, some woods are more porous than others, meaning they will tend to absorb the resin during pouring and release air bubbles.
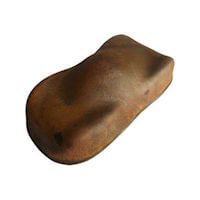
For crafting a river table, it is preferable to use woods like maple, hazelnut, or olive wood. More porous woods, such as pine, are not recommended. Wood selection also depends on: Thickness, Price, Shape, Grain patterns, Color, ranging from light to dark tones. It is, of course, possible to stain the wood with a wood stain to darken it or enhance its contrast with the colored epoxy resin pour. Most often, wood from the root and the base of the trunk, cut transversely, is used for river tables.
Wood preparation :
Cutting and drying : It is crucial to use completely dry wood for your epoxy table. Wood drying can take up to a year after being cut. The planks must be perfectly flat, which is why it is advisable to consult a carpenter or cabinetmaker to ensure high-quality cuts.
Once the ideal plank is selected, it can be cut lengthwise down the center. Each half is then flipped, and the flat edges are placed on either side of the pouring mold to form the future table’s edges.
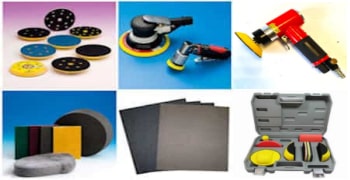
Cleaning the Wood : Before applying the epoxy, the wood must be meticulously prepared: Remove the bark, Sand the surface and edges, Blow away dust and sanding residues using compressed air
Stabilizing the Wood : Wood is a naturally porous material with cavities and cracks. When covered with epoxy resin, it often releases trapped air, forming bubbles. To prevent bubbles from getting trapped in the epoxy pour, a seal coat must be applied before casting. This step also prevents leaks through cracks and gaps in the wood. For sealing, use either :
- our water-based clearcoat (dries very quickly)
- The resoltech 1010 water-dilutable multi-purpose epoxy resin
Using a brush, generously dab every crevice and crack to saturate the pores and ensure airtight sealing.
At this stage, you can also apply a tinted wood stain if the natural tone is too light and you want to enhance the contrast with the colored epoxy resin pour.

Preparing the Pouring Mold :
A frame structure is built to contain the epoxy resin pour. This is known as the mold or pouring frame.
Key requirements for the mold: Completely leak-proof—the frame must be tightly sealed, Firmly clamped using C-clamps to prevent movement, Lined with glossy, durable PVC adhesive on the melamine walls and baseboard to ease demolding
Since epoxy resin is highly fluid, even the slightest gap can lead to leakage. The wood slabs must also be securely fixed to prevent them from shifting or floating once the resin is poured.
To contain potential overflows, small silicone beads can be applied along the edges. These can be easily removed later.
Pouring the Epoxy Resin :
To prevent air pockets and minimize leakage, it is recommended to: First pour a thin 5 mm layer of epoxy resin into the frame. Place the wood slabs into the mold and secure them in place before proceeding with the full pour. For this initial thin pour, use Gloss 2329 epoxy resin, which allows: Fast curing, Layer thickness of 1-2 cm. Once this first layer has partially cured—firm enough to press a fingernail into—the full resin pour can begin.
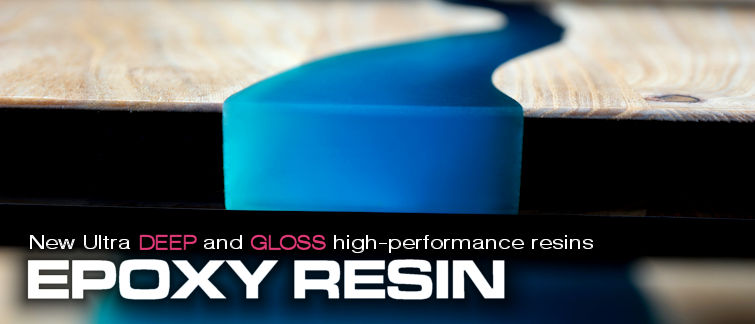
For a river table with several centimeters of depth, it is best to use ULTRADEEP 2431 epoxy resin. It is a "slow-curing" epoxy, which ensures a flawless transparent finish. It allows up to 16 cm of depth in a single pour without shrinkage or defects. This slow setting time prevents overheating and guarantees a crystal-clear result with no cracks or distortions after curing.
 Achieving a Perfect Epoxy Pour :
Although the technique is straightforward, two critical factors must be carefully managed :
1 - Mixing the Resin and Hardener :
The precision and quality of the mixture between the resin and the hardener will determine whether the resin cures properly.
Key Mixing Guidelines:
Always mix by weight, not by volume using a precision scale.
Every particle of hardener must mix evenly with every particle of resin for proper polymerization.
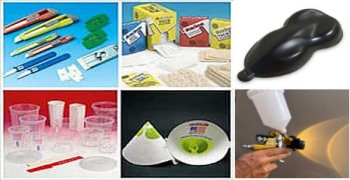
Best Mixing Technique:
Use a round container and a mixing stick.
Stir thoroughly, scraping the sides and bottom to ensure all components blend evenly.
To eliminate unmixed residues, transfer the mixture to a second container before pouring. This ensures only fully blended resin is used.
2 - Managing Thickness and Temperature : Epoxy resin undergoes an exothermic reaction during curing, meaning it releases heat.
The thicker the pour, the more heat is generated—temperatures can exceed 250°C (482°F)!
If the thickness exceeds 16 cm, the heat cannot dissipate properly, leading to overheating and defects.
The shape of the mold also affects heat dissipation: A cooler ambient temperature slows down curing. A warmer environment speeds up curing but increases exothermic heat generation. Thicker pours cure faster, while thinner layers take longer to cure. Avoid excessive heat buildup!
It is essential to carefully monitor: Ambient temperature, Storage temperature of the resin, Shape and depth of the pour, Material of the mold
Even a few extra degrees in the environment can cause defects in the cured resin, such as: Yellowing, Shrinkage, Cracks
 Pouring a River Table:
When working with WWA epoxy resin and pouring at a 5 cm thickness, it is crucial to control the ambient temperature.
Ideal conditions: Work in an air-conditioned room, Maintain an ambient temperature between 20°C and 24°C
For extra-thick pours, a cooler temperature is preferable as it extends curing time, reducing the risk of overheating.
What to do if the temperature is too high?
Pour the resin in multiple layers instead of a single thick pour.
Between layers, sand lightly with an abrasive sponge to improve adhesion before applying the next coat.
Curing Process : WWA epoxy resin cures within 24-48 hours. Full hardness is reached after 14 days. Accelerating the curing process: Once the resin has fully dried, it can be heat-cured (post-cured) overnight at 40°C to speed up the final hardening phase.
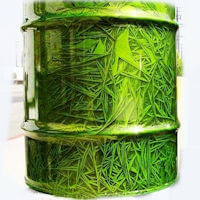
Customizing Epoxy Resin with Dyes and Pearlescent Powders :
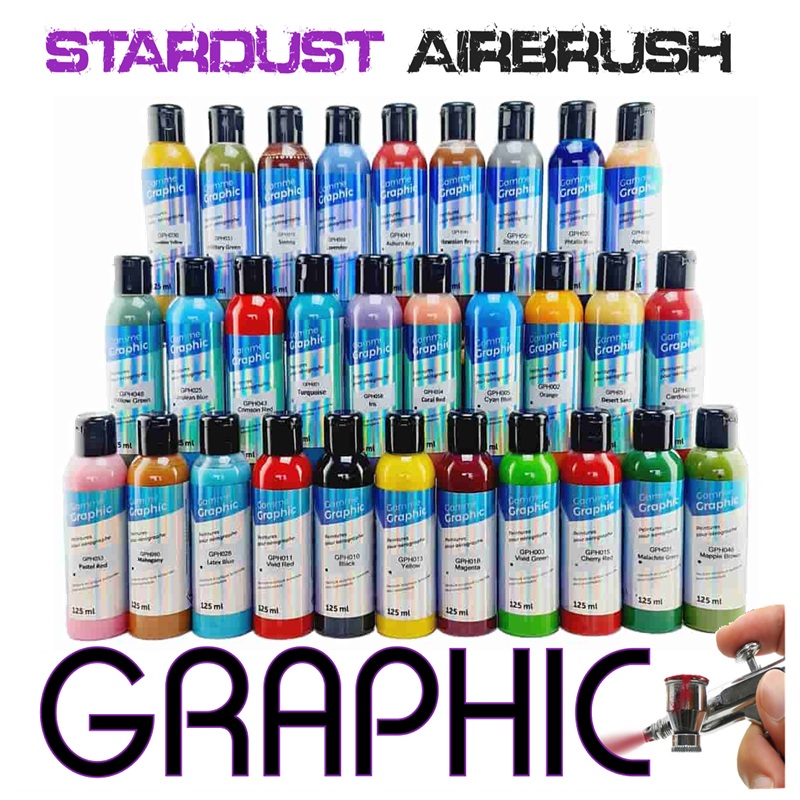
Epoxy Dyes : To tint the resin throughout, use Candy Epoxy Inks : These are super translucent and ultra-concentrated colorants, which are added to the epoxy mixture in small quantities. There are about twenty colors, including turquoise, red, black, violet, lime green, and cobalt blue. Opaque shades are also available for a denser color effect.
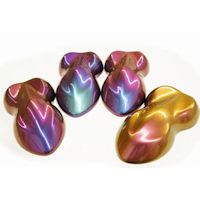
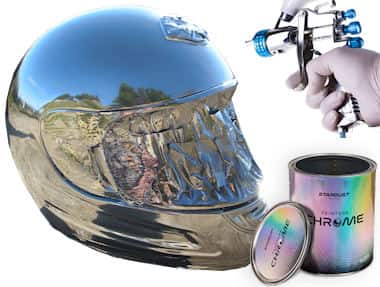
Pearlescent Powder Pigments :
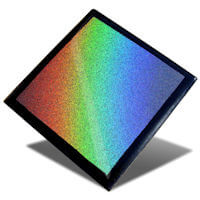
 These are ultra-fine mica-based powders, which are used as a "filler" to give an iridescent effect. You can add about 25 g of pearls per liter of mixture, to create a resin rich in color and sparkle. There are many types of Transparent, opaque, and tinted pearl powders (see the Stardust® color chart)
Pearls and colorants can be used together to give extraordinary visual effects.
Finishing Touches :
WWA epoxy resin creates an ultra-hard, high-gloss surface. Final finishing options: The surface can be recoated with clearcoat for added protection. For an even higher shine and flawless finish, use a buffing machine with a polishing compound to remove minor imperfections. (see polishing techniques in detail here).
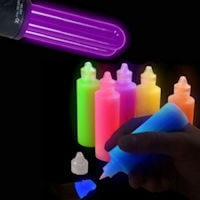
Creating a Luminous Table with a Phosphorescent Resin Pour :
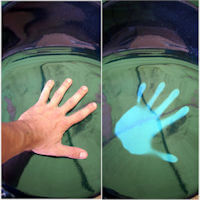
Phosphorescent (or photoluminescent) pigments store light energy and gradually release it as a glowing effect in the dark. A special range of colored daytime phosphorescent pigments is also available. To explore the full range of colors and sizes, check out : the phosphorescent powder.

Successfully Incorporating Phosphorescent Pigments into Epoxy Resin :
These pigments are fully compatible with epoxy resin and easy to mix. Recommended ratio: 50 to 100g per liter of resin
However, phosphorescent pigments are relatively heavy, and if not properly managed, they may settle before the resin has fully cured.
How to keep pigments suspended in resin?
Use finer pigment sizes (1-5µm or 5-15µm) as they are lighter and remain in suspension more easily.
Opt for a fast-curing resin, such as Resoltech 4000, which allows a 2 cm layer to cure in just 30 minutes.
 How to calculate the volume of an Epoxy pour ?
There are two simple methods to determine the exact volume of resin needed:
Mathematical Calculation
Use the formula:
Height × Length × Width (in cm)
Conversion:
1,000 cm³ = 1 Liter of Resin
Using a Volume Approximation
An alternative method is to fill the empty space with rice or lentils to measure the volume more easily.
This approach provides a quick and practical estimate before mixing the resin.
The volume of liquid resin remains the same after curing—it does not shrink during the hardening process.
How to Effectively Protect Epoxy Resin from UV Rays?
Even though modern epoxy resins have been significantly improved in terms of UV resistance, they should still be protected from direct sunlight to prevent yellowing over time.
UV Resistance by Type of Resin:
1 - Apply a UV Protection clearcoat. Blocks a significant portion of ultraviolet light. The more coats applied, the stronger the protection. Apply after sanding with 500-grit sandpaper for better adhesion.
2 - Apply a nano-ceramic coating : Provides exceptional UV resistance. Offers scratch protection. Applied directly onto dry, glossy resin—no sanding required.
Tips for curing epoxy resin
How to create an epoxy resin floor ?
How to make and varnish fishing lures with epoxy resin
How to craft epoxy resin jewelry ?