


 Airbrush techniques
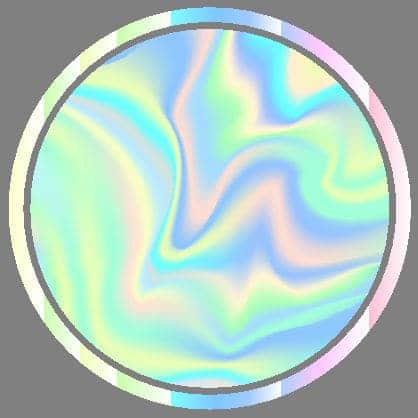
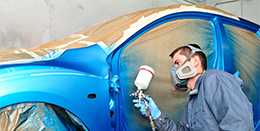
Briefly, airbrushing here consists of spraying paint with an airbrush, a small cylinder resembling a pen that projects an atomized mixture of air and paint. Using an airbrush allows for strokes and gradients that are unparalleled in terms of realism and precision.
There are mainly two types of airbrushes: the so-called "single-action" and the more modern and widely used "double-action" airbrushes. With the latter, the tool is held in one hand, with the index finger performing two types of movement :
- Pressing the trigger to release air
- Pulling the trigger back to progressively open the paint flow.
The skill and mastery of this spraying tool lie in the ability to adjust, modulate, and achieve a more or less fine, wide, or attenuated paint jet by varying the distance from the surface, the flow rate, the pressure, and the speed of movement. The second hand is used as support to stabilize or guide the motion.
How to paint with an airbrush? A Beginner's Guide
Step 1 ► Getting started with the airbrush
An airbrush is always ready to use. No specific adjustments are required. The airbrush is held in the hand like a pen, with the index finger placed on the trigger located on top. It is possible to press the trigger and also pull it backward.
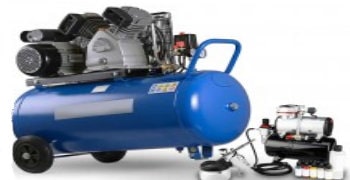
The airbrush must be connected to its air supply hose, which in turn must be connected to an air compressor. It is strongly recommended to have an air filter. A medium pressure of 2.5 to 3 bars should be set for initial trials.
Once connected to the running compressor, air can be released from the airbrush by pressing the trigger. The air pressure can be adjusted on the compressor and, on some Chinese or IWATA airbrush models.

Step 2 ► Testing the airbrush
Before testing different types of paint, it is advisable to first test with the most liquid product possible: water. This ensures the airbrush is functioning correctly, ruling out any issues caused by paint.
Add a small amount of water to the cup located either below or above the airbrush, then perform the first spray tests.
1 → press the trigger (to release air)
2 → pull the trigger completely back (to release water). A fine atomized water jet is sprayed in a circular pattern from the airbrush.
3 → Perform a test by varying the air pressure from minimum to maximum.
4 → Test by moving the airbrush from 1 cm to 20 cm away from the surface.
5 → Vary the trigger's backward movement: the amount of air remains stable, but the amount of water sprayed depends on the trigger position.

Exercises:
While keeping the air flowing (trigger pressed), practice controlling the index finger’s backward movement to release a small amount of water very close to the surface, then gradually release more water while pulling back the trigger and moving further away. Create strokes with increasing and decreasing thickness.
It is also essential to practice airbrush movement since it must always be in motion during execution.
The goal of these two exercises is to spray water without ever creating drops or drips (excess water) but instead applying a fine mist of water to the surface.
Step 3 ► Testing paint with the airbrush
Nozzles and viscosity
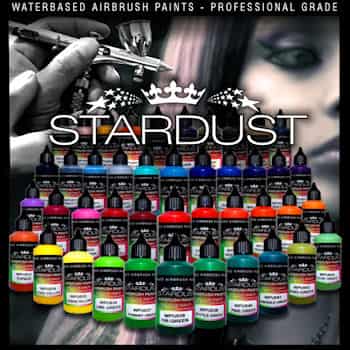
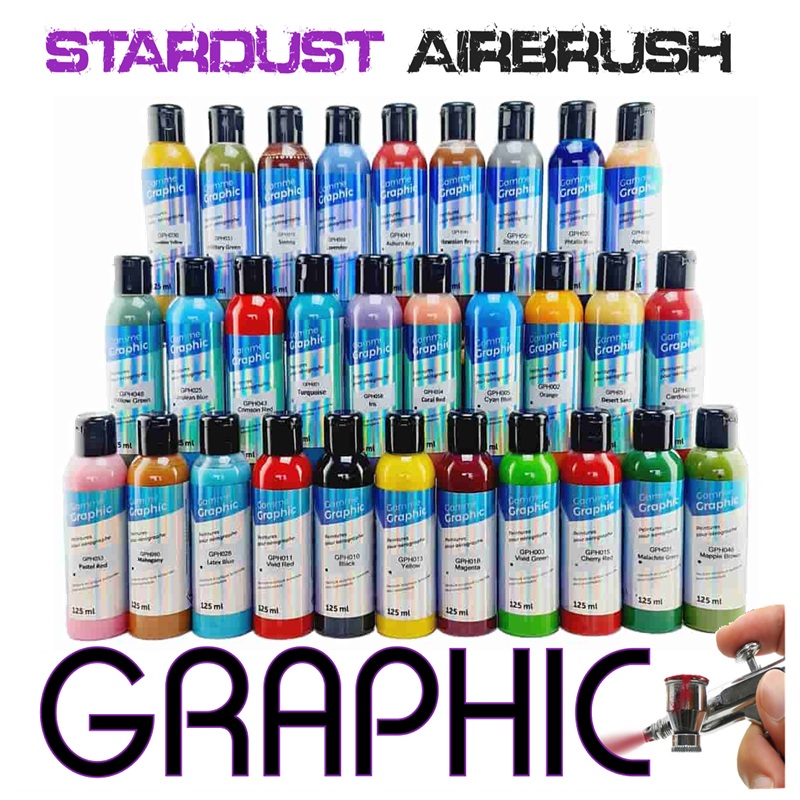
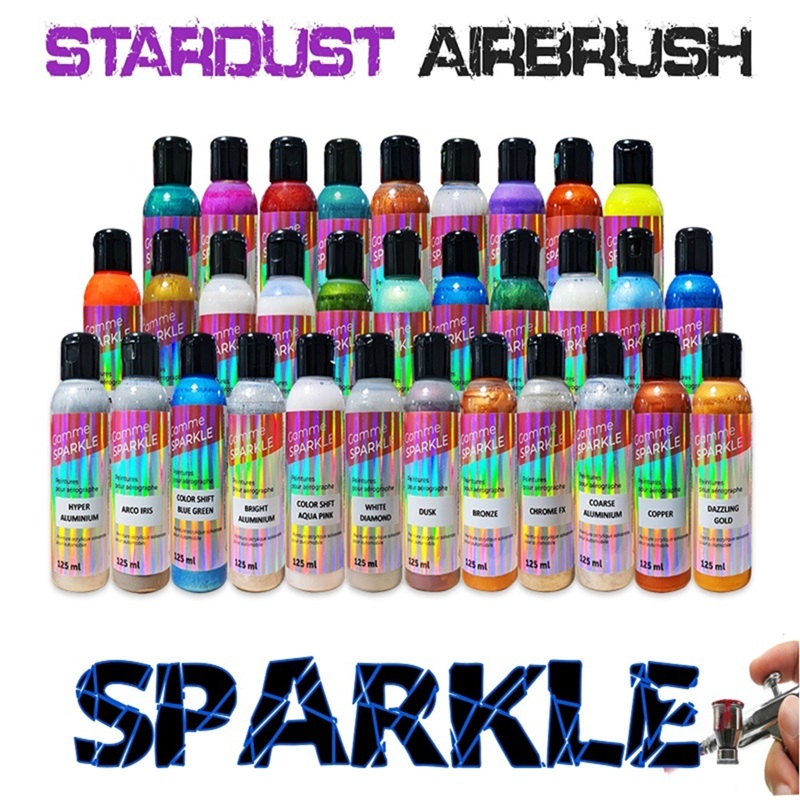
Airbrush paints are specially formulated to be fine and fluid.
Airbrushes are equipped with nozzles ranging from 0.15 to 0.5 mm. Since most airbrush paints are ready for use with 0.3 to 0.5 mm nozzles, a slight dilution is necessary when using high-precision nozzles.
- Nozzle 0.3 – 0.5 mm → “liquid cream” viscosity
- Nozzle 0.15 - 0.20 mm → “milk” viscosity
Using paint that is too thick in the airbrush will result in improper spraying or no paint coming out. A well-atomized paint jet, similar to the water test, is necessary.
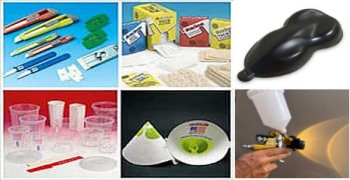
Mixing
Paint can be diluted directly in the airbrush cup and stirred with a fine brush. However, it is preferable to dilute it in a bottle. Dilution can be done by eye, by counting drops, or more precisely using a scale.
 Step 4 ► Painting
The airbrush should always be positioned between 0 and 10 cm from the surface. The closer you are, the lower the paint flow should be. For detailed work or illustrations, reduce the distance and airflow. Conversely, for painting a car body or large objects, maintain a 10 cm distance and use the maximum paint and air flow.
The airbrush should always be in motion when spraying the paint, except when working on micro-details.
Exercise :
Create straight lines, circles, and dots of varying thicknesses. Support the airbrush hand with the other hand for increased stability.
To finish a line or painted area, do not cut the air flow immediately; instead, push the trigger forward before releasing the air.

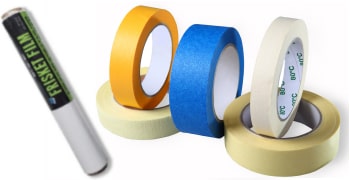
Cleaning
Three levels of cleaning are possible:
- quick purge after each color to switch to another color.
- quick cleaning after use
- complete cleaning for thorough maintenance.
After using a color, the painter empties the remaining paint from the cup, rinses it with water to remove most of the paint, then sprays out any residue. Two additional rinses with clean water should follow. Loosening and moving the needle back and forth during water expulsion ensures a better rinse.
For heavy usage or to ensure perfect cleaning for precise work, the airbrush should be fully disassembled, soaked, brushed, and each part wiped before reassembly.
Solvents and seal
All airbrushes are designed to withstand water and solvents, as they are made of stainless steel parts. Cleaning should be done with a solvent cleaner, and all parts can be soaked in solvent except for plastic components and the rubber seal (located at the base of the airbrush, in contact with the air hose).
Troubleshooting Clogs During Spraying
1- If the paint is too thick or a lump clogs the nozzle, try short bursts of air while pulling the trigger back and forth to dislodge the paint.
2 - Add water or solvent cleaner to the cup to purge the airbrush.
3 - If the issue persists, remove the nozzle, loosen the needle, and pull it back to allow more passage for the paint.
4 – If the airbrush is still clogged, disassemble and clean all parts thoroughly in a water bath with a brush. Always test with water before using diluted paint again.
Dry residue on the Needle Tip
When using an airbrush with more air than paint, or in warm conditions, dried paint can accumulate on the needle tip, affecting spray quality. Regularly remove excess paint with fingers or expel short bursts of paint to prevent buildup.
This phenomenon is normal with water-based paints. It can be slowed down using slow thinner or Flow promoter. It is very rare with solvent-based paints.
Resolving Other Issues
Spray inconsistencies, bubbles forming in the cup, off-target spraying, or a complete lack of paint output are usually resolved in 99% of cases by disassembling, checking the condition of the needle and nozzle, and ensuring the conduit and other components are clean.
Tips for Airbrushing
Paint mixing is crucial, particularly dilution, which allows airbrush artists to control stroke finesse. The required dilution varies with each color and enables strokes as fine as a hair.
Artists who master airbrushing, especially those creating murals or freehand drawings, continuously keep their finger pressed to maintain a steady air flow while making short back-and-forth movements with the lever to release paint in small bursts. Airbrushing is always performed in motion, never static, and without ever touching the surface.
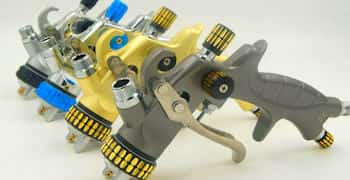
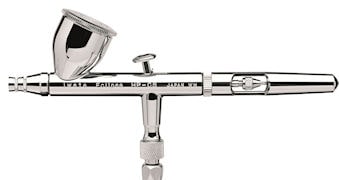
 Airbrushes
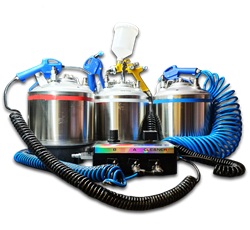
Various airbrush models, ranging in price from €30 to €400. Beginners should know that 80% of their initial time will be spent disassembling, cleaning, and reassembling this tool! Choosing a simple and robust airbrush with some versatility is recommended.
Two main configurations differ in paint flow mode: :
- Gravity-fed airbrushes (small cup on top) are ideal for artistic and precision work.
- Siphon-fed airbrushes (larger cup underneath) deliver paint or ink via suction and are more versatile.
Airbrush Usage Techniques
Did you know that being a skilled drawer or having "a keen eye" is not necessary to achieve ultra-realistic airbrush paintings? In an upcoming article, we will showcase some clever airbrush techniques to create portraits, animals, or landscapes with the help of digital tools.
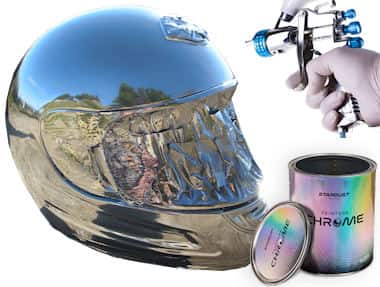
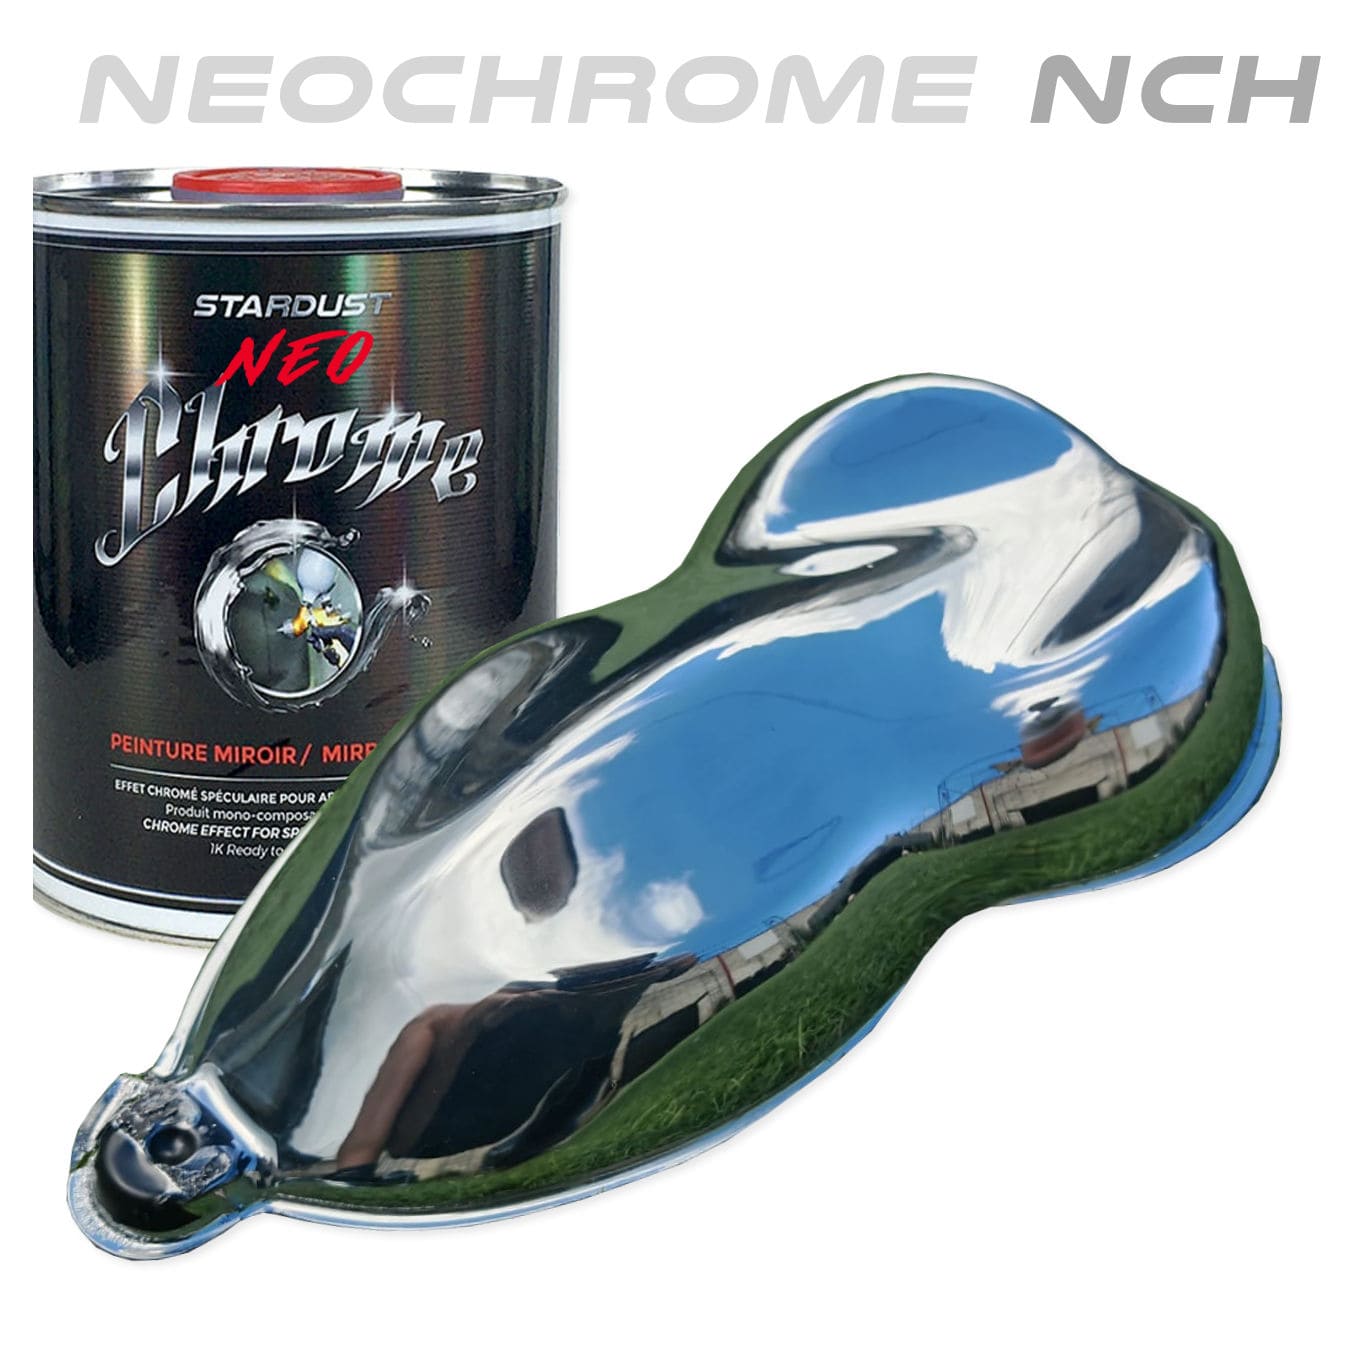
Chroming Painting machines
Spray Painting with an aerosol
Spray Painting with a Spray Gun