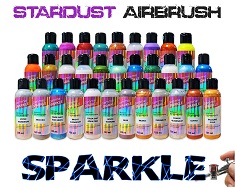
All Products are in stock
and shipped from France.
Delivery within 48 hours.
and shipped from France.
Delivery within 48 hours.
 How to prepare the support before applying the paint ?
There is a step which is most important, especially for the success of a flawless paint and which is often neglected, among the techniques for applying a paint, by amateur painters. Experienced painters, on the other hand, know that this is the secret and the basis of a successful painting job.
In the field of bodywork, but not only, because it concerns just as much the field of industrial and architectural painting, as the field of painting equipment, household appliances and other objects, we speak of preparation of the support.
In the rules and the art of painting, we call preparation of the support all the important actions, optional or necessary, which participate in the treatment of the surface just before painting.
The phases of surface preparation are diverse and varied. They must be perfectly chosen and adapted to the state and nature of the support.
The State of the support, that means more exactly, is it a raw surface, that is to say "bare" ? Or is it painted ? Is she rusty ? Does it have peeling or residual coatings ?
The nature of the support, that means, what is the nature of the surface material. For example, if we take a car door, we cannot speak of metal. Indeed, the material that actually makes up the surface is clearcoat. Below this varnish, there is a paint, then a primer, and finally the metal...
It is therefore very important to answer these first 2 questions in order to know which steps to consider, in terms of manual and mechanical preparation, but also which products you may need to apply, in terms of primer or paint.
Preparatory work for the use of paint
The care taken in the preparatory stages of the surface, before the application of the paint, determines the chances of a successful painting, without obtaining defects or reactions. It is recognized that the amount of time dedicated to surface preparation is one-fifth of the time that will be required to repair defects, which will be due to poor preparation.
We can also note that the time required to prepare the surface is much more important than the time spent for the application. In general, spray application takes a few minutes at most, while the preparatory steps, when done well, can take several hours.
In the rules of the art, we speak of a support prepared and ready to paint, when perfectly sound. This includes actions necessary to remove all possible contaminants.
This consists of degreasing, with a specific solvent. Degreasing makes it possible to obtain a surface free of contaminants such as fatty substances or silicone. In general, these are invisible contaminants that will cause serious defects after application of the paint.
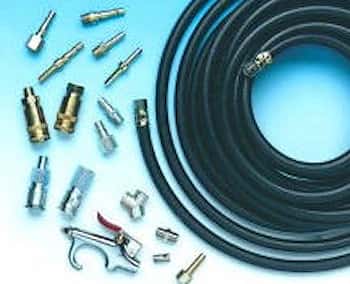
The surface must be dusted, which implies removing by various means, all the microparticles present on the surface. You can use pressurized air, but it is not enough : it is recommended to pass a sticky cloth just before the final phase, which is the paint or clearcoat.
The surface must be perfectly dry , mainly when preparing to paint a solvent-based paint. All traces of humidity, even invisible ones, must be eliminated.
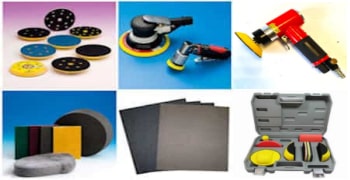
Finally, most surfaces, whether paints, plastics, or even metals, must be sanded with an adequate grit of sandpaper recommended in the technical data sheet of the product to be applied. For very fine and liquid products, finer abrasive grains can be used. For more covering and thicker products, you can use larger abrasive grains which will logically allow a better grip.
Preparing the bodywork paint substrate also involves applying protective masking, or adhesive masking to create different color areas.
Finally, the preparation of the supports naturally includes the application of the printing products. These products can be all primers and primers which allow good adhesion to the support and/or which allow the surface finish to be perfected.
 How to paint over stickers or adhesives ?
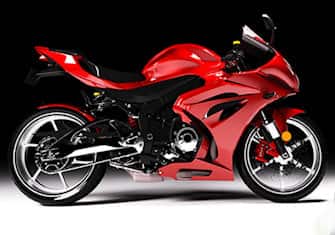
Here's a subject that often comes up in technical questions sent to me by customers : how to paint over stickers or adhesives. Painting on stickers or rather varnishing on stickers is a particularly common practice in decoration, or "custom painting" on bicycles and often also on motorcycles. This involves sticking logo stickers on the frame of the bike, on the tank or the fairings. Adhesives are also found on the helmets.
Mixing and diluting a paint
In the preparation phase before painting, just before moving on to application, you want to have all the chances on your side to successfully apply the paint, with a perfectly clean surface.
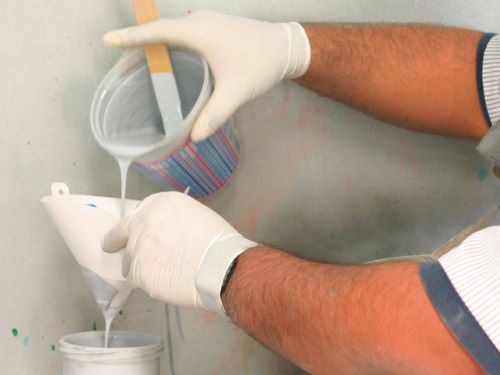
One of the final steps is mixing and thinning the paint. For one-component paints, it is the simple addition of thinner to reach the perfect and adequate viscosity for the application. For 2-component paints, i.e. polyurethane paints, 3 components must be mixed, which are the paint or the varnish or the primer, added hardener, then thinner.
In the case of polyurethane paints, it is good practice to mix, approximately 5 minutes before application. This allows the paint to homogenize and begin to polymerize. It is not advisable to wait more than 10 minutes to apply a mixed paint when it is two-component.
The mixture must be done by volume or by weight, with a certain level of precision. There is no need to exaggerate the precision of the mixture. However, it is very important to stir paints well, especially when dealing with pigment paints.
The mixing and thinning of the paint must be done before the final dusting. Dusting, which is done with a sticky pad, must be the last step before spray application.
Surface preparation techniques
All the mechanical actions that are implemented by the painter are techniques for preparing the supports. It can be flaming, sanding, blowing, application of specific primers, pickling with acid products, deoxidation...
Preparation techniques can be complex depending on some materials. This is the case, for example, with chrome, certain metals that are difficult to hang or certain plastics.
When you want to guarantee a good grip and obtain a long hold over time of the paint, for a bodywork project or for example for an architectural project, then you have to make sure to use the best processes. to be able to make the paint adhere as much as possible to its support.
This is also one of the main questions that the painter must ask himself before each painting job and even before each quotation for a painting project : what is the nature and condition of the support to be painted ? To consider the extent of substrate preparation work and the particular techniques that will need to be employed.
Choosing the right primer or primer
We do not use just any primer for just any surface.
There are even cases where we do not use a primer. So how do you choose the right primer or filler and how do you know if a primer is needed ?
If you are not an experienced painter, then we advise you to contact Stardust Technical Services directly, stating what is exactly the nature of the material you want to paint and its condition.
In many cases, no primer will be needed, so there is no point buying one and applying one, as it would be unnecessary work and expense.
In other cases, it is necessary to look for a specific primer, because some surfaces are very capricious and do not allow themselves to be hung by any general primer. This is particularly the case, to give a good example, of non-ferrous metals. Do not apply an iron primer to aluminum!
You can also add a third parameter which is the use and the destination. That is to say, the following question must be asked: what will be the conditions of use of this painted object or structure ? Will it be subjected to extreme conditions of friction, salt spray, corrosion ?
There are different levels of efficiency allowed by certain professional or industrial products. For normal projects, it is not useful to use high performance primaries.
Theoretical knowledge of the painting technique
How to paint cars, motorcycles, bicycles...
