


 Techniques for repairing scratches on automotive and motorcycle bodyworks
Here is a concise tutorial to guide you through repairing minor paint damage on the metallic or plastic bodywork of a car or motorcycle.
In this guide, we outline the essential steps required to repair scratches on automotive paintwork, covering each stage of the process—from dent repair to final clear coating.
Below is a summary of the steps and required products. Further down, you will find the full process with detailed instructions.
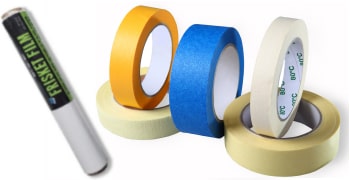
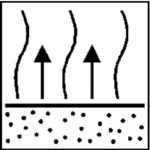
Step 1 ► Sand with P240 grit to create adhesion, then apply filler into the scratches. Let it dry for 1 hour.
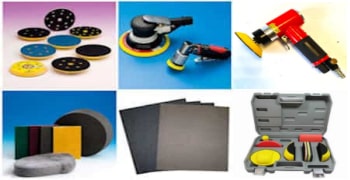
Step 2 ► Sand the filler using a sanding block or a sander with P240, followed by P320 grit.
Step 3 ► Apply a surfacer primer or "high-build primer". Let it dry for 4 hours.
Step 4 ► Sand the primer using a sanding block or a sander with P320, followed by P500 grit.
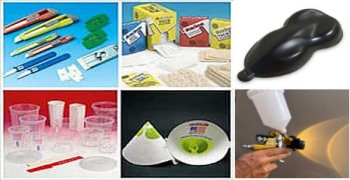
Step 5 ► Apply 1K bodywork paint + allow 15 minutes drying time, or 2K paint + allow 12-24 hours drying time.
Step 6 ► Varnish the 1K paint with two coats, leaving 10 minutes between coats. Let dry for 24 hours.
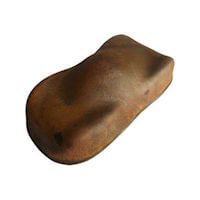
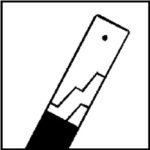
1/ Dents and Scratches

This type of defect is primarily found on metal bodywork in cars and motorcycles (such as fuel tanks). Here, we are only addressing minor damage, ranging from 0.5 mm to 1 cm in depth.
A/ Sand the area using P240 to P320 grit abrasive paper. The aim is not to strip the paint but to create a good adhesion surface for the primer and filler.
Although fillers can bond directly to metal, we always recommend applying a thin coat of metal adhesion promoter and anti-corrosion primer in a can or spray beforehand.
B/ Applying the filler, previously mixed with its hardener. Work quickly, as the filler hardens very fast. Ensure the surface is smooth and avoid excessive thickness, as this will require more sanding.
C/ Sand with a P320 grit abrasive paper using a sanding block. Wet sanding is recommended to improve efficiency.
Always use a flat sanding block to ensure a smooth and even surface.
Once sanding is complete, rinse the surface with water to remove any sanding residues.
2/ How to repair a scratch on your car body?

This step follows filler application.
For shallow scratches (less than 0.5 mm deep), filler may not be necessary.
Apply a high-build primer (surfacer primer), ensuring enough thickness to cover imperfections. Allow the primer to fully dry (2 hours at 20°C). Sand using a sanding block and P500 grit abrasive paper.
For both basecoat and 2K paints, do not use abrasive paper finer than P500, as this could affect paint adhesion. Once again, wet sanding is recommended as it allows for longer sanding time per sheet and prevents overheating.
3/ Substrate preparation
Before applying paint, the surface must be perfectly smooth, without micro-holes or scratches. A properly prepared surface means that it is sanded, free from moisture, dirt, dust, grease, and silicone contaminants.
Invisible contaminants can cause paint defects after application. For this reason, it is recommended to use a degreaser ,applied with a clean cloth and removed immediately with another clean cloth before it evaporates.
The final step before painting is using a sticky cloth, designed to capture dust. The tack cloth should be used gently, applying only the weight of your hand, without pressing.
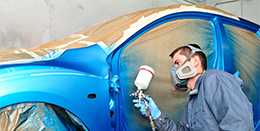
4/ The painting
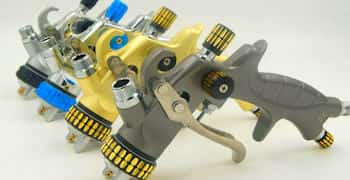
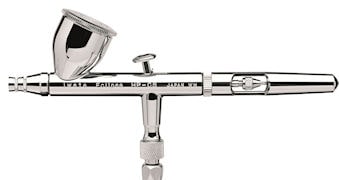
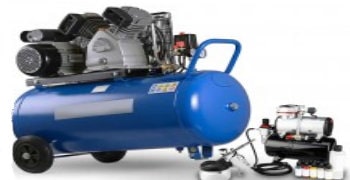
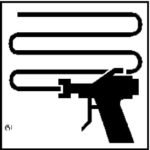
Paint can be applied using an aerosol or a spray gun, with passes from left to right and right to left, maintaining a fixed distance from the surface (10-15 cm) and always at a 90° angle.
It is essential to work in a clean environment, with adequate air extraction, low ambient humidity, and a moderate temperature (between 15°C and 25°C)
There are 2 paint systems : two-coat paint (1K basecoat) and polyurethane finish paint (2K paint).
A/ Two-Coat 1K Basecoat System
"Two-coat" means two steps: basecoat + clearcoat.
This system accounts for 95% of modern car and motorcycle paints.
The basecoat can be water-based or solvent-based.
Apply in 2 to 3 coats, with 5-minute intervals between each (at 20°C).
For metallic or pearlescent paints, it is common practice to apply a final mist coat.
This type of paint is single-component and dries quickly by evaporation (in 30 minutes).
It is essential to apply the clearcoat before the basecoat fully dries, to benefit from wet-on-wet adhesion.
B/ 2K Paint
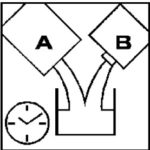
This bi-component paint must be mixed with a hardener and used within a limited time ("Pot Life").
It dries and hardens through polymerisation.
It forms a highly durable, glossy finish and does not require a clearcoat.
Two glossy coats should be applied, with a 10-minute interval between them.
5/ Varnishing
This final finishing phase applies only to two-coat systems. The clearcoat is a glossy, transparent lacquer that enhances the aesthetic appearance of the paint while providing resistance to abrasion, weather conditions, and hydrocarbons. It protects both the paint and the metal bodywork.
The clearcoat is always a two-component product (clearcoat + hardener).
It must always be applied in two glossy coats, with a 10-minute interval between them.
Applying the clearcoat is one of the most delicate steps. The key to achieving a flawless, glossy finish is applying the right amount. If the layers are too thin, the result will be an orange peel effect or a lack of gloss. If the layers are too thick, runs and drips may occur. If significant defects appear, the surface must be wet-sanded after 24 hours using P500 or P800 grit paper, followed by an additional clearcoat application.
The full curing time for the clearcoat varies from a few hours to 24 hours before the vehicle is ready for use.
6/ Plastic bodies and fairings
It may be necessary to add 1–2% of a flex agent additive to the clearcoat when painting flexible plastic parts. Adding this additive to bumper clearcoats improves resistance to stone chips.
Adding the flex agent to 1K basecoats is optional, as these paints are naturally flexible.
The preparation of bare plastic surfaces requires special attention, as achieving adhesion on plastic can be challenging. Specific preparation techniques and primers are available for plastic surfaces. However, in most cases, motorcycle and car plastic bodywork is already painted and does not require additional preparation.
7/ Further information
Mixing Paints
It is essential to shake aerosol paints vigorously before use and stir canned paints thoroughly with a mixing stick.
Dilution with thinner is flexible and depends on the painter’s preference, spray gun nozzle size, and ambient temperature.
Thinners have different evaporation rates, adapted to different seasons and conditions.
Thinner should be measured by volume, while hardeners require precise mixing, following the technical data sheet instructions.
In general, hardeners can be mixed by both volume and weight.
Pot life
This refers to the working time of mixed paint.
For single-component paints, adding thinner does not limit usability, and diluted paint can be stored for several months or even years.
For two-component paints, it is crucial to respect the pot life, which can vary from 15 minutes to 2 hours, depending on the product.
The hardener should only be added 5 minutes before application, and only the required amount of product should be mixed.
Drying Time
Drying and curing times depend on the product type, film thickness, and ambient temperature.
Single-component paints require careful drying time monitoring, as they must be clear-coated before the surface dries completely (within 30 minutes at 20°C).
Two-component paints and clearcoats generally have longer drying times, ranging from 1 hour to 24 hours.
The interval time between coats is a critical factor.
This waiting period allows solvent evaporation and helps prevent runs and drips.
"Dust-free drying" means that the paint is dry on the surface.
"Full cure" refers to the time needed for the paint to fully harden and be ready for use (approximately 90% cured).
All fully dried paints can be sanded before applying additional layers.
Complete kits of car, motorcycle and bicycle paints
Varnishes and finishes
Complementary products to bodywork paint
Types of body paints
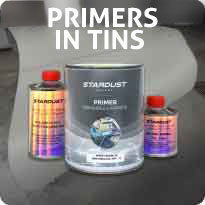
Primers or bodywork primer
Epoxy paint for rims
How to prepare the bodywork before painting?
How to achieve a matte or satin body paint?
RAL color - RAL paint