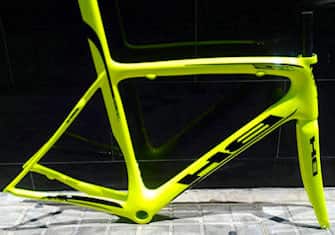


 Painting techniques on Quad: Specificities and tips
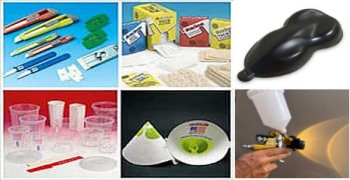
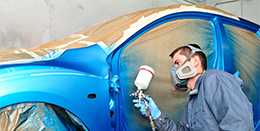
As part of our series of articles on specialised painting techniques, this chapter focuses on the specifics of painting a quad. Many quad owners and enthusiasts wish to personalise their vehicle with colours of their choice, and sometimes even with hand-drawn airbrush designs or custom-style graphics. Below, we outline the key steps for preparing fairings and painting (any type of design) on a quad, with detailed information provided at the bottom of the page.
How to Paint a Quad: A Step-by-Step Summary
Step 1 ► remove the plastic fairings
Step 2 ► Remove stickers using a heat gun or a hairdryer (if a heat gun is not available)
Step 3 ► Flame-treat the quad’s fairings with a gas torch
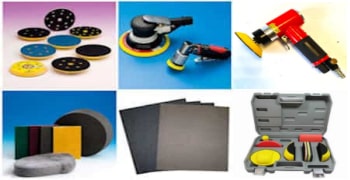
Step 4 ► Scrub the Quad fairings with a green abrasive pad and thinner
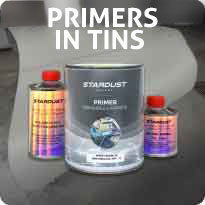
Step 5 ► Apply a coat of P230 plastic adhesion primer
Step 6 ► Within 2 minutes, follow with the base coat application
Step 7 ► Allow to dry and sand with P500 grit
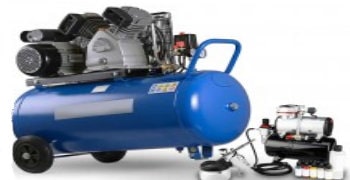
Step 8 ► Apply designs following proper painting techniques and the specific paint instructions
Step 9 ► varnish with 2 coats of flexible clearcoat
How to paint on a Quad?
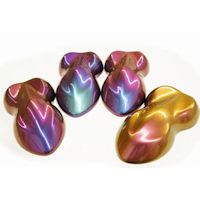
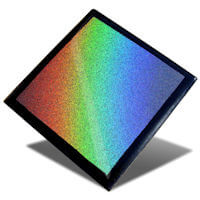
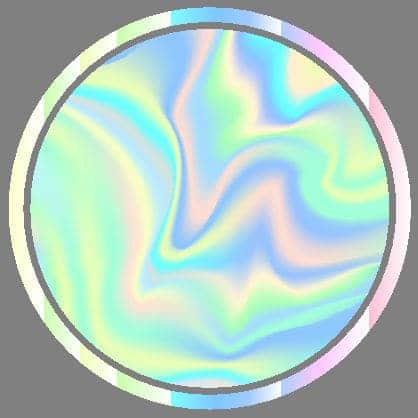
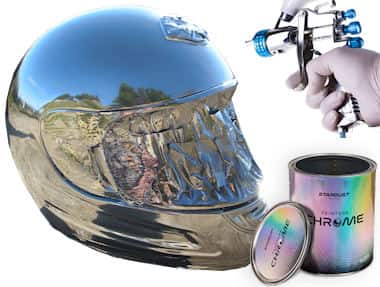
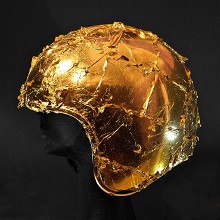
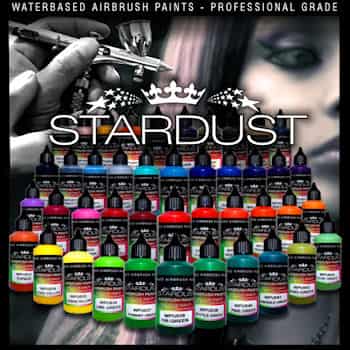
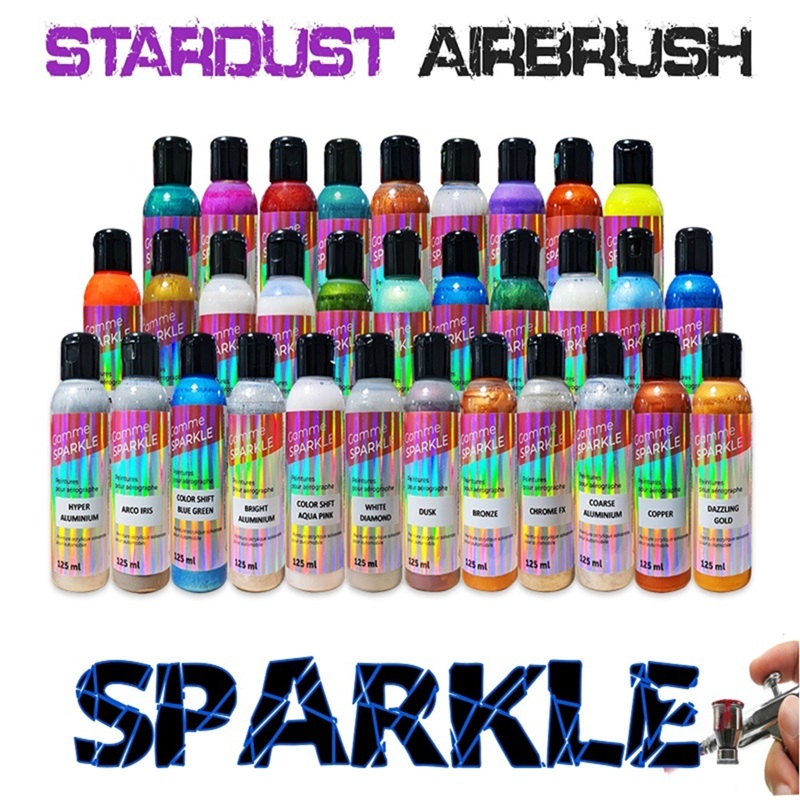
Once the specific techniques for painting quads are understood, it is actually possible to apply any type of custom paint or decoration—including gold leaf, hydrographic transfers, Candy paint, glitter, chrome effects, and more.
The key specificity of quad painting lies primarily in the type of surface being painted. Quads are made up of small plastic fairings, and not just any plastic—they are composed of thick polypropylene (PP) or polyethylene (PE). These materials are exceptionally durable and flexible, similar to the plastics used in car bumpers.
Anyone who has attempted to paint PP or PE will quickly realise that achieving proper adhesion on these quad fairings is extremely challenging.
Fortunately, there are specific preparation techniques that, when combined with a specialised primer for PP and PE, provide excellent adhesion. This allows custom painters to offer their clients a guarantee of durability and long-lasting paintwork.
However, simply applying a general or even specialised plastic adhesion promoter does not ensure a strong bond. This alone is not sufficient, as these plastics are exceptionally resistant to solvents and paints.
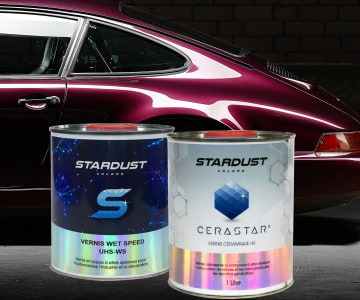
The only effective technique for achieving proper adhesion is a combination of flame treatment followed by solvent rubbing. Additionally, Stardust is the only company to offer a specific adhesion promoter for polypropylene (PP plastic primer: P230).
 Other specificities of quad Paintwork
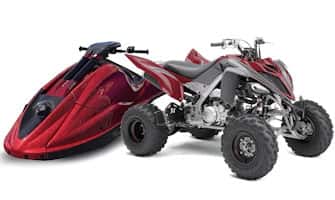
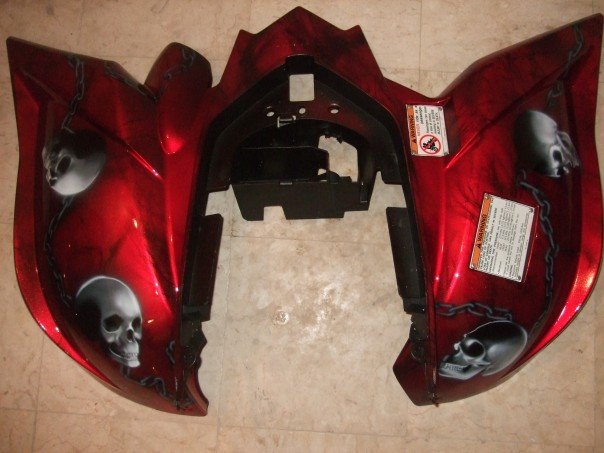
Quad fairings typically consist of three to four parts: the front section, which includes two large mudguards and a fuel tank cover; the rear section, primarily made up of two large mudguards; and finally, a small piece covering the handlebars and starter.
On these types of surfaces, any paint can be used, as the total surface area to cover is relatively small. Even the most expensive paint in the world remains affordable due to the limited quantity required.
Additionally, there are no legal restrictions on quad paintwork, as quads are primarily used off-road, in natural environments or desert conditions.
Since quad biking inherently involves off-road riding, paintwork is subjected to extreme conditions. Moreover, quad fairings are highly flexible—they must be, as rigid fairings would inevitably shatter under impact. These plastics can bend up to 90° without breaking.
To withstand impacts, debris, and extreme flexing, it is crucial—if not mandatory—to use flexible paints. This is not an issue for single-component paints, including:
Water-based paints, which naturally remain very flexible, even after months or years.
Solvent-based paints, which are thin and flexible throughout their lifespan.
However, paint cracking or breaking when fairings are twisted is a known issue and represents a technical challenge unique to quad painting.
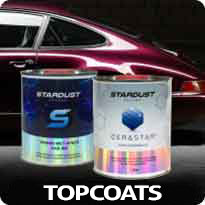
To protect the paintwork, a standard automotive clearcoat is generally used. Some also apply polyurethane 2K paints as a finishing layer.
However, all two-component products are prone to cracking or breaking over time, as they become increasingly hard and brittle. Even if a clearcoat remains flexible for the first few weeks, it will eventually crack and separate from the paint layer after a few months—sometimes with just a simple bend of 15–20°.
To counter this issue, a well-known and essential additive in quad painting techniques is the flex agent. This softening additive is specifically used in two-component paints and clearcoats to maintain long-term flexibility and prevent cracking.
Monitoring Total Dry Film Thickness
To prevent delamination or cracking at any level within the various layers of paint, it is essential to use a flexible coating. Adding our flex agent additive ensures that the paint remains flexible while also improving its resistance to impacts.
In the automotive and truck industry, professional painters are well aware that to resist stone chips, a flexibilising additive must be added to the clear coat. Conversely, extremely hard paints are highly prone to cracking.
Another crucial factor to consider: the more layers applied, the greater the total dry film thickness, which increases the likelihood of the paint cracking or peeling under impact or flexing.
When planning a paint project, it is vital to minimise the number of layers and eliminate unnecessary products to keep the maximum dry film thickness between 60 and 80 microns.
For example : Excessive primer layers should be avoided. Applying more than two coats of clearcoat is not recommended.
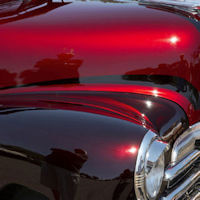
 Flame-Based Custom Designs
Flames are a simple yet striking design for airbrush artists. For the client, they offer a visually unique and appealing customisation while remaining affordable, as flame designs (also known as "true fire") are relatively quick and easy to create.
This design consists of:
A base coat
A few layers of flames
A coloured clearcoat
The advantage of this technique is that it results in a relatively thin total film thickness.
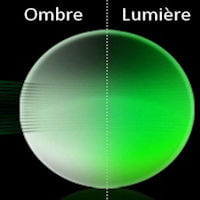
Additionally, flames can be easily customised to match the client’s favourite colour—whether blue, purple, green, red, or orange-yellow. It is also highly effective to combine flame designs with other elements, such as animals, faces, or additional graphics, to create a more unique composition.
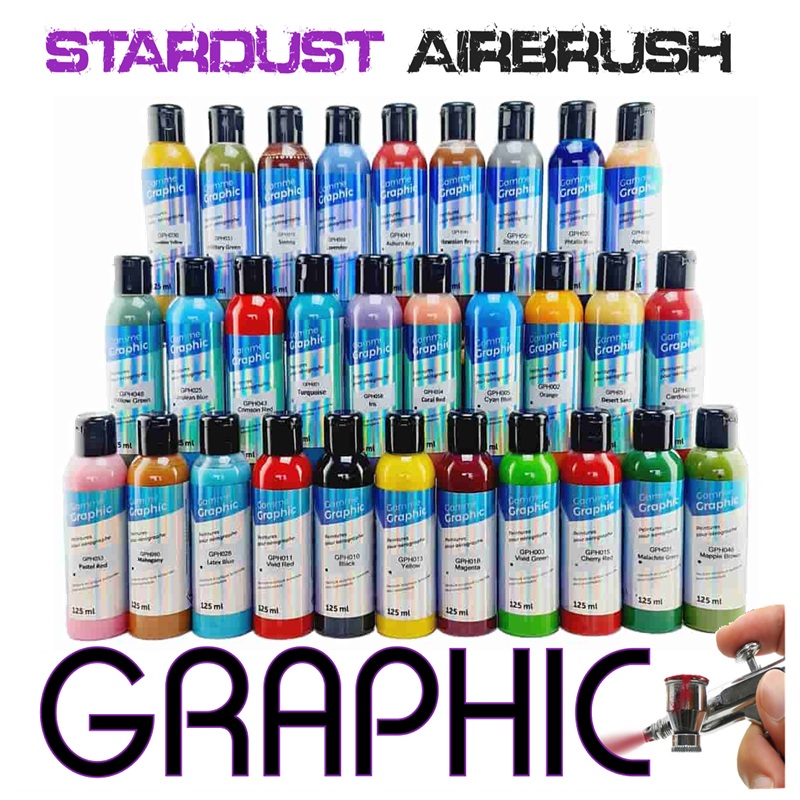
Graphic Designs on Quads
This custom paint style is ideal for painters without advanced drawing skills. Custom graphics offer great freedom and creativity, making them accessible to any custom painter.
This style of paintwork originated in California, the birthplace of custom painting since the 1950s.
From simple pinstriping and stylised flames to interwoven colour zones with shading and textures, we encourage anyone planning to custom-paint their quad to explore ideas online for inspiration. Observing professional painters is an excellent way to learn techniques and tricks to achieve stunning custom designs.
How to paint a car?
How to paint a bike?
How to paint a motorcycle?
How to paint a helmet?
How to paint a boat?
How to paint a chassis?
How to paint a portal?