


 Helmet painting techniques: Specificities and tips
The practice of spray painting and the art of customising vehicles and objects is a fascinating field. Painting a motorcycle helmet is one such possibility, and we would like to explore it with you by presenting the key techniques and specifics involved to helmet painting.
In summary, here are all the steps required to paint a helmet. Below, we break down each step in detail, along with useful tips and tricks to help you achieve a professional custom paint job on a motorcycle helmet.
This article does not replace hands-on practice, but it will be a valuable guide to help you succeed.
Step 1 ► Masking and Protection
Step 2 ► Sanding and Removal of adhesives
Step 3 ► Application of a Filling primer or Standard Primer, Drying, then Sanding
Step 4 ► Application of Paint and Designs
Step 5 ► Masking and Stencilling
Step 6 ► Clear Coating
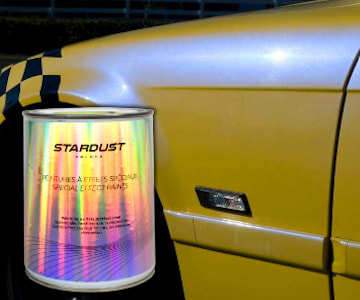
Are you wondering about the type of paint that is compatible with motorcycle helmets? We answer this question in detail in the last paragraph. In short, all the solvent or “hydro” paints that we offer are suitable for custom helmet paint job.
 How to paint on a helmet? The three preliminary steps
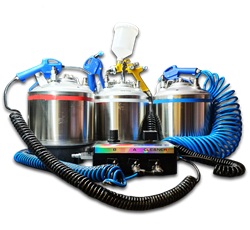
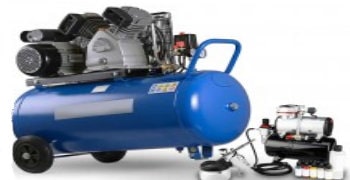
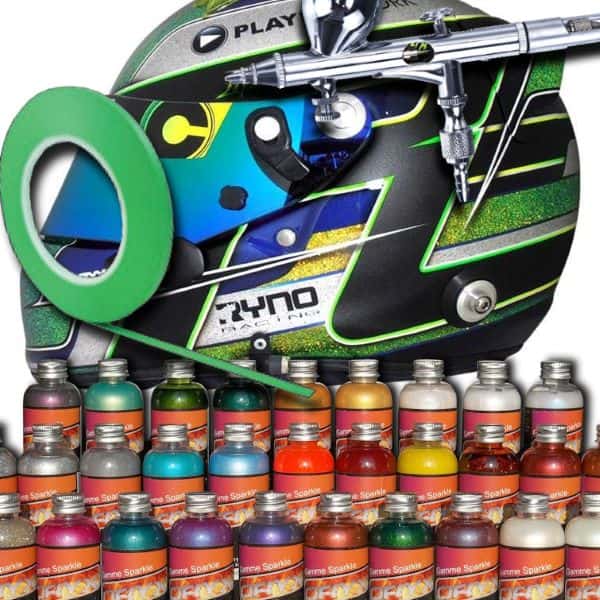
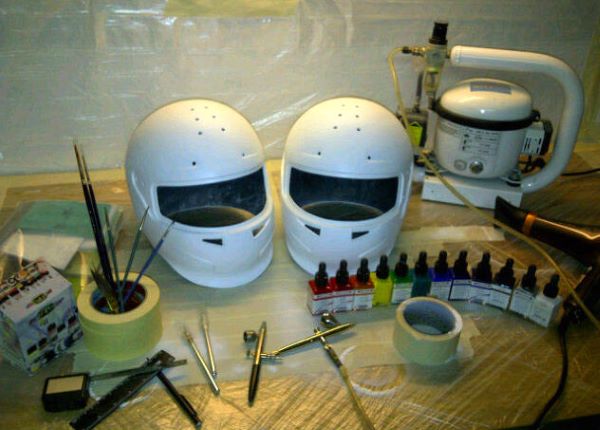
Tools for customising a helmet:
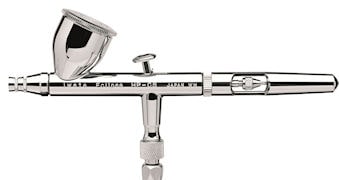
It's possible to create designs, logos and bands of color with an airbrush fitted with the biggest nozzle possible. However, it's difficult to do all the work of airbrushing a design on a helmet : the primers are far too thick, and varnishing would have to be carried out with a spray gun to be done properly. A clearcoat needs to be applied with sufficient thickness to be glossy, and an airbrush doesn't deliver enough material.
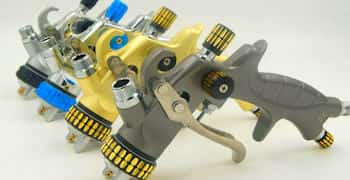
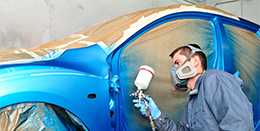
We therefore recommend using a spray gun, such as a mini gun for all or part of the design work on the helmet.
Bodywork consumables for applying a design to a helmet :
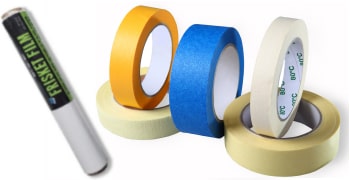
♦ adhesive lines and masking tapes, or transparent adhesive film
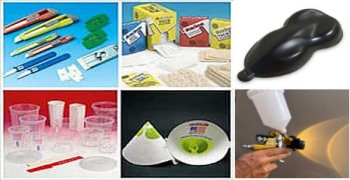
♦ the scalpel and tack cloth
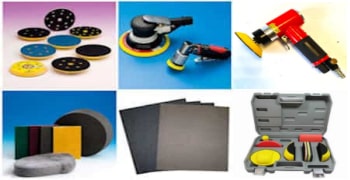
♦ abrasive sheets and abrasive sponges
Step 1 ► Masking and protection
The various sanding and painting jobs may dirty and stain all the fabric and foam parts, as well as the rubber parts. Before painting a helmet, all areas that should not be touched by paint must be protected with masking tapes.
Rather than using traditional yellow masking tape, we recommend applying flexible PVC adhesive lines which allow for greater precision when following the helmet’s curves and contours. Additionally, these lines are particularly easy to remove and highly durable. The masking tape is applied over these lines, and any excess is trimmed using a scalpel.
♣ This masking and protection process may need to be redone, as it is not certain that these protective layers will withstand the numerous coats of paint applied when painting a helmet, as well as the wet sanding phases.
♣ It is not advisable to keep the same masking tape throughout the entire painting process. Since multiple layers of paint will be applied over several days, the paint will harden onto the tape, making it impossible to remove without tearing the paint into shreds. It is therefore preferable to replace the masking tape after approximately three coats of paint.
Step 2 ► Sanding and removing adhesives
Before painting the helmet, sanding is an essential step that serves two main purposes: perfecting the surface and ensuring proper adhesion.
Sanding should only be carried out using grit sizes between P320 and P500—never below (to avoid creating scratches) and never above (to maintain optimal adhesion).
When we talk about sanding, it is important to understand that this is a superficial sanding process—it is in no way intended to strip the helmet down to the plastic.
Helmets often contain adhesive elements, which are typically embedded beneath the clearcoat. These must be completely removed by sanding the clear coat first, followed by the use of a heat gun, which will help loosen the adhesive, allowing for removal with the tip of a scalpel.
Sanding with P320 grit abrasive paper will help level out any surface irregularities as much as possible.
Step 3 ► Applying the primer, drying then sanding the helmet.
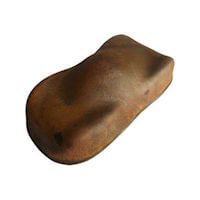
Using a primer helps create the perfect surface conditions before starting the paintwork. Primer is a thick and easy-to-sand product that forms a layer thick enough to fill and level out minor surface imperfections.
Of course, this product is not meant to remain on the helmet in full thickness. It is recommended to reduce its thickness as much as possible during the sanding process.
Sanding a helmet, which has a spherical surface, should not be done with a sander or a sanding block. This is a manual process. We always recommend wet sanding rather than dry sanding to prevent overheating, minimise airborne dust, and avoid premature clogging of the abrasive sheets.
Once sanding is complete, the surface must be rinsed, cleaned, and dried. Running your hand over the surface will help detect any remaining imperfections.
It is advisable to apply a neutral and even base colour before starting the design work with different colours and effects.
 Helmet Custom Paintwork and Designs
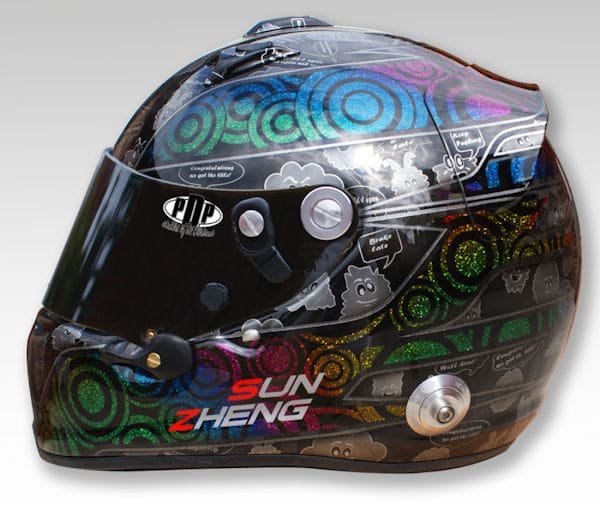
The paintable surface of a helmet is less than 0.3 m², allowing for maximum detail and intricate work in a small area. The art of helmet painting has become a specialised craft, mastered by certain custom painters dedicated to motorcycle helmet personalisation. Their clients range from professional motorcycle racers to individual enthusiasts.
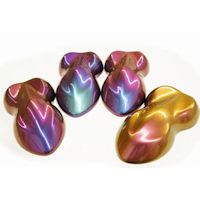
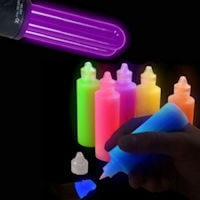
Helmet designs are often highly complex and diverse, not only in terms of techniques used, but also in the types of colours, special effects, and pigments applied.
Step 4 ► Applying Paint and Designs
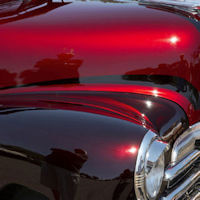
The paints used are mainly "two-coat" systems, also known as "matte basecoats". These are single-component paints that are very easy to use, drying and hardening by evaporation.
The intricate designs found on motorcycle helmets are created through multiple layers of colours and pigments. Each paint layer must be fully dry and sanded before applying masking tapes or adhesives.
Sanding ensures proper adhesion between layers. It must be neither too coarse nor too fine—P500 grit is generally the best option. If sanding is not done correctly, peeling issues will inevitably occur when removing adhesives and stencils.
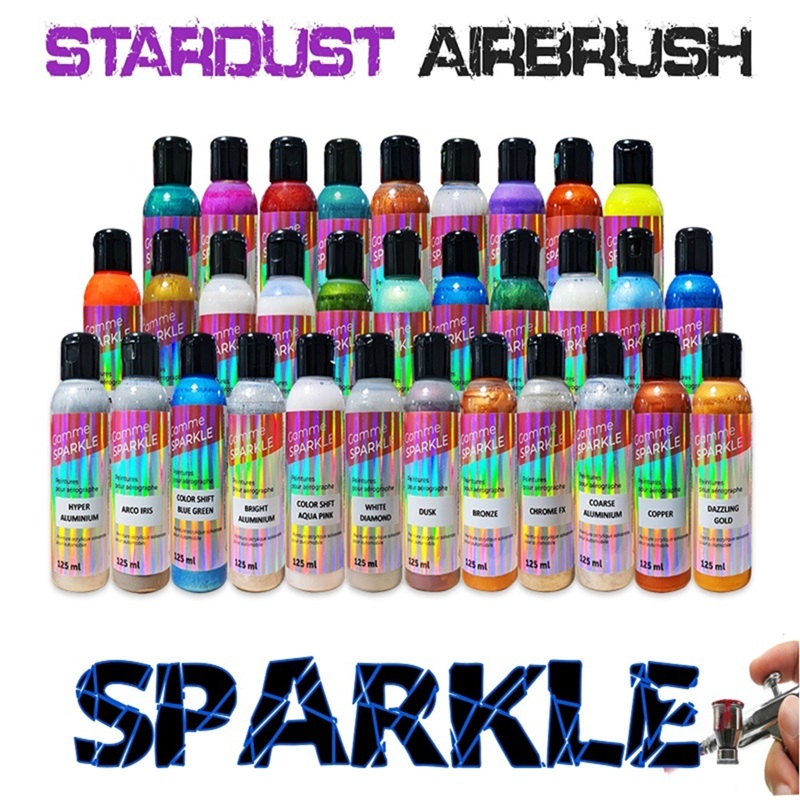
♣It is important to note that certain paints—such as transparent paints, pearlescent paints, metallic paints, and chameleon paints—should only be sanded with abrasive sponges to prevent damage to their effects.
 Step 5 ► Masking and stencilling
This is an art form that allows for creativity and ingenuity. Every design is made possible through a meticulously planned and executed masking technique using adhesive tapes, often intricately layered.
The application of various masking materials—flexible adhesive lines, masking tapes, and transparent adhesive films—requires surgical precision and is carefully cut using a scalpel.
Designs can be hand-drawn onto transparent adhesive films or precision-cut using plotter machines.
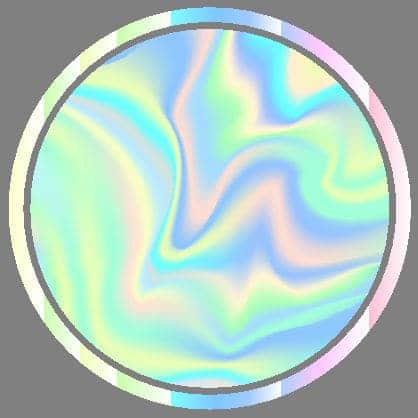
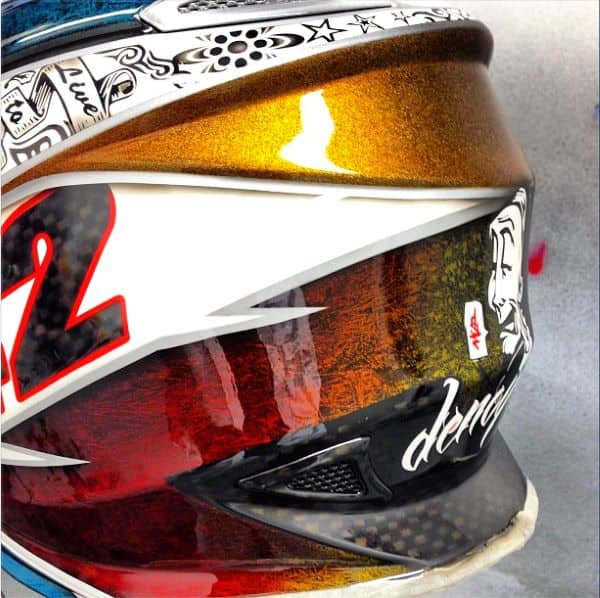
It is also possible to apply printed logo decals from professional printers, and there are even metallic and holographic adhesive lines.available.
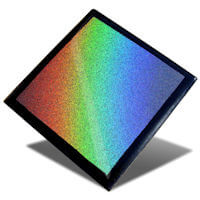
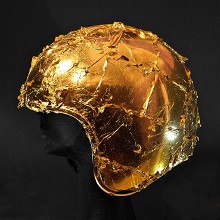
It is common to see specialised, rare materials incorporated into custom paintwork, such as rainbow-effect glitter or genuine gold leaf , enhancing the artistic composition.
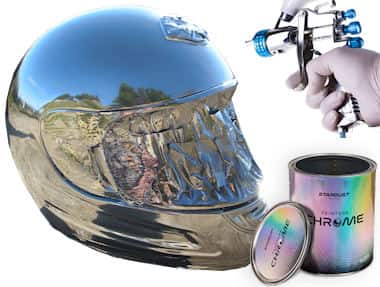
Step 6 ► Clear coating
The clearcoat application is the final and essential step, the "cherry on the cake", marking the completion of all the work done on the helmet. The clearcoat provides gloss (or a matte effect) and seals and protects the paintwork against rain, abrasion, and UV exposure.
Of course, a high-quality, two-component clearcoat is used—similar to those applied to motorcycle and car bodywork.
The clearcoat is applied in two coats, ensuring effective protection for all the paint layers while also levelling out surface variations and the raised edges created by designs and adhesive masks.
 What paints are compatible with a motorcycle helmet?
There is a common belief that some paints are incompatible with motorcycle helmets, while others are considered safe to use.
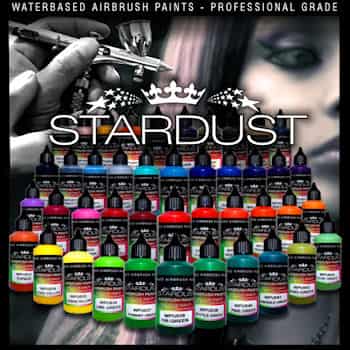
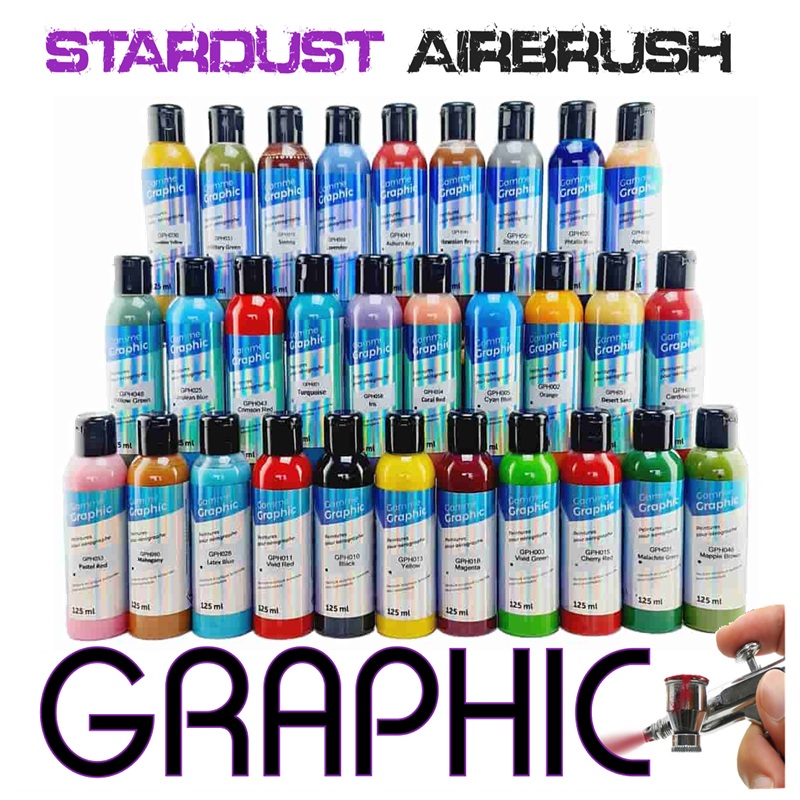
To clarify this topic: all professional automotive paints and all airbrush paints are compatible with helmets.
In the event of a motorcycle accident, emergency services follow strict protocols to X-ray the injured person without removing the helmet. Older lead-based paints could potentially block X-rays, but modern paints no longer contain lead. As for aluminium-based metallic paints, their particle size is so fine that it is highly unlikely they would interfere with X-ray imaging. Pearlescent paints and other colours pose no issue for radiography.
Warranty Considerations
When a helmet is custom-painted, the manufacturer may refuse to honour the warranty, as the helmet has been modified. However, no paint weakens a helmet in any way.
How to paint a car
How to paint a bike?
How to paint a motorcycle?
How to paint a quad?
How to paint on a boat?
How to paint a chassis?
How to paint a portal?