All Products are in stock
and shipped from France.
Delivery within 48 hours.
and shipped from France.
Delivery within 48 hours.
Our categories
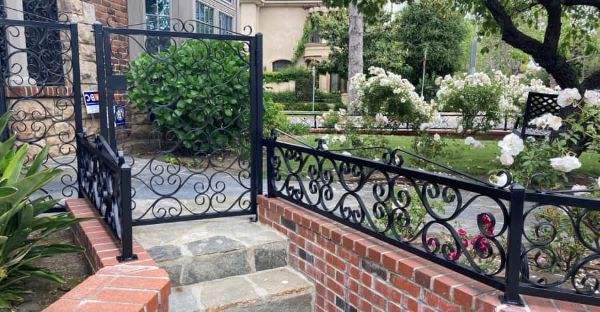 Successfully painting a portal – 5 steps tutorial
In this tutorial, we present the specificities of the techniques applied to painting when it comes to painting a portal, in 5 steps. Whether it is the application of new paint on a new gate or a renovation, it is important to know and respect certain technical points and to paint according to the rules of the art, in order to obtain a successful and lasting work.
In each step we present the specific professional products most suitable for painting a portal.
Method of application:
Paint gun, brush, aerosol(Modifié)Restaurer la traduction d'origine
The main steps for painting the gate:
Step 1 ► Preparation of the support – inspection and sanding with P400
Step 2 ► Applying primer or primer
Step 3 ► Sanding
Step 4 ► Applying the paint
Step 5 ► Drying
Tips: metallic finishes and other special colors
How to paint a portal?
List of consumables for painting a portal
♦ Wire brush
♦ Sandpaper
♦ Abrasive sponge
♦ Sanding block
♦ Masking tape
The amount of paint needed
1 Liter of ready-to-use product = 4m².
Knowing that 2 coats must be applied and that a portal is mainly made up of a tubular surface, it is difficult to determine exact paint consumption, but we estimate approximately 1 L per 4m² for these 2 coats.
The choice of paint
We will leave aside the countless paint offers offered in mainstream stores, to focus solely on a professional quality product, simple and effective:
it is a solvent-based acrylic polyurethane lacquer, of the same nature as the paints found on vehicles and whose outdoor life is 20 years. It is a so-called “two-component” product, because it consists of the lacquer and its hardener.
This product is sold as a complete kit and also contains a thinner which allows you to adjust the viscosity of the mixture when you want to paint with a spray gun.
Polyurethane lacquer is also called direct gloss lacquer: it is an ideal product for painting with a brush or spray gun.
Resistance is maximum, both against the sun, humidity, abrasion...
Our lacquer allows it to adhere directly to metals.
→ Here is the product “direct gloss lacquer” in black and white
→ Here is the “direct gloss lacquer” in all the colors of the RAL or PANTONE color charts
→ Here is the “direct gloss lacquer” in a matte version
Choosing the paint application method for a portal
Painting with a spray gun is much faster and gives a much more even finish. Application with a brush may create marks due to brush hair. On the contrary, when you paint with a spray gun, you project the paint without ever touching the surface.
Step 1 ► Preparing the support before painting the portal
The entire surface of the portal must be sanded. Usually this is the old coating. It is not at all a question of stripping, but simply of creating the best adhesion conditions for the new paint.
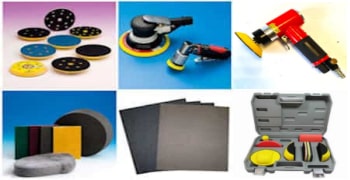
→ Sanding must be done with a grain between P320 and P500, manually or with a sander.
For hard-to-reach areas, it is particularly practical to use a green abrasive sponge.
Mask the areas to be protected with paper masking tape.
After sanding, the portal must be cleaned, rinsed, washed and then dried. Rather than using water and detergent, or even alcohol vinegar, it is possible to do like the painting professionals, using a degreaser.
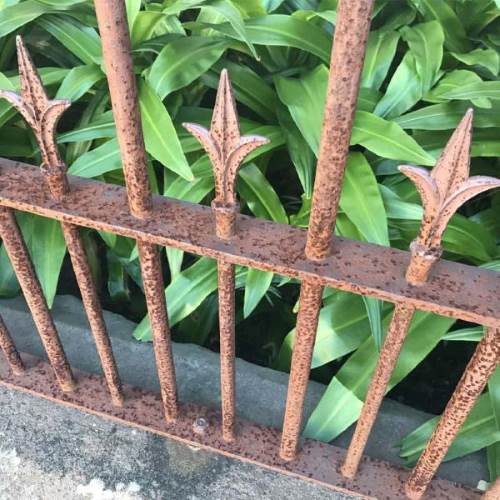
Surface examination
Examine in detail the condition of the paint or coating on the portal:
All areas of paint in poor condition must be scraped, sanded and eliminated.
Same for any areas of paint that are peeling or cracked.
It is also necessary to carefully examine the structure of the portal, in particular to detect areas where corrosion has appeared. On areas of rust, proceed with steel wool or a wire brush to mechanically remove as much oxidized metal as possible. You must then sand until you find a healthy metal. You should know that when you leave residual rust and cover with new paint, oxidation and rust development will continue to develop underneath the paint.
There is a rust converter which is an effective product for neutralizing an area of rust.
Should we do stripping?
It is not at all necessary, nor recommended, to carry out chemical stripping, nor sanding, nor sandblasting of the support, until the metal base is found: this represents an enormous amount of work and it is not wise to remove a painting in good condition.
The old paint should normally be covered with new paint. This is applied after sanding, in order to have excellent durability over time. The old paint helps protect the metal portal.
Step 2 ► Applying a primer or primer to a portal
When painting a portal, a primer is only necessary if you are painting a raw metal portal. Although some paints are intended to hang directly on metal, none of these paints actually provide corrosion protection.
On the other hand, when painting on an already painted portal, then it is not necessary to apply a primer.
It is essential to know the material the portal is made of. Indeed, not all types of metals, for example, should be primed in the same way.
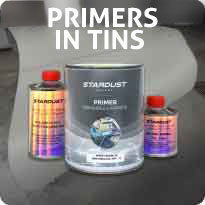
→ Ferrous metals require AS801 ferrous metal primer.
→ non-ferrous metals, such as aluminum for example, require a primer for non-ferrous metals P714.
♣ On all areas where there is friction, abrasion or frequent movement, it is advisable to reinforce the sanding until reaching the metal and to apply a good layer of adhesion and anti-corrosion primer for metal, in preventive action against rust.
Other types of primaries
On flat areas, if we want to perfect the surface, then we use a thick primer which is called a filling surfacer and which is intended to be sanded to give a perfectly smooth surface.
This type of primer is very suitable for wooden portals.
Step 3 ► Sanding the portal
This new sanding step is necessary if a primer has been applied to the entire portal. Lacquer needs a sanded surface to adhere.
A paint can last for many years: this of course depends on the quality of the paint, but also and above all on the quality of the preparation of the support. Most peeling defects are due to poor or insufficient sanding.
Sanding the primer is carried out with P400-P500 paper after complete drying.
Before applying the paint, it is necessary to degrease and dust.
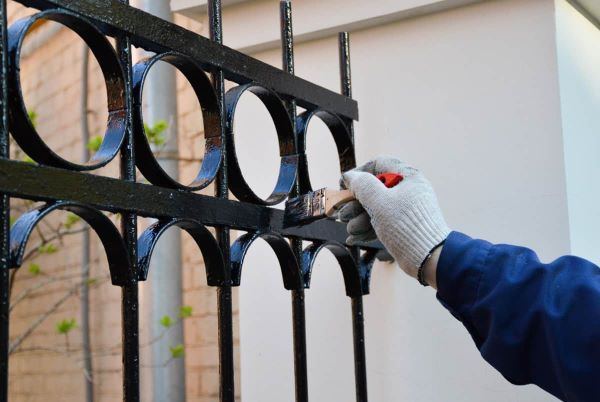 Step 4 ► Applying paint to a portal
Optimal conditions
Choosing the day on which you will apply the paint plays a large part in the success of the portal renovation work.
→ Choose a dry day, with a moderate or hot temperature (but not too much) and especially without wind. In order to block loose dust, it is a good idea to soak the area around the portal, spraying water on the ground to neutralize the dust.
→ When working in cold temperatures (in the world of painting, this refers to temperatures below 15°), it is recommended to use a rapid thinner or even a rapid hardener (when painting a polyurethane paint). Below 5°, you must simply avoid painting, because the drying of paints is slowed down so much that drips will be an inevitable phenomenon.
Mixing polyurethane lacquer.
Here is a product whose drying and hardening are not induced by air or evaporation, but by a chemical catalysis reaction.
The mixture is done using a scale or using a measuring cup. In fact, it is perfectly possible to mix by weight or volume.
Mix 1000 parts lacquer, to about half (500 parts) hardener.
Stir well and let sit for 5 minutes.
⚠ Attention! From the moment you have mixed the hardener and the lacquer, you have 60 minutes to use the product. This is called mixing time or “Pot life”.
It is therefore necessary to mix no more or less than the quantity you need.
Applying lacquer to the portal
Basically, you need to apply 2 glossy coats.
It is not advisable to apply more than two coats, as this is not necessary and may affect the quality of the gloss.
It is possible to use a roller, but the best method of application is with a paint gun. It is also possible to use aerosols (with a round nozzle) or a brush (the brush in painters' jargon).
Whatever the method of application, direct gloss lacquer must always be applied with 2 coats. It is necessary to wait sufficient time between these 2 layers. We can reduce the time interval when it is hot and we can extend this interval when it is cold.
We must also extend the time interval between the 2 coats, when using a brush: the first coat must be semi-dry before being covered.
When using a gun:
The time interval between two layers should be 10 minutes: when the gate is large and complex, you may need more time to complete the first layer and this is not a big deal. In any case, you should avoid waiting 30 minutes to cover the first layer.
On paint guns, there is an adjustment wheel which allows you to adjust the shape of the spray jet: adjust the jet to a point, this saves paint and targets the gate bars.
Reminder: if you want to obtain a beautiful shiny finish without running, keep your gun straight perpendicular to the support and adjust the speed of your movement, neither too fast nor too slow.
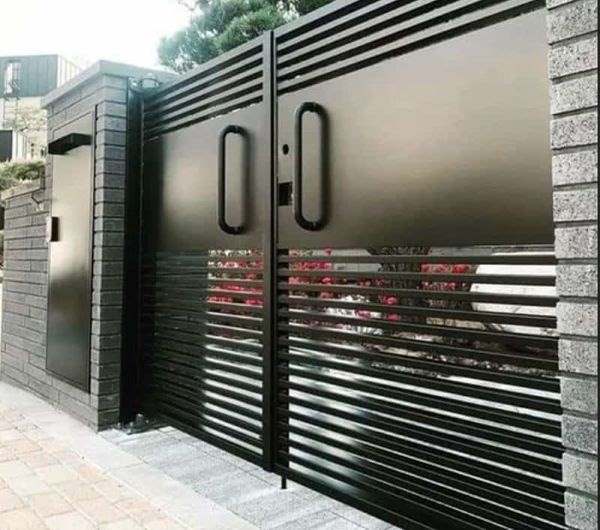 Step 5 ► Drying the Polyurethane lacquer on a portal
⚠ Attention! Remove the adhesives before the lacquer has completely dried: in general, you should not wait more than 30 minutes to remove the adhesives.
With polyurethane lacquer, very high hardening is achieved, but drying is quite slow:
Sticky: 30 minutes
Dry to the touch: 1h30
Dry to the core: 12-24 hours
Commissioning: 24 hours
Maximum hardness: 7 days
It is possible to achieve accelerated curing with a rapid hardener, but this may affect the quality of the gloss.
Colors for portals: metallic finishes and other special colors
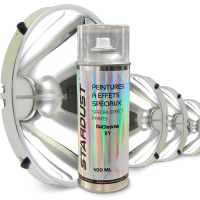
Colors based on pearlescent metallic particles give very beautiful finishes on gates. These paints simply require a little more work, especially with the application of an additional step: the final varnish.
It is very easy to apply them and there is a large choice of paints with a very interesting visual appearance in the metallic paint category.
In general, it is first necessary to have a single color background, which is obtained by the prior application of a black primer (for most metallic colors) or white (for the exception of the white pearly color).
Next, you should know that it is possible to paint with a brush. However, the best results will be obtained with the application of spray paint.
Metallic colors generally cannot be produced in a 2-component gloss polyurethane version: the fact that these paints dry slowly favors the movement of the metallic pigments on a portal. Consequently, metallic paints are offered by us in a one-component formula, which dries immediately and is immediately varnished with an automotive-type varnish.
How to paint a car?
How to paint a bike?
How to paint a motorcycle?
How to paint a helmet?
How to paint a quad?
How to paint a boat?
How to paint a chassis?
