


 Tutorial for painting a chassis
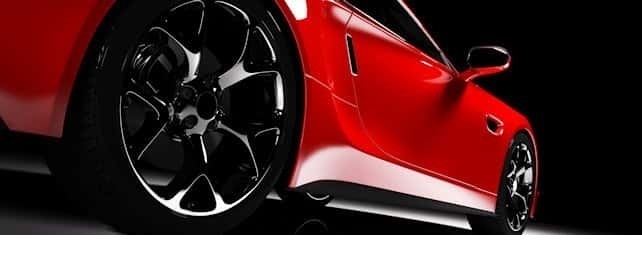
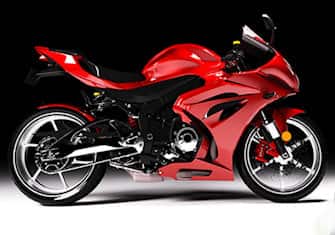
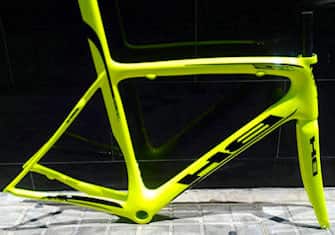
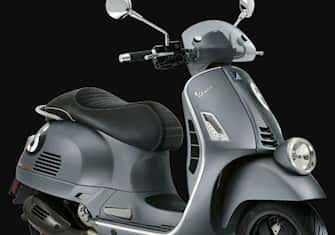
Here is a tutorial in which we present all the specificities of the techniques applied to the painting of a chassis, whatever it may be, whether an automobile, quad, motorcycle, ULM or other chassis. Here are the main steps that must be followed to paint a frame, as well as the tools and products that we recommend. In particular, we will see the best options and the different choices that are possible regarding the final painting of the chassis.
Tutorial for painting a frame in 3 steps
Step 1 ► Preparing the substrate
Step 2 ► Applying a primer
Step 3 ► Application of topcoat
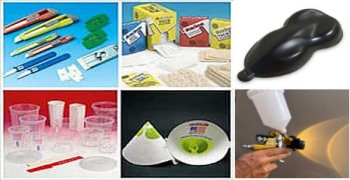
Tools and consumables
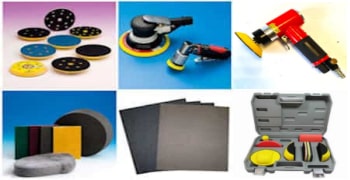
♦ Sander
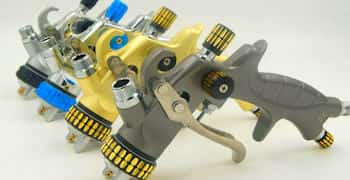
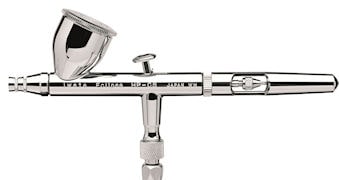
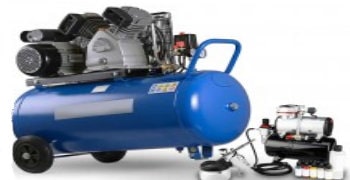
♦ Spray gun
♦ Abrasive sheets
♦ Abrasive sponge
The products needed to paint a frame
♦ Degreaser
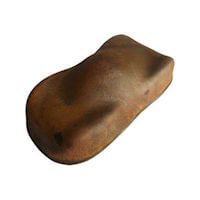
♦ Aluminum putty
♦ Primers for specific metals*
♦ Finishing coatings*
 How to paint a chassis?
Step 1 ► Preparing the substrate
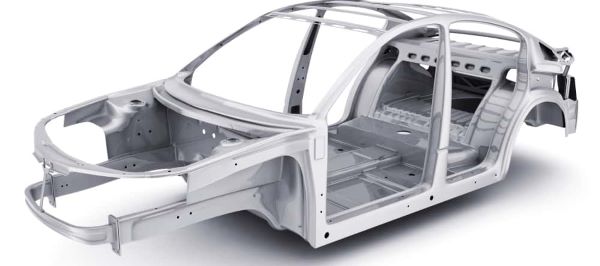
A chassis is a metal frame that forms the central framework supporting the body, wheels and engine... It is important to preserve the very nature of the material that makes up this essential supporting structure, with priority given to curative and preventive oxidation treatment.
Stripping or coating
You are free to choose whether to remove the existing coating on a frame or to cover it up.
To remove the old paint, the following solutions are available:
→ chemical stripping with a paint stripper
→ sandblasting, shot blasting
For a car chassis with paint in good condition, it may be perfectly feasible to apply a new coat of paint, to increase the thickness of the protective layer and thus effectively protect the metal chassis against corrosion.
For a visible frame, which you wish to paint and color with a visually attractive paint and if you are ready to undertake this important work, then it may be wise to opt stripping or sanding.
Chemical stripping
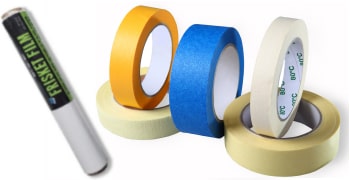
We use a powerful paint stripper, applied either with an aerosol or a spray gun. The product must be left to work and dissolve the paint. Depending on the age and thickness of the paint, it is often necessary to repeat the process with multiple layers of stripper. The paint residues can then be cleaned using a high-pressure washer.
Once the entire frame is stripped bare, it must be degreased with a degreaser or solvent, using an abrasive sponge and absorbent paper.
Examine the condition of the paint
When applying directly on top of the old paint, it's a good idea to carry out a thorough examination of the old base, looking for areas of paint in poor condition. Cracked, loose or brittle paint should be scraped off with a wire brush or spatula. The entire surrounding area should be sanded down to the metal.
It's essential to look for any corrosion starting points. This disease can develop even after the metal has been repainted and coated. It's important to remove all rusted areas by sanding.
Repair the chassis
Welding work can be carried out, and minor repairs made with putty if necessary. Aluminium putty is used on metal frames.
Sanding and degreasing
Whether the metal frame is bare or painted, in both cases it is imperative to sand with P320 paper to ensure that the primer or paint to be applied holds perfectly.
After sanding, the surface must be cleaned, in particular with a degreaser to remove any contaminants that may be invisible to the naked eye, including greasy residues.
 Step 2 ► Applying a primer to the chassis
This primer has a dual function: it can cling to bare metal, and it protects the metal against corrosion.
The primer therefore has both a bonding and a protective function. There are primers that have a general function, enabling them to cling and level, but they are not specific primers, and so are much less effective in terms of protection.
It's better to superimpose two types of primer if you want to level a chassis.
⚠There are ferrous and non-ferrous metals: for each of these two types of metal, you must not use the same primer:
AS801 primer for metal: it is a primer available in white or black, very effective on all ferrous metals such as steel. It is applied in 2 coats and dries very quickly.
P714 aluminum primer: it's a “WASH” type primer which is effective on many metals and is mainly used on aluminum. It is also available in white, grey or black. It is applied in two coats and dries quickly.
BESA F294 primer: it is a high performance two-component primer for industry. Thanks to its epoxy formula, it is highly effective on most metals and provides long-lasting protection against the most extreme wear conditions.
Primer drying and coating
We recommend waiting for the primer to dry completely before proceeding with the rest of the work. Once the primer is completely dry, it will continue to harden and adhesion will gradually increase, reaching a maximum level after several days.
Before the final coat of paint can be applied, the primer must be sanded. Indeed, it is not possible to paint over a primer, without first creating the conditions necessary for good adhesion.
→ Sanding can be carried out using P400 or P500 abrasive paper or a green abrasive sponge. Immediately after sanding, clean with degreaser and a clean cloth to remove fingerprints and sanding residues.
Step 3 ► Application of the finishing coating
There are 3 main options for achieving a very beautiful frame painting.
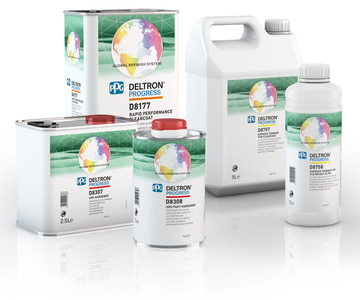
Option 1/ 2K paint: the beauty option
This is a highly resistant high-gloss finishing 2K paint. This product is supplied as a complete kit, i.e. with 2K paint, a hardener and a thinner. It is therefore a two-component polyurethane product.
It's a high-quality finish, usually used on truck bodies and all older cars. This type of paint ensures a very long service life and perfect protection of the chassis against any splashes of water or products, but also against cold or heat, as well as abrasion.
These paints, which are called “2K paints”, are easy to apply using a spray gun. Two coats are sprayed 10 minutes apart.
There is an even more resistant version (2K polyester polyurethane) which we offer under the name Hi-Gloss black 2K paint.
There is a black and white version in a 2K cans or sprays as well as a version that can be colored to match any RAL or PANTONE color chart : this is PU 2K paint color on demand.
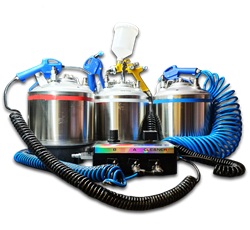
 Option 2/ the RAPTOR: The resistance option
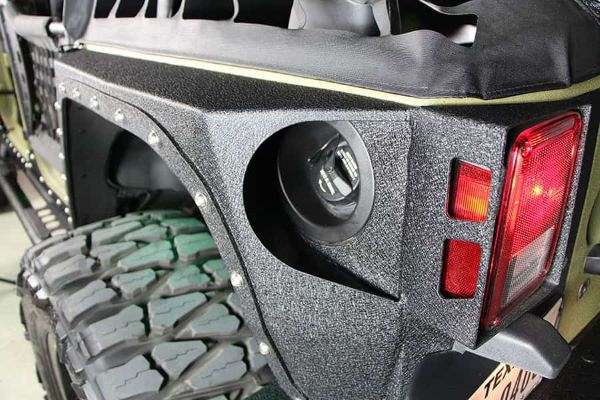
This is a truly unique product—ultra-resistant, ultra-thick, typically used for chassis but also for painting 4x4 truck beds.
The RAPTOR coating comes in black and is so thick that it requires a Blaxon-type spray gun for application. It is a two-component epoxy-based product, supplied in a complete kit, making its use both practical and easy.
Beyond its remarkable resistance and durability, this product adheres to almost any surface and allows for an exceptionally thick application of several millimetres, without any risk of runs or drips.
We also offer RAPTOR in a transparent version, allowing you to tint it in the colour of your choice using our concentrated pigments.
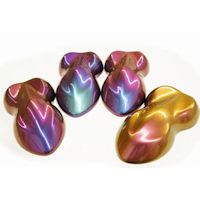
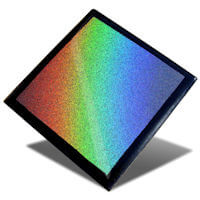
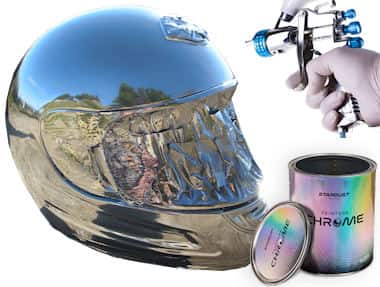
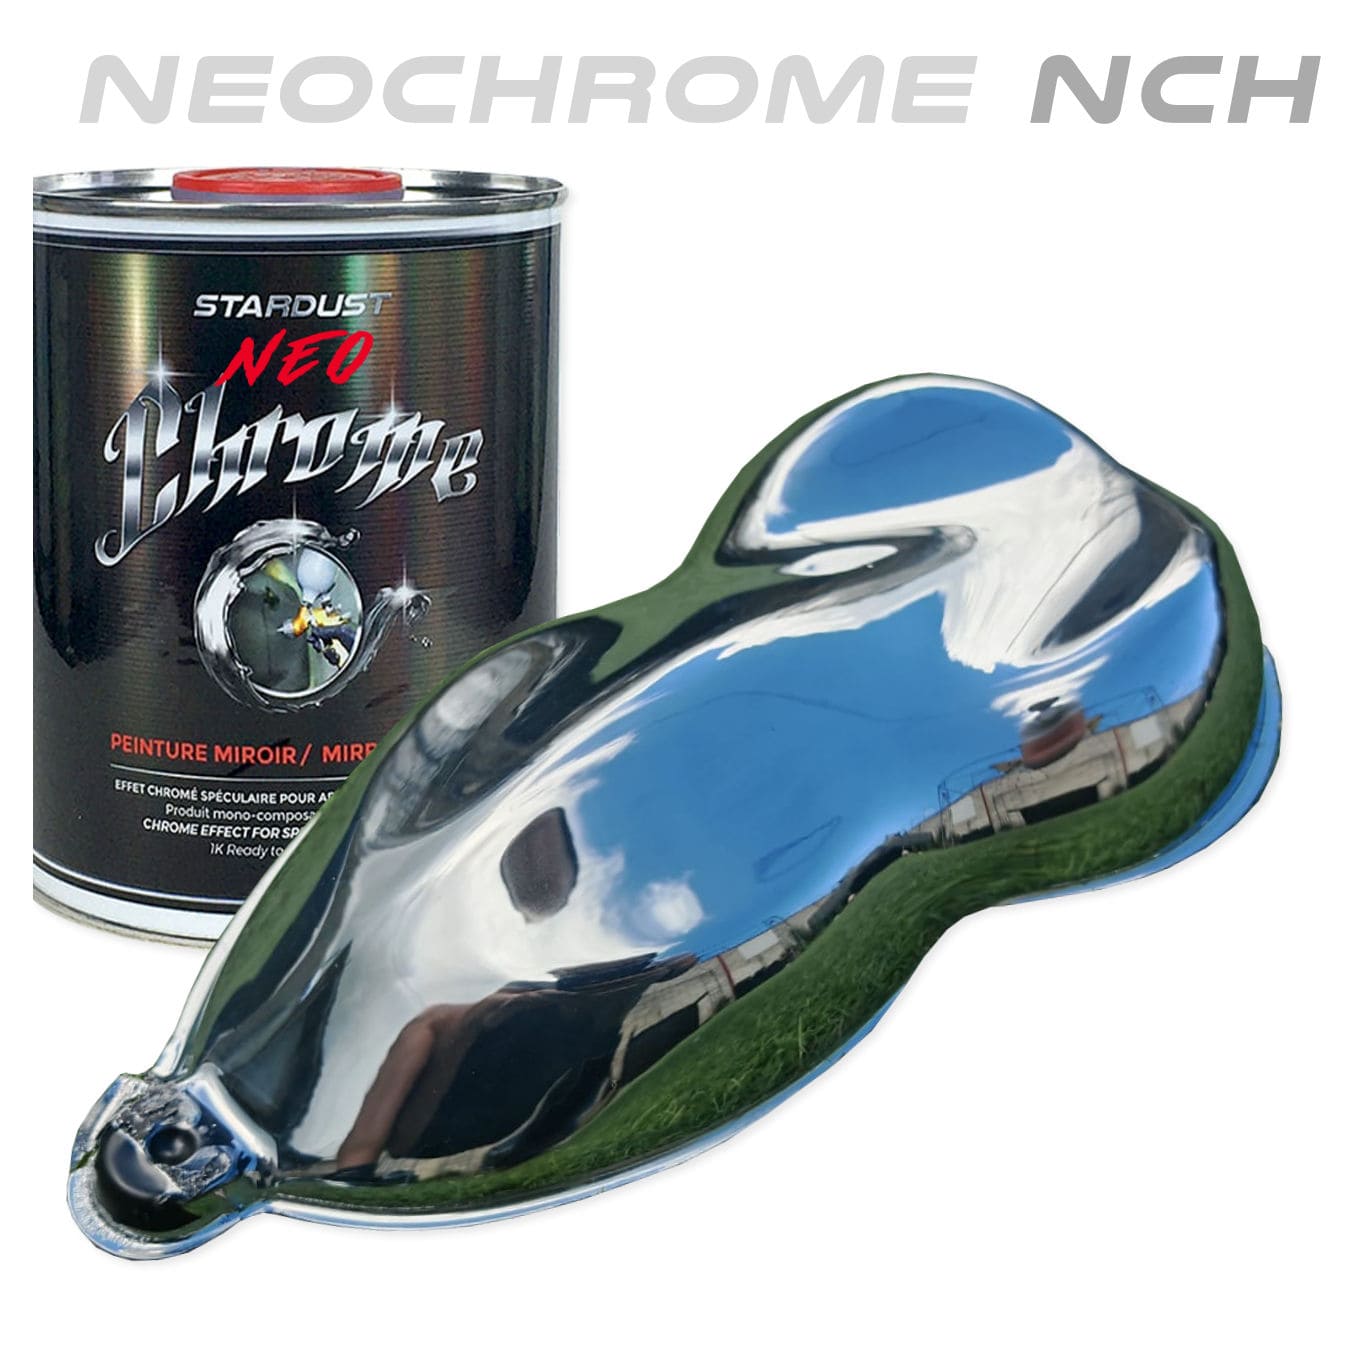
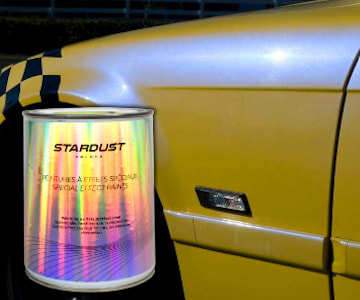
Option 3/ Special effect finishes: the “Custom” option
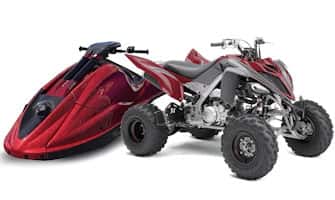
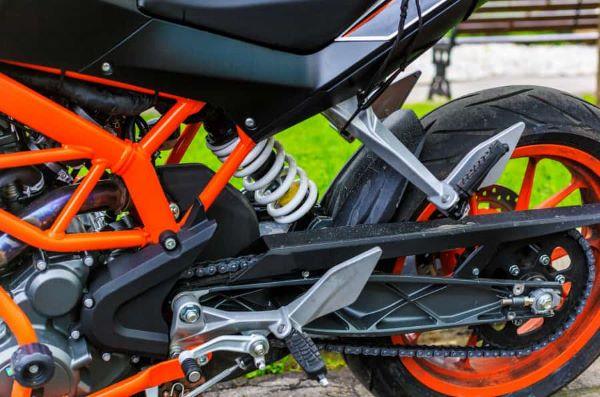
When painting a quad, motorcycle, or any type of vehicle where the chassis is visible, it is possible to integrate the frame’s design with the fairings’ paintwork.
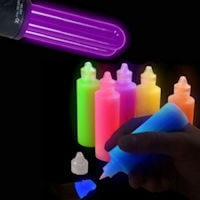
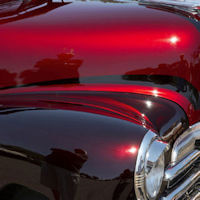
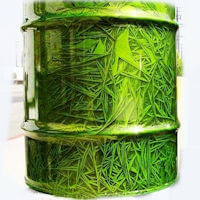
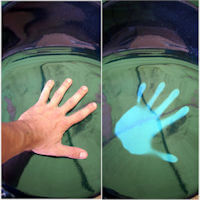
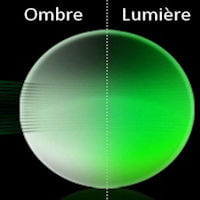
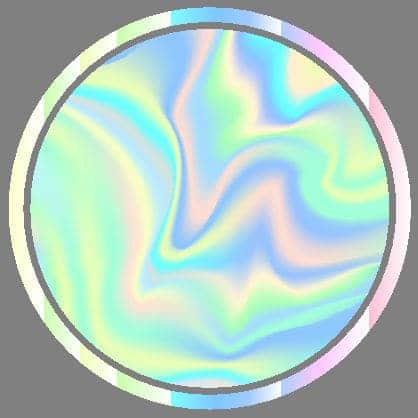
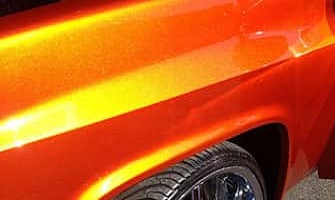
This means that pearlescent, metallic, Candy, chameleon, or even fluorescent paints can be applied to the tubular surfaces of the chassis. Here is the process:
A/ Base Preparation
The base must be carefully prepared, with the application of a primer (either white or black), depending on the special effect paint that will be applied. The surface must then be sanded with P500 grit paper.
White base: Fluorescent paint, bright or vivid pearlescent paint, phosphorescent paint.
Black base: Chameleon paint, metallic paint, dark pearlescent paint.
B/ Paint Application
The paint is applied with a spray gun in several layers, until the background is covered and the optimal color is obtained. The gun must naturally be set with a tight jet in order to save paint.
It is very important to proceed to the varnishing stage before the paint has completely dried, in order to allow good cohesion of the two layers, which is essential for a frame.
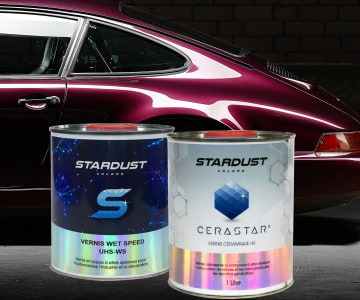
C/ Clearcoat
The clear coat protects the paint and enhances its gloss. A two-component polyurethane acrylic automotive clear coat is used.
It is recommended to strictly follow the application guidelines, applying only two glossy coats as advised for most clear coats. Adding extra layers or applying too much thickness on the chassis is not recommended, as excessive build-up increases the risk of cracks and peeling in case of impact.
Since chassis frames are more exposed to projections and impacts, it may be beneficial to add a small percentage of flex agent additive to the clearcoat. A clearcoat that is too hard is more prone to cracking, whereas a slightly more flexible one can better absorb shocks without breaking.
Our Technical Department is always available to assist you with any inquiries (tech@Stardustcolors.com).
How to paint a car?
How to paint a bike?
How to paint a motorcycle?
How to paint a helmet?
How to paint a quad?
How to paint a boat?
How to paint a portal?