


 How to apply an Automotive Clearcoat?
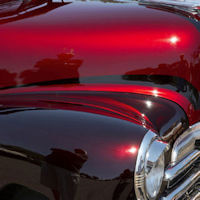
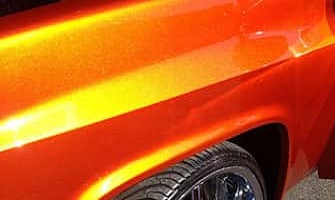
The exterior finish is the first thing a person notices when looking at a vehicle. The quality and durability of automotive clearcoats reflect the overall quality of the vehicle itself.
Gloss and durability:
The clearcoat is the final protective layer that forms the last interface with the environment. It contains the highest level of chemical and technological advancements. An automotive clearcoat must withstand weather conditions, fuel, sunlight, heat, bird droppings, abrasion, detergents, and car washes without losing its gloss.
Tutorial: how to varnish your car and its bodywork?
Find detailed step-by-step instructions below:
Step 1 ► Surface Preparation
Step 2 ► Mixing the Clearcoat
Step 3 ► Applying the Clearcoat with a Spray Gun or Aerosol
Step 4 ► Drying
Types of Automotive Clearcoats for Cars, Motorcycles, and Bicycles
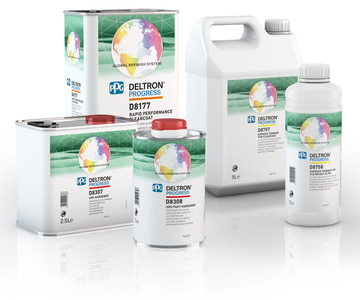
Today, almost all clearcoats in modern automotive refinishing are solvent-based, two-component (2K) acrylic polyurethane clearcoats. Cellulose clearcoats were discontinued long ago. Epoxy clearcoats do not withstand sunlight. Water-based clearcoats do not provide sufficient durability. For over 30 years, solvent-based acrylic clearcoats have dominated the market due to their abrasion resistance, UV resistance, and high gloss levels.
Main Types of Clearcoats Used Today :
- UHS fast clearcoat: Ideal for spot repairs, air-dry application, and quick vehicle turnover in workshops.
- UHS standard clearcoat: Used for full or partial repaints, suitable for all types of vehicles.
- Aerosol clearcoat: Designed for individuals without professional spray equipment.
We do not include store-bought clearcoats in this list, as they are not professional-grade or reliable.
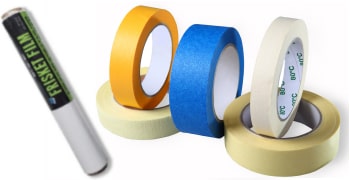
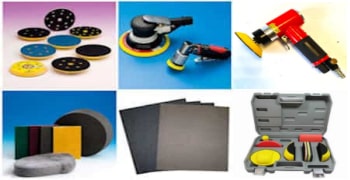
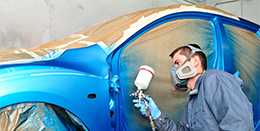
♦ P500 abrasive sheets
♦ Degreaser
♦ Tack cloth
Step 1 ► Surface Preparation
The final step in painting a car bodywork is crucial and delicate. Maximum care must be taken when preparing the surface.
Sanding
Unless the paint is clear-coated immediately in a "wet-on-wet" process, sanding is mandatory before applying the clearcoat.
P500 is the standard grit recommended in clearcoat technical data sheets.
P320 is suggested for some high-solid clearcoats.
Finer grits (P600, P800, or P1000) are not recommended, as they do not improve gloss and compromise adhesion durability.
Degreasing
If the surface has been exposed to contaminants or open air for a long time after sanding, it may have absorbed invisible dirt, grease, or silicone residues. These contaminants can cause imperfections in the freshly applied clearcoat.
Use a lint-free paper towel to apply the degreaser.
⚠ Do not let the degreaser evaporate on its own—wipe it off immediately with a dry, clean cloth.
Dust Removal
Before spraying the clearcoat, all dust must be removed. Use compressed air to blow off dust and wipe the surface with a tack cloth
♣ How to use the sticky pad?
Unfold it completely, gently crumple it into a ball, and lightly pass it over the surface without pressing. Store it properly in its bag to prevent drying out.

Step 2 ► Mixing the Clearcoat
Automotive clearcoats are two-component products, meaning curing and drying occur via a chemical reaction between the clearcoat and hardener.
Only mix the necessary amount, as the mixture remains usable for only 30 to 60 minutes.
Common Mixing Ratios
Here are a few different examples:
3:1 Ratio → 300 g clearcoat + 100 g hardener
2:1 Ratio → 1 L clearcoat + 0.5 L hardener
How to Ensure an Accurate Mixture?
Follow the technical data sheet. Mixing by weight (grams) is the most precise method, but a 5% margin of error is generally acceptable.
Stir the mixture in a figure-eight motion, then let it sit for 5 minutes before application.
Using a Graduated Mixing Cup
It is possible to use a graduated mixing cup. There are 600ml or 1400ml bodywork mixing cups printed with graduation marks for 4:1, 3:1, 2:1, or even 1:1 mixing ratios, allowing for precise mixing without the need for a scale.
1 → Select the correct mixing ratio marking (e.g., 3:1).
2 → Pour clearcoat up to the "3" mark.
3 → Add hardener up to the "1" mark.
Thinner (Reducer) Usage
Thinning is usually optional and depends on spray gun tip size.
Adding too much thinner increases sagging risk and reduces gloss.
Pot life (Usability Time)
Clearcoat must be used within 30 minutes after mixing. Beyond this, it thickens and starts curing. Faster-drying clearcoats have shorter pot lives, especially in hot temperatures.
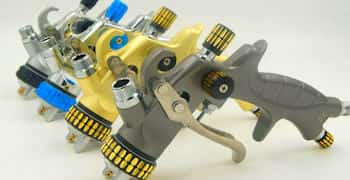
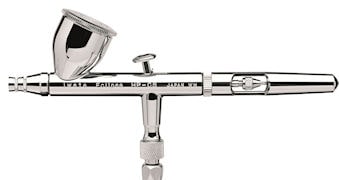
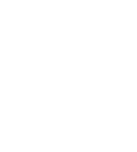
Step 3 ► Applying Clearcoat with a Spray Gun or Aerosol
It is possible to find different instructions on the labels, on the technical sheet or on the internet page of a bodywork varnish. These instructions are sometimes completely different from each other: shade of coats, suggested thickness, weight per square meter, etc. All these data designate the quantity of varnish that the painter must apply to the surface.
A Bit of Theory
To achieve a beautiful, glossy clearcoat finish, the key factor is applying the correct amount to the paintwork :
→ If too little clearcoat is applied, it will not level or smooth out properly. Additionally, an insufficient thickness will result in inadequate protection.
→ On the other hand, if too much clearcoat is applied, runs will occur initially, followed by a potential loss of gloss. Moreover, excessive thickness can weaken the paint and increase the risk of peeling or cracking.
The correct dry film thickness for a clearcoat is approximately 50 µm, which corresponds to two coats.
Some modern high-quality clearcoats (UHS) contain fewer evaporative solvents and more solid content. For these clearcoats, manufacturers sometimes recommend applying a half coat followed by a full coat, ultimately achieving a 50 µm dry thickness.
Clearcoat Spraying
Achieving a glossy clearcoat finish is primarily about applying the right amount of product to the surface. It is also essential to work in a dry atmosphere at a temperature of 15 to 25°C. Clearcoat application can still be done in cold or hot weather using specialised hardeners that we offer.
Here are practical tips for a successful automotive clearcoat application :
Set the spray gun pressure to 2.5–3 bars and fully open the spray fan pattern. Press the trigger fully to atomise the maximum amount of product. Aerosol application follows the same principle as a spray gun. The aerosol must have a flat spray nozzle.
Apply a medium coat, then wait 7 to 10 minutes before applying a second coat. This final coat must be perfectly glossy. Never apply three coats.
1 ► Keep the spray gun 15 cm from the surface
2 ► Always hold the gun perpendicular to the surface: keep your wrist flexible to follow the contours of the bodywork.
3 ► Ensure a stable and adjusted spraying speed. If the gun moves too fast, it will not spray enough clearcoat; if it moves too slowly, it will apply too much product.
4 ► Always paint from left to right, then right to left, overlapping each pass by 50%.
(image showing coat overlap technique)
 Step 4 ► Drying
Most clearcoats are designed to polymerise, dry, and harden at ambient temperature (around 20°C). Some fast-drying clearcoats can cure in 45 minutes, while most standard clearcoats take 12 to 24 hours to fully harden.
It is important to protect the clearcoat from dust and humidity during drying.
Clearcoat Drying Stages :
*Dust-Free: This is one of the earliest drying stages, specifically the point at which dust can no longer adhere to the surface.
*Touch-Dry: The clearcoat can be lightly touched or handled.
*Fully Cured: The point at which the clearcoat is considered completely dry.
*Ready for Use: The time after which the vehicle or object can be used. This is essentially the same as "fully cured"
*Complete and Optimal Hardening: A longer period (generally several days) during which the clearcoat reaches its maximum hardness.
Baking or Forced Drying
The hardening and polymerisation reaction of clearcoat can be accelerated with higher temperatures. This is not necessary to achieve a good finish but helps increase productivity in professional workshops, allowing faster turnaround times for customers.
Whether using an oven (at 40-60°C) or drying with infrared lamps or even ultraviolet lamps, it is crucial to respect the required solvent evaporation time before baking.
* A minimum of 10 minutes is needed to allow solvents to escape. If this step is skipped, the top layer of the clearcoat will seal too quickly, trapping solvents inside the film, which is the main cause of micro-bubbling defects.
Types of Automotive Clearcoats
The many advancements in clearcoat technology have led to two-component High Solid (HS) clearcoats.
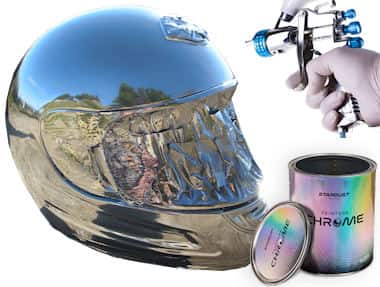
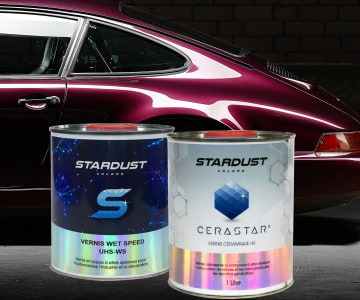
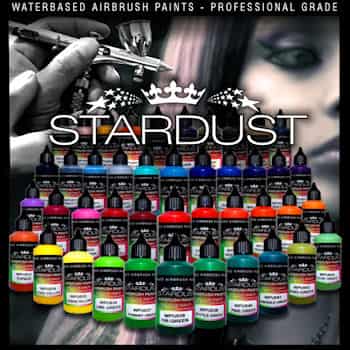
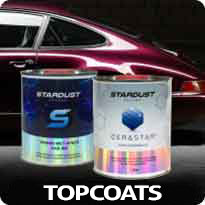
The BS range of topcoats offered by StardustColors are all 2K HS or UHS automotive topcoats, featuring exceptional hardness and high-gloss "wet look" effects. They also offer fast drying times and excellent polishing properties.
A high-quality clearcoat must have a good film thickness, a strong lacquered gloss effect, and proven durability. That is why the BS topcoats by StardustColors have been tested successfully in extreme conditions—from harsh cold in Russia to high temperatures and intense UV exposure in Greece.
We specifically offer acrylic clearcoats
What are the Best Automotive Clearcoats ?
Here is a classification of modern automotive clearcoats :
LS: Low Solid / MS: Medium Solid / HS: High Solid / UHS: Ultra High Solid


Automotive Clearcoats and their hardeners:
The StardustColors range of automotive topcoats offers a major advantage: a selection of three hardener and thinner speeds to adapt to different temperatures and object sizes :
Winter: 5 to 15°C – Fast hardener and thinner
Intermediate: 15 to 25°C – Standard hardener and thinner
Summer: 25 to 35°C – Slow hardener and thinner
The application:
There are clearcoats to be applied in 2 coats and specific single-layer topcoats (such as UHS topcoats).
Single-layer topcoat must normally be applied in a single thick coat. Meanwhile, conventional topcoats (such as HS automotive topcoats) are applied in an initial normal-thickness coat with slight dilution, creating a non-smooth adhesion layer.
After an appropriate flash-off time (between 5 and 20 minutes, depending on temperature and hardener type), the final full wet coat is applied. This coat must be thick and glossy, forming a smooth "mirror-like" finish as it dries, without running, thanks to the first layer's slight grip.
Applying clearcoat is delicate and requires experience. More importantly, it demands meticulous preparation and application. Several defects can occur: Pinholes, micro air bubbles, streaks, runs, orange peel, lack of gloss, peeling.


Tips to Avoid These Defects :
-
Meticulously clean the surface before applying clearcoat (dust, grease, silicone, wax, sanding residue).
-
Use a tack cloth to remove the last traces of dust.
-
Do not touch the surface after cleaning.
-
Ensure the undercoat is fully dry (solvent evaporation, drying of water-based basecoats).
-
Ensure the surface is not too hot
- Make sure all degreaser residues are removed.
-
Ensure that the surface before painting is completely dry
-
Ensure compatibility with underlays
-
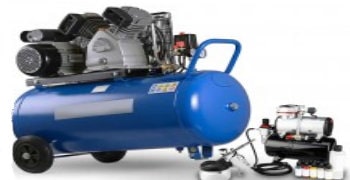
Eliminate any moisture in air hoses and compressors.
-
Purge air compressor and pressure regulator regularly.
-
Properly adjust the spray gun (air pressure and spray width).
-
Use a perfectly clean and dry spray gun
-
Use the appropriate hardener and thinner for the topcoat.
-
Use correct dosage of hardener and thinner
-
Ensure proper mixing viscosity for good flow.
-
Use the appropriate hardener and thinner for the temperature
-
Ensure correct booth temperature
-
Spray at the correct distance and under normal humidity conditions.
-
Spray under normal humidity conditions
-
Respect the proper flash-off time between coats.
-
Keep the clearcoat away from water during drying.
-
Respect the drying time before use
-
Do not dry using ventilation
-
Perform adequate sanding with a fine grit
Polishing and buffing:
StardustColors offers a complete range of professional-grade abrasive papers at wholesale prices. We also provide exclusive and ultra-fine polishing grades: 2000, 3000, and even 5000 grit!
Special car topcoats to discover:
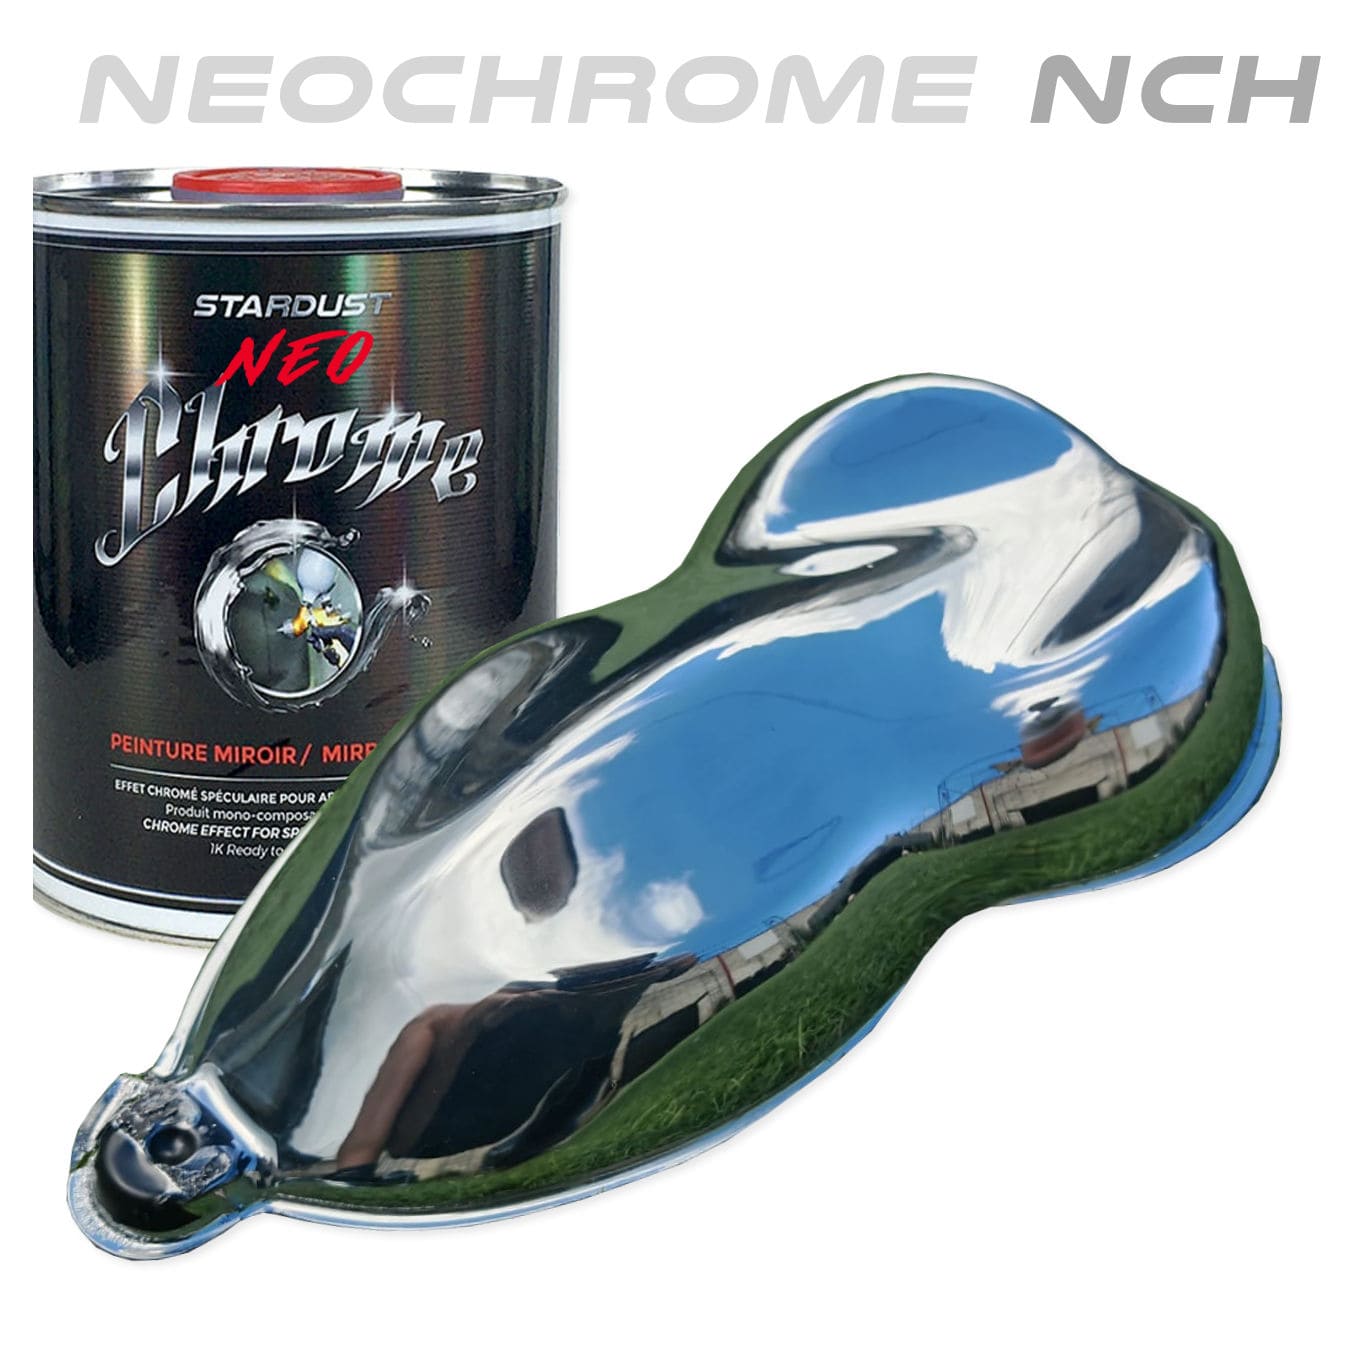
StardustColors Matte Clearcoat
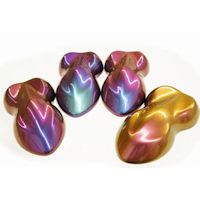
Candy clearcoats
Spray clearcoat
UHS varnish
MS varnish
HS varnish
Quick drying varnish
Bodywork varnish spray
Ceramic varnish
How to maintain the shine of a bodywork varnish?