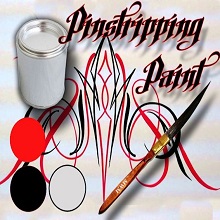


 How to apply automotive paint flakes?
This article explains how to use automotive paint flakes to create glitter paint effect.
On a wall, a designer coffee maker, or a vehicle’s bodywork, paint is considered glittered when large reflective particles catch the light and sparkle.
There are different ways to achieve a glitter effect, using simple techniques or more advanced methods requiring additional work.
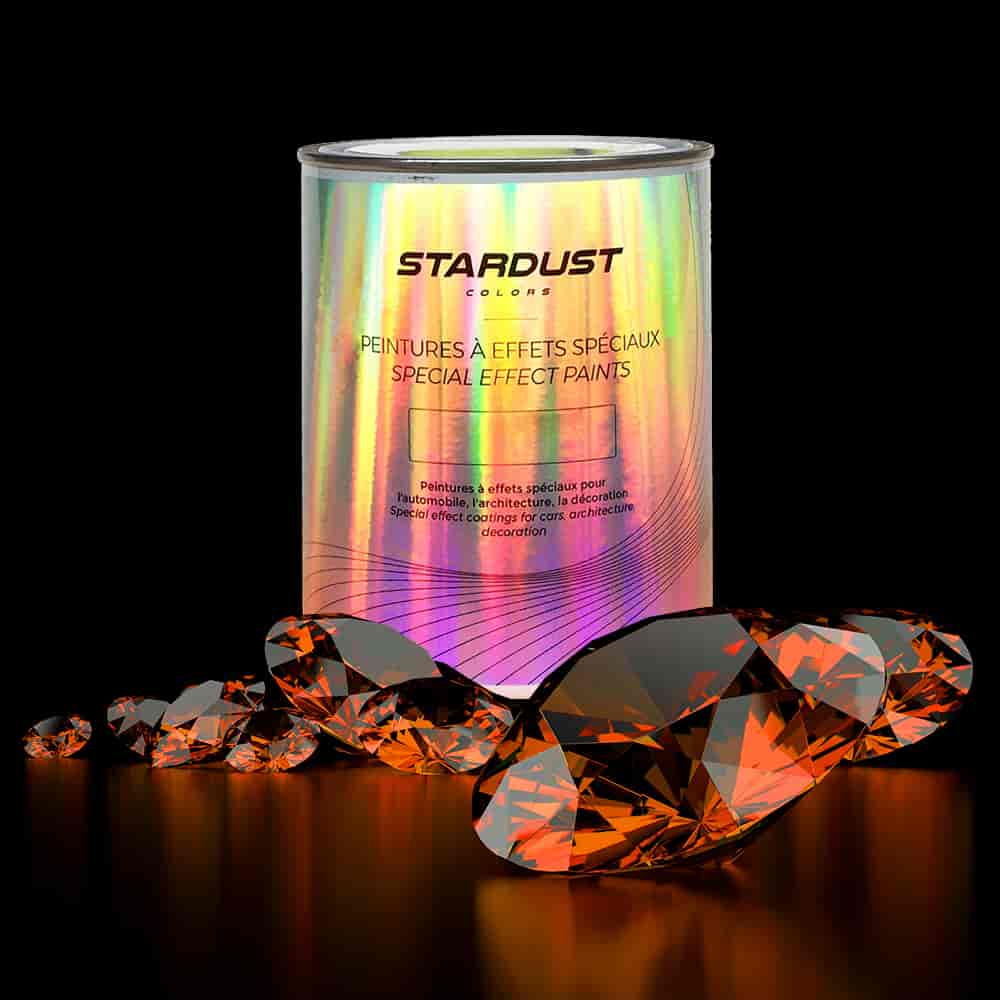
As of 2023, the use of plastic-based glitter is banned under the Microplastic Law. Stardust offers biodegradable solutions that comply with European regulations. Other types of glitter made from organic materials (aluminum, glass) are not affected by these restrictions.
|
This tutorial presents all the available solutions for achieving a glitter paint effect: 1 – Metal Flakes Glitter Painting Technique 2 – Diamond Glitter Painting Technique 3 - Cosmic or Holographic Glitter Painting Technique 4 – Wall Glitter Painting Technique |
♠ Techniques 1 and 3 involve thicker glitter particles (plastic-based or biodegradable). These large particles create unique sparkling effects, as they overlap in various directions, reflecting light intensely.
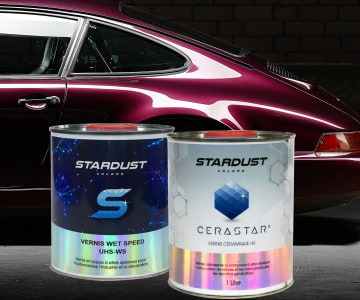
♣ Technique 2 uses glitter of the same diameter (200µm) but with a much thinner profile. Thanks to their glass-based composition, these glitter particles are much easier to apply and clear coat.
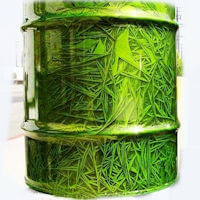
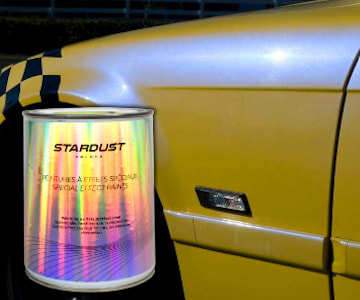
1 - Tutorial for paint a METAL FLAKES painting
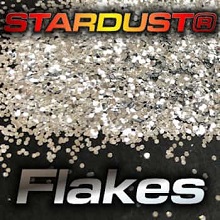
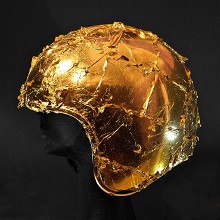
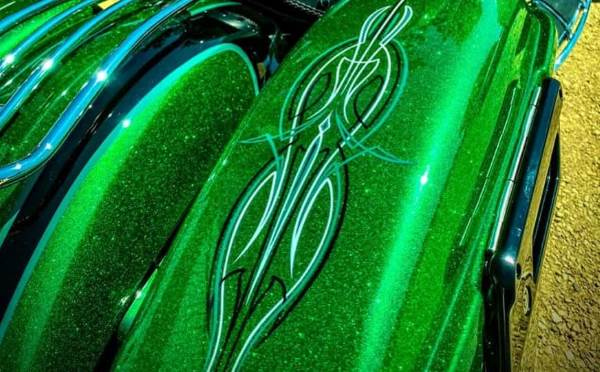
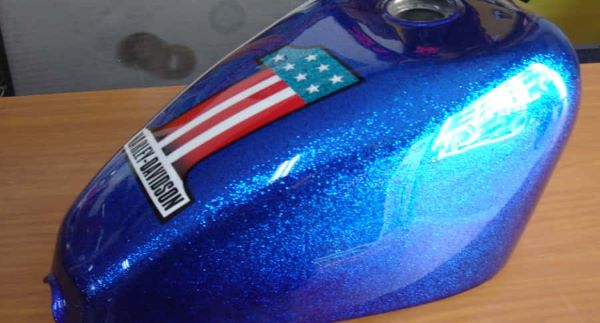
These large plastic-based glitter particles reflect light exceptionally well. They are commonly seen on Harley-Davidson motorcycles and biker helmets. They are also the same glitter used for Christmas decorations.
These polyester or biodegradable cellulose flakes range from 0.05 to 0.6mm in width and have a certain thickness. Since September 2023, their use is subject to European regulations aimed at controlling microplastic pollution.

Summary of the Traditional Application Process
Step 1► Apply the base coat
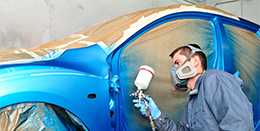
Step 2► Apply Metal Flakes using a spray gun
Step 3► Apply a colored or clear coat
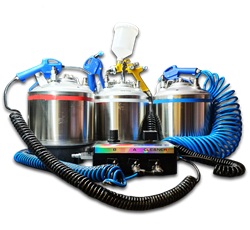
There is a dry application method with a flakebuster but it is only suitable for small objects. We strongly recommend the traditional spray gun method, where the glitter is mixed into a clearcoat or binder. This method ensures an easy application even on large surfaces, while also preventing glitter dispersion into the environment.
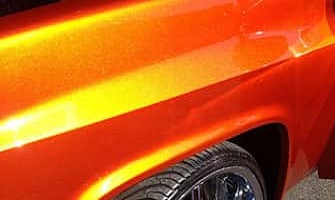
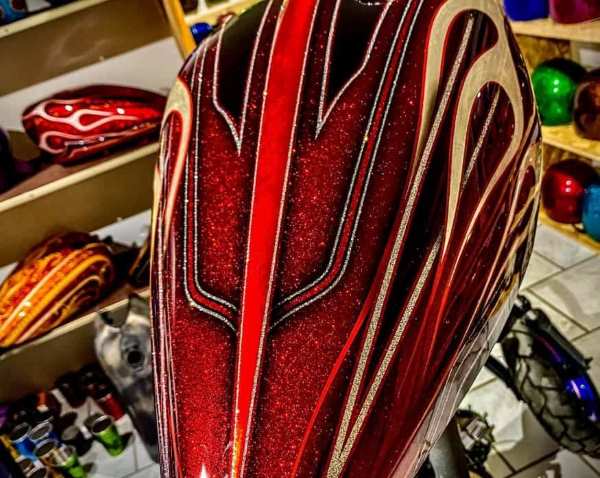
*A popular and widely used technique involves applying a Candy-colored clearcoat over silver Metal Flakes. This creates a brilliant, deep, and sparkling finish.
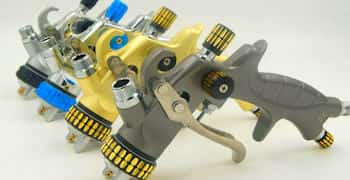
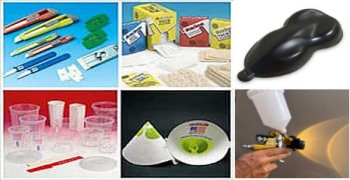
Tools and Materials Needed for Metal Flake Painting :
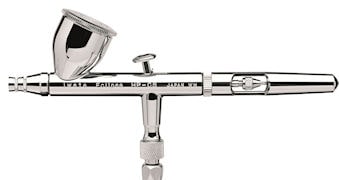
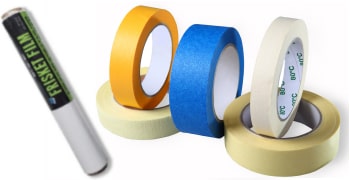
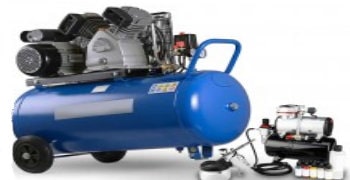
- Spray gun with a 1.4mm nozzle or larger
- Transparent binder
- Metal Flakes glitter
- Thick automotive clearcoat
Step 1► Apply the Colored or Black Base Coat
The first step is to choose a base color, which will define the overall appearance of the Metal Flake paint:
Option 1 → Black base coat:
Provides maximum depth and contrast.
Best choice for Candy effects.
Option 2 → Aluminum base coat:
Achieved with a metallic silver paint.
Enhances brightness and clarity when using silver Metal Flakes.
Option 3 → Colored base coat (e.g., red):
Used when applying colored Metal Flakes.
The flake color should match the base coat.
Metal Flakes never fully cover the base coat, as they are large, thick, and hexagonal. They overlap partially, leaving gaps between flakes.
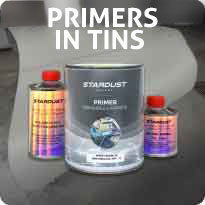
The base coat should be a primer or paint, sanded with P400 grit paper before applying glitter paint.
 Step 2 ► Applying Metal Flakes with a Spray Gun
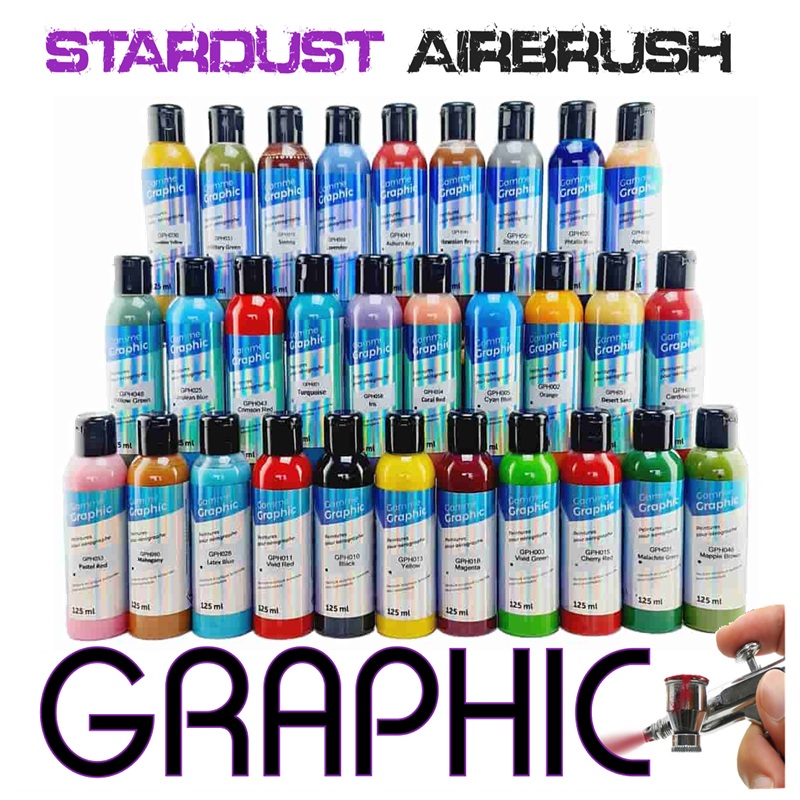
Metal Flake Types :
Stardust offers four flake sizes (50, 200, 400, and 600µm) for silver flakes and a single 200µm size for colored flakes. 200µm = 0.2mm. Flakes are available in 30g, 125g, and 1kg containers
Flakes of 200µm can be sprayed with a 1.4mm or larger spray gun nozzle.
Mixing Instructions :
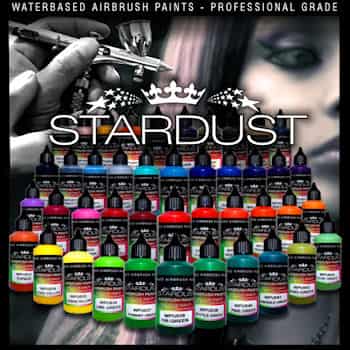
Metal Flakes can be mixed into any transparent product, such as HS transparent binder or clearcoat.
Do NOT mix Metal Flakes into opaque paint!
Once applied, only 10% of the flakes will remain visible on the surface.
Recommended Dosage : 100-125g of Metal Flakes per liter of ready-to-use product
The mixture is not meant to create a paint, but rather a sprayable solution to adhere the flakes to the surface while minimizing environmental dispersion.
Metal Flakes are heavy and thick compared to aluminum or pearl pigments.
They must be stirred frequently to prevent settling at the bottom of the mixing cup.
Coverage Estimate :
You need approximately 60/80g per square meter for a surface completely covered with Metal Flakes.
- Helmet → 30 – 60g
- Motorcycle → 250g
- Car → 1 – 1.5kg
♣ Painters can choose to apply a light glitter effect or build up layers for full coverage.
Application Guidelines
Set high air pressure: 3 bars. Remove spray gun filter. Adjust spray pattern to maximum width. Spray from a distance of 20-25cm. Apply multiple cross-coats until full coverage is achieved
Classic or special color combinations
► Here are some examples of paint finishes with Metal Flakes – a simple method to be covered with a clearcoat :
♦ Red base + Red Metal Flakes (bright and clear effect)
♦ Black base + Red Metal Flakes (deep effect)
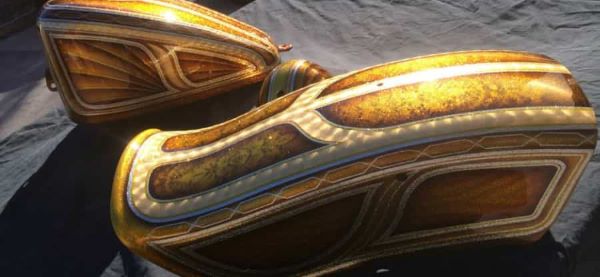
♦ Yellow base + Gold Metal Flakes
♦ White base + Transparent Silver Metal Flakes A1110
► Here are some examples of paint finishes with Metal Flakes – a simple method to be covered with a Candy colored clearcoat, to achieve a red finish:
♦ Black base + Silver Metal Flakes + Candy Red Clearcoat (deep effect)
♦ Black base + Gold Metal Flakes + Candy Red Clearcoat (deep, warm color effect)
♦ Black base + Blue Metal Flakes + Candy Red Clearcoat (deep, subtle color effect)
♦ White base + Transparent Metal Flakes A1110 + Candy Red Clearcoat (light effect)
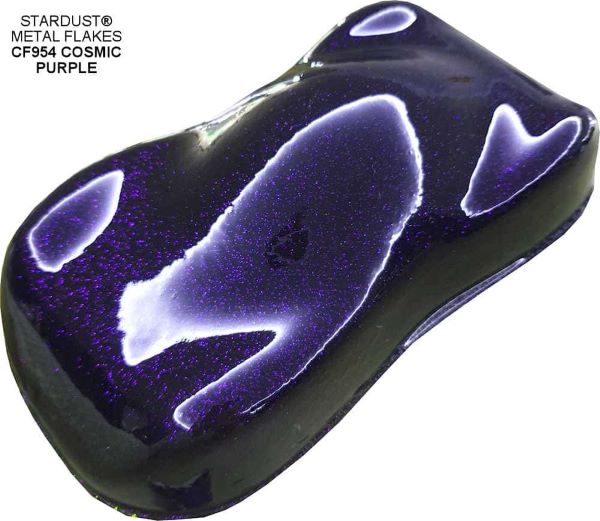
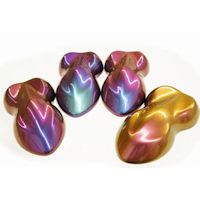
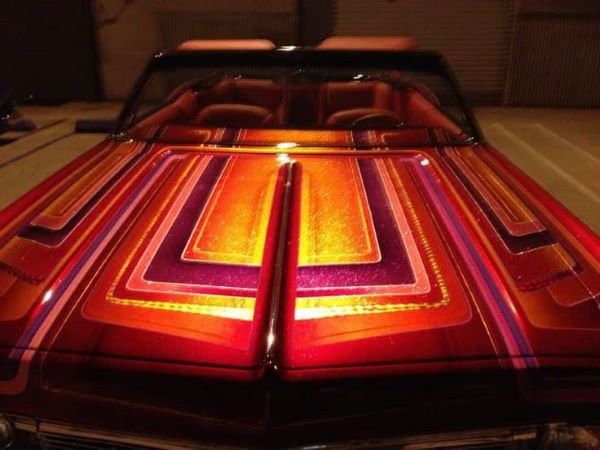
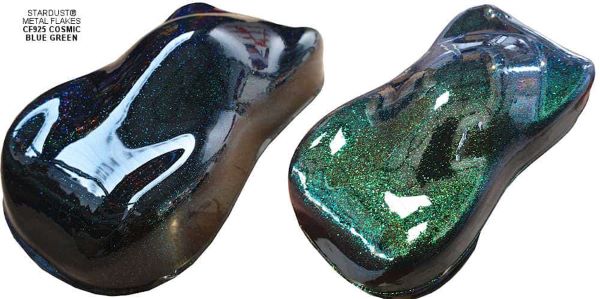
► Here are some examples of paint finishes with “COSMIC” Metal Flakes which are transparent, interference, and chameleon-like :
♦ Black base + Cosmic Metal Flakes (deep effect + color shift)
♦ Red base + Cosmic Metal Flakes (bright colors with color shift effect)
♦ White base + Cosmic Metal Flakes (white color with opalescent reflections)
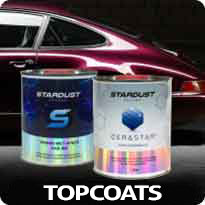
Step 3► Applying the Colored or Clear Coat
After applying the flakes, the surface will be very rough. Unless it is a decorative or temporary application, a clearcoat is essential to protect and enhance the effect.
♣ Sanding the flakes before applying the clearcoat is neither necessary nor possible. The clearcoat will adhere perfectly to this highly textured surface.
5 to 8 Clearcoat Layers!
Generally, 5 to 8 layers of clearcoat are required to level and seal the glitter paint properly.
This means at least 2 or 3 separate clear-coating sessions over 2 or 3 days.
Applying all the clear coats in a single day is not recommended (risk of gloss loss, micro-bubbling).
Here’s how the clear-coating process should be done:
Day 1 → Apply 3 coats of clearcoat
Day 2 → Sand with a green abrasive sponge, then apply 2 additional clearcoats
Day 3 → Sand with P500 grit, then apply 2 final coats of clearcoat
Tips and advice
⚠ Always allow sufficient time for solvent evaporation between clearcoat layers: 7 to 10 minutes.
♣ To speed up the process, a fast-drying Wet Speed Clearcoat can be used, which dries in one hour.
♣ To reduce the number of layers required, a very high-solids clearcoat such as SUHS ST6000 ultra-thick clearcoat can be used.
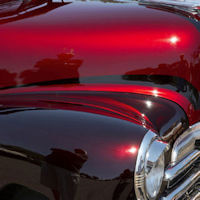
Candy Clearcoat Over Flakes
Applying a colored and transparent clearcoat over Metal Flakes creates an extraordinary finish.
To achieve this, clearcoat is mixed with about 6% concentrated Candy ink. Apply 3 coats for a vibrant color, or 4 coats for a deep and dark effect.
♣ It is recommended to apply the Candy clearcoat first (4 coats), followed by the final clearcoat (2 coats).
 2 - Tutorial for painting a “Diamond” glitter painting
The process of painting with diamond glitter is simple:
Step 1 ► Apply the base coat
Step 2 ► Mix the glitter into the binder
Step 3 ► Apply the glitter using a paint spray gun
Step 4 ► Apply the clearcoat
This new type of glitter is much easier to use: Diamond glitter provides an equally powerful sparkling effect and has similar sizes and diameters.
The main difference lies in its transparency and its thickness, which is less than a tenth of the thickness of a human hair, whereas plastic glitter is thick and heavy.
Its transparency offers a major advantage: it is almost invisible and does not alter the base color.
Appearance, effect and composition
This high-end pigment comes in the form of an ultralight pearlescent powder, either colorless or whitish. However, it produces vibrant colors when reflecting light.
This transparent glitter is called "Diamond Glitter" because it consists of flakes made from glass. It is completely UV-resistant and withstands high temperatures up to several hundred degrees.
Sizes and colors
It is available in fine sizes (starting from 0.1mm), resembling large pearlescent flakes, or in larger grains of 0.2mm and 0.5mm. All these glitters can be sprayed using a standard paint spray gun fitted with a 1.4 – 1.8mm nozzle.
The available colors are Rosy Red, Violet, Green, Blue, Gold, and Transparent White*.
When applied over a black base, the white glitter takes on a silver appearance.
Tool and consumables
To apply diamond glitter, a paint spray gun with a nozzle size ranging from 1.0 to 1.5mm can be used. Diamond glitter is best mixed into a binder or in small amounts into the final clearcoat.
Step 1 ► Apply the Base Coat
To ensure proper use of diamond glitter, the first step is to paint the base. This base coat can be any type of paint,2K paint, or primer.
We recommend a 1K basecoat, for which it is possible to choose a colored version according to any shade from the RAL or PANTONE color charts.
It is essential to use an opaque and simple paint. Diamond glitter cannot be applied over metallic or pearlescent paint, as the two effects cancel each other out.
Many color combinations can be created by choosing the base color and the glitter color.
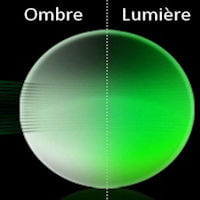
Diamond glitter is identified by its color. This color will be visible when applied over a black background and/or when illuminated by direct light. The darker the base, the more visible the glitter.
On all other base colors, the glitter color will only be visible under direct light exposure. In the shade, only the base color will be apparent.
Diamond glitter does not alter the base color since it is transparent, except when multiple layers are applied.
When using diamond glitter on colored bases, it is more effective to mix contrasting colors rather than using the same color for both the base and the glitter. This creates an interfering color reflection. For example :
- Red base → Gold Diamond Glitter
- Green base → Gold Diamond Glitter
- Blue base → Violet Diamond Glitter
- Yellow base → Green Diamond Glitter
Step 2: Mixing, Coverage, and dosage
To apply the glitter to a surface, simply mix it into any clearcoat or into a transparent MS binder.
Diamond Glitter is highly concentrated. Thus, 25g of transparent glitter provides the same coverage as 200g of Metal Flake glitter.
→ For a light effect: 5-10g per liter in a gloss clearcoat.
→ For full coverage: 25-40g per liter in the binder.
Stir well before use.
Step 3 ► Applying the diamond glitter
Version 1K
The mixture of diamond glitter and binder is applied similarly to pearlescent or metallic paint, in thin or medium layers, repeated every 2 to 5 minutes until the desired effect is achieved.
Version 2K
When diamond glitter is mixed into clearcoat, it is necessary to follow clearcoat application techniques: generally, apply 2 coats with a 10-minute interval. Applying more layers is not recommended, as this may result in loss of gloss, dripping, or shifting of the pearlescent particles.
Step 4: Clear Coating
This final step is not mandatory if the glitter was already mixed into the clearcoat.
However, it is necessary when glitter has been applied in a single-component mixture. Once dry, the paint film develops a matte finish, and the glitter effect diminishes. Applying a clearcoat restores the sparkling effect and protects the paint from abrasion and weather conditions.
Unlike Metal Flakes glitter, diamond glitter is very easy to clear coat, following a standard method with two layers of clearcoat.
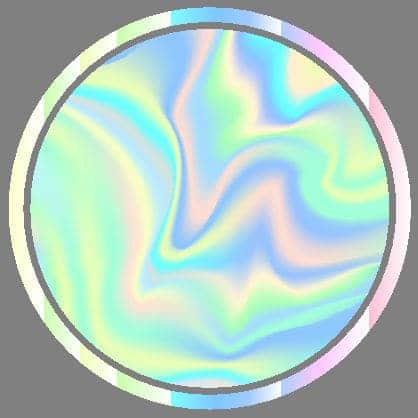
 3 - Tutorial for painting with “Cosmic” or holographic glitter
There are other types of glitter, most of which belong to the Metal Flakes family. These are different, special, and create unique effects.
These glitters are applied in almost the same way as other Metal Flakes. Here are some specific tips for these special colors:
Characteristics:
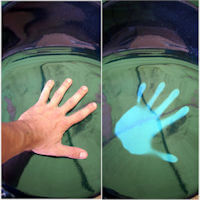
These are made of plastic or biodegradable material and produce color-shifting reflections, sometimes multicolored effects. They preserve the base color while creating a colored reflection on the surface.
The size of these flakes is similar to Metal Flakes (200µm). However, their thickness is half as much, meaning:
Less product is needed for mixing
Clear coating requires fewer layers
These flakes are fully UV-resistant.
Color combination:
→ Black base: This is the recommended color to reveal the full multicolor effect of the flakes.
→ colored base: Since these flakes are transparent, they preserve the base color while adding a color-shifting reflection depending on the viewing angle.
→ white base: Creates a "shell effect" with multicolor reflections.
Do not apply on metallic or pearlescent bases.
Mixing
Depending on the desired coverage, mix 30 to 80g per liter of binder.
For light effects, mixing into clearcoat is possible (30 – 50g max).
Clear Coating
No sanding is required or possible before applying the clearcoat.
Generally, 4 layers of clearcoat are enough to cover and level the glitter paint.
If using a glitter clearcoat, then only 2 layers are needed.
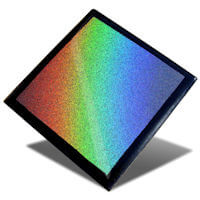
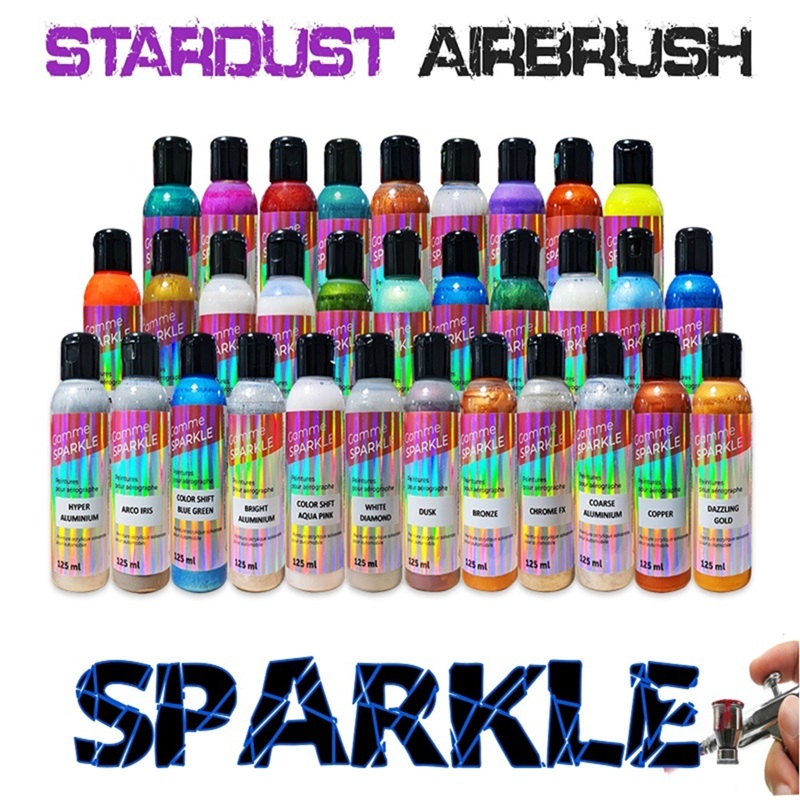
These glitters create rainbow-like reflections. They are available in various sizes, with the classic plastic or biodegradable material for larger flakes, and ultrafine aluminum-based pigments for smaller ones. Most holographic flakes are opaque, but a transparent version is available.
The size and thickness of these flakes are similar to Metal Flakes (200µm).
For the silver version, finer sizes are available.
A transparent version also exists.
These flakes are not fully UV-resistant, except for the silver color.
Color combination:
→ black base: The best choice to maximize the rainbow effect. The black base remains visible between the flakes, creating a deep effect.
→ colored base: These flakes are opaque, so they can be applied over a colored base without altering it, as long as only a small amount of flakes is used (1 or 2 coats).
→ white base: not recommended
→ Metallic or pearlescent base: Holographic flakes can be applied over a metallic or pearlescent base (e.g., aluminum or colored metallic paint). This is an excellent option for creating a bright, light-colored finish.
Mixing
Depending on the desired coverage, mix 30 to 80g per liter of binder.
For light effects, mixing into clearcoat is possible (30 – 50g max).
Clear Coating
No sanding is required or possible before applying the clearcoat.
Typically, 3 to 6 layers of clearcoat are needed to cover and level the glitter paint.
If using a glitter clearcoat, then only 2 layers are required.
4 – Tutorial for Painting a Glitter Wall
To achieve this, any type of glitter mentioned earlier in this guide can be used.
For interior wall painting, a transparent base coat or solvent-free, odor-free clearcoat should be used, mixed with glitter.
♣ It is not recommended to use reflective glitters (COSMIC, DIAMOND, HOLOGRAPHIC) if there is no direct lighting in the room to enhance their effect.
A glossy clearcoat increases the glitter effect, while a matte or satin clearcoat reduces it.
However, for indoor wall surfaces, a glossy finish is less suitable. We recommend using a matt binder or clearcoat
Mixing
For an even, light application, the binder should not be overloaded with glitter. Do not exceed 30 to 50g per liter.
Application
For professional applications, an Airless spray gun with a liquid acrylic binder can be used.
Clear Coating
Glitter can be applied to a wall in a single step, and a clearcoat is not necessarily required. However, if a smoother texture is desired, a clearcoat can be added to remove the rough texture created by the glitter.