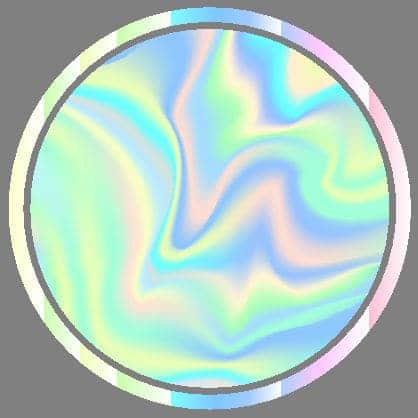


How to apply Lexan bodywork paint?
.jpg)
This is a complete and detailed tutorial covering the different steps, techniques, and products used to paint a miniature body with Lexan paint for RC modeling. The design and customization of radio-controlled vehicle bodies are done on the inside of this unique, glossy, and transparent plastic called Lexan. The application of Lexan-specific paints is primarily done using an airbrush and, in some specific cases, a brush. Since the paint is applied to the inner side of the Lexan, the order of the steps in a conventional painting process is reversed. At the end of this article, I invite you to watch a full tutorial video.
Summary of steps
► Step 1: preparing the Lexan before painting
► Step 2: masking before painting
► Step 3: creating the design
► Step 4: cutting
► Step 5: Airbrush Painting on Lexan
► Step 6: final painting
How to Paint Lexan and Miniature Bodies?
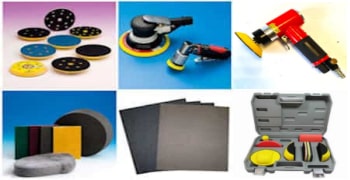
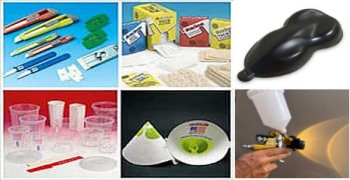
Step 1 / Preparing the Lexan before painting
.jpg)
TThe first step in preparation before painting is to properly prepare the Lexan. The goal is to ensure optimal adhesion of Lexan paints. In radio-controlled modeling, bodies and their paint jobs endure significant stress, such as tension, impacts, and even high temperatures. This is why I always take the utmost care with this step.
I always begin by sanding the inside of the Lexan body. As with all plastics, using sandpaper is not recommended. Instead, I use abrasive sponges, Among the various sponge grits available, I recommend the gray sponge, which corresponds to a fine sanding grit. It is also possible to use a coarser grit with the green sponge. The advantage of an abrasive sponge is that it creates micro-scratches for adhesion, even in areas with complex angles and reliefs inside the body.
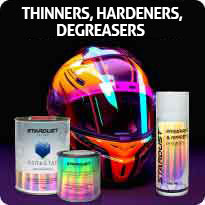
TNext, to ensure maximum adhesion of the paint, I meticulously degrease the surface. This removes all invisible contaminants, such as fingerprints, glue or plasticizer residues, silicones, and other types of grease. I use strong solvents like naphtha (Essence C) or Bodywork Paint Degreaser because they are highly effective against silicones and glues while preserving the transparency and strength of the Lexan. Highly effective Hydro-based degreasers. are also available. Some painters even use detergent, and based on my experience, this method can yield very reliable results.
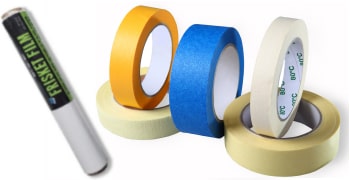
Step 2 / Masking before painting
.jpg)
In RC modeling paintwork, it is uncommon to use adhesive tapes as in motorcycle or helmet customization. For Lexan bodies, I do not use fine line tapes or masking tape, but rather liquid mask. I find that liquid mask offers a major advantage: it is easy to apply quickly, regardless of the shape and angles of the body.
For this, I use Hikari Liquid Mask, a slightly thick product that must be applied in a thick coat. I apply it using a paint spray gun with a 1.4 mm nozzle. This liquid masking product can also be applied with a small spray gun or even an airbrush, provided it is diluted by 10-20% with water. Liquid mask can appear whitish, pinkish, or even bluish, but it becomes transparent once dry. It dries fairly quickly at a moderate temperature of 20°C, allowing me to start my designs within about an hour.
I recommend applying a sufficiently thick layer because if the layer is too thin, the dried film may tear when peeled off. I use a pressure of 3 to 3.5 bar and apply 2 or 3 uniform coats.
Step 3 / Creating the design
.jpg)
There are no special instructions for this step, other than to let your creativity flow. But I'll give you a few tips, starting with a fine-tipped marker. Plan to create colored lines with a thickness of 3 to 6 millimeters to delineate the different color zones. For my part, I always try to visualize all the stages of the color succession completely and in detail. To do this, I take the colors into account by applying (with the exception of lines, of course) light or transparent colors first, rather than dark colors. Once my plan of action has been verified and validated, I move on to the layout of the design.
As regards design symmetry, I always start by making a line in the center of the body in Lexan and create my design on one of the sides. I then transfer the line to the opposite side of the body using paper masking tape. All that's left is to follow and draw the design with my fine-tip marker on the inside of my dry liquid masking. The result is a perfectly symmetrical design.
Step 4 / Cutting
For cutting, I use a scalpel and always recommend using a new blade to ensure clean and effortless cuts. Never apply excessive pressure, as cutting too deeply can weaken the body.
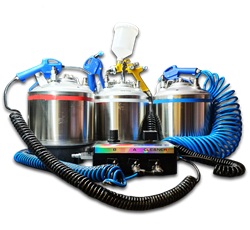
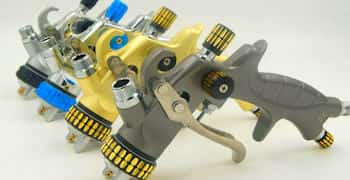
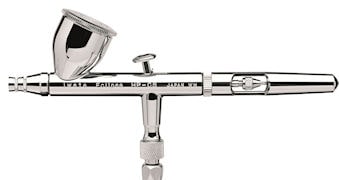
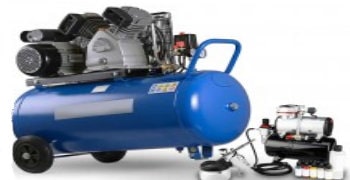
Step 5 / Airbrushing the Paint on Lexan
.jpg)
There are several ways to apply paint using an airbrush:
Sometimes, I prefer to start with a thin adhesion layer before applying one or two thicker coats. When pressed for time, I apply the paint directly in two coats. To accelerate drying and prevent drips, I often use a hairdryer. A pro tip I highly recommend is to briefly blow warm air over the plastic, the liquid mask, or even the paint itself before applying the next coat. This trick improves adhesion and helps the paint settle better. However, be careful not to overdo it—excessive heat or prolonged exposure too close to the surface can cause paint cracking.
For most RC modeling designs, the first step is to paint the lines, which can be black, red, white, or any other color depending on the project. These outlines will appear first on the finished body.
I then follow a systematic process:
After applying each color, I methodically remove the masking areas one by one. Next, I apply the next layer of paint, making sure to maintain proper drying times.
⚠️ Important Tip!
Never let the paint dry for more than 12 hours before peeling off the mask! If the paint dries completely, it will harden and make peeling difficult, potentially damaging the design. I usually remove the mask when the paint is still tacky but not fully dry—at the "sticky" stage.
Custom Airbrush Effects
There are many techniques to create eye-catching custom effects on RC car bodies. Here are a few tricks I use:
Paint Splatter Effect: Using a brush to flick paint onto the surface creates a cool "racing" style.
Flying Stencils: A non-adhesive stencil held by hand and moved around while spraying gives unique patterns.
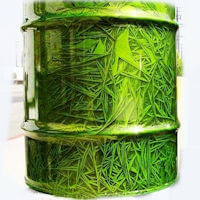
Marbling Effect: I place fibrous material (like steel wool) over the body and airbrush a contrasting black coat through it. By shifting or removing sections, I create organic-looking marble patterns.
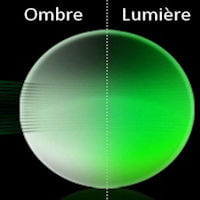
Shading: A light mist of black paint along the edges of masked areas creates a 3D illusion of depth.
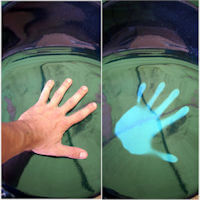
Water Drop Effect:I spray water droplets onto the surface. I then airbrush a thin layer of black paint over them. Once dried, I apply a metallic aluminum coat, which enhances the drop effect beautifully.
How to Layer Colors Correctly?
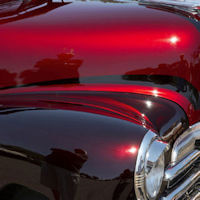
Some paints, especially Candy colors, tend to bleed into other layers. Since Candy paints are made of dyes rather than pigments, they can migrate through layers, even after drying.
To prevent this issue, I use a BLOCKER coat, which acts as a sealing barrier to stop unwanted color migration.
In the reverse-layering process of painting Lexan bodies, I also carefully consider coverage and transparency:
White and black are completely opaque.
Some yellows and reds are semi-opaque or less covering.
Pro Tip: To ensure a solid final color, I sometimes apply a thin white layer ("backing") before painting over it. This prevents underlying colors from altering the top layers.
⚠️ Be careful not to create excessive paint thickness! If too many layers are built up over the liquid mask, the paint becomes too thick and rigid. This makes it harder to remove the mask cleanly, which could lead to rough or torn edges in the design. That's why I always plan the painting process carefully before starting.
Step 6 / Final painting
.jpg)
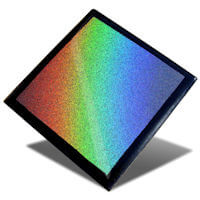
Once all the colors have been applied and the masking has been removed, I typically apply a light and opaque base coat over the entire Lexan body. While this background layer may be visible in certain areas when viewed from the outside, its main purpose is to create a uniform and opaque foundation that enhances the vibrancy and clarity of the colors.
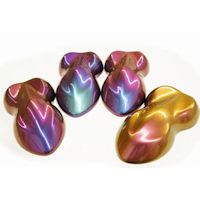
Of course, a white background coat is mandatory if I previously used fluorescent or very light pearlescent paints. It is always important to apply the recommended base color for certain special effects. In many cases, such as with chameleon paints, a black background is required.
Since these painted bodies are designed for RC racing, often with nitro-powered engines, the paint must withstand:
Exhaust fumes
High temperatures
Fuel splashes
To protect the entire design, I apply a NITROBLOCK protective layer, which is specifically designed to resist all types of fuel exposure.
NITROBLOCK is a thick, white, opaque product with a strong ammonia-like odor. I apply it using a paint spray gun. Since it is water-dilutable, it can also be applied with an airbrush. However, for optimal thickness and durability, a paint spray gun is the fastest and most effective method.
The Unique Flexibility of Lexan Paints :
One of the key characteristics of Lexan-specific paints is their exceptional flexibility, even after weeks or months of drying and curing. This flexibility is critical because it prevents the paint from cracking when the body bends or flexes during a race.
One of the things I demand of my paints is impeccable adhesion to Lexan. The designs I create for customers are often the fruit of several hours or days' work, and the paints must be guaranteed. That's why I only use paints specifically designed for Lexan!