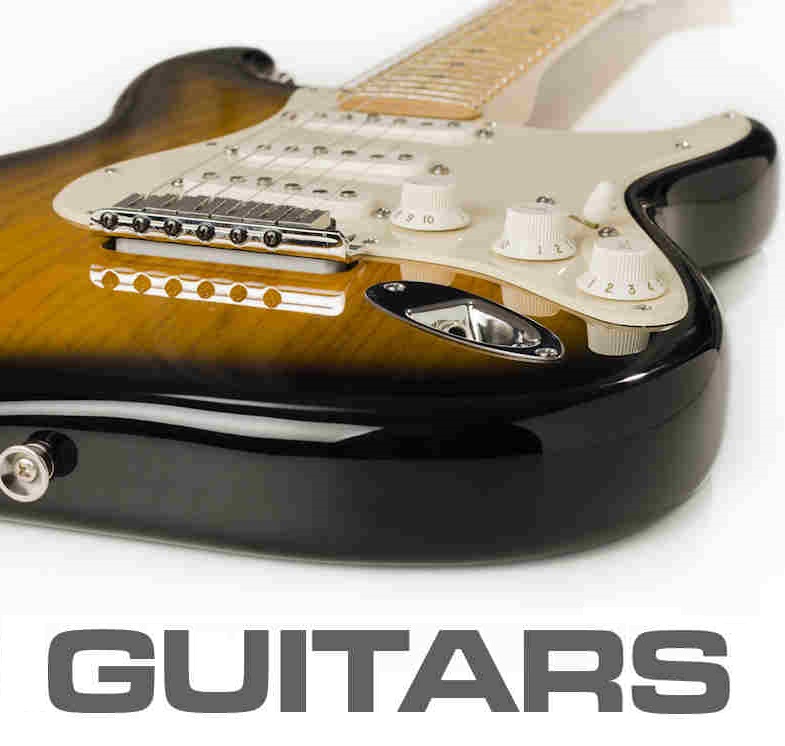


Tutorial: how to apply paint on a guitar?
Here is a complete tutorial I have written for those who wish to paint and customize their guitar with different types of special effect guitar paints.
This article on guitar tuning is aimed at both beginners in the field of painting and experienced artisans and painters working in the field of luthiery.
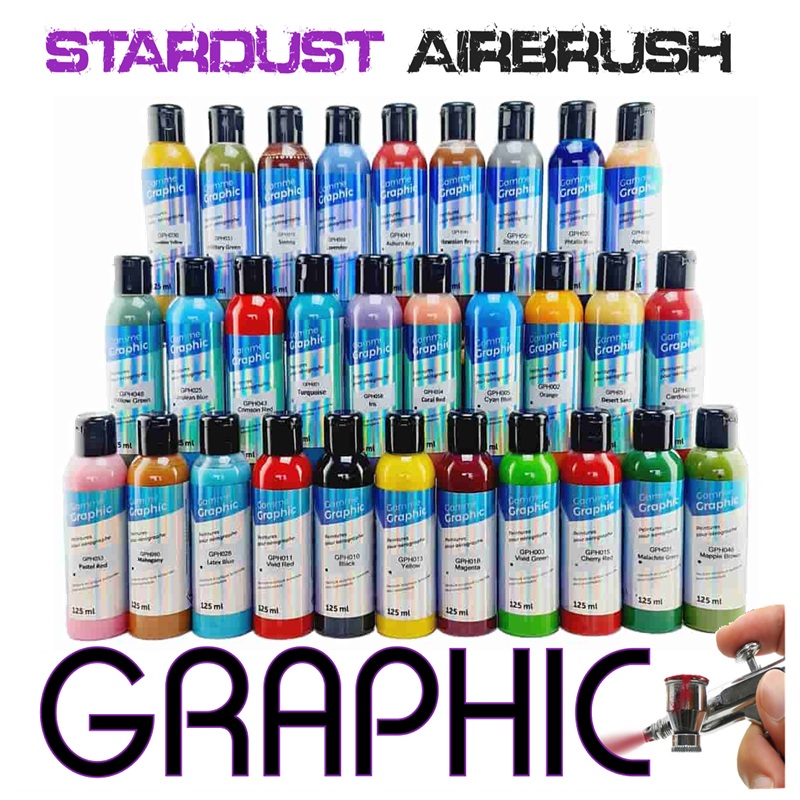
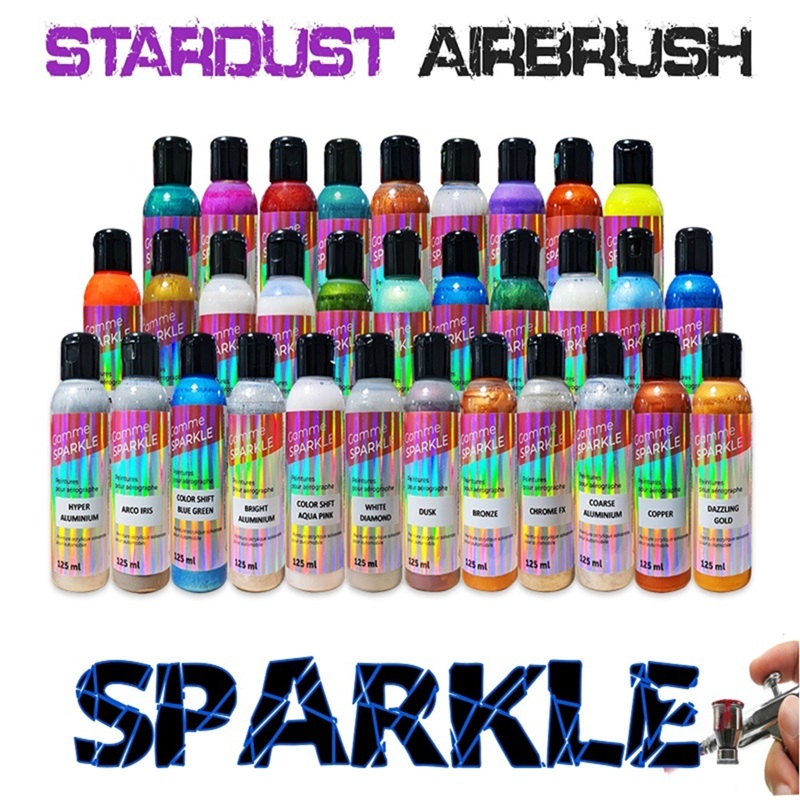
I present the different steps and products that allow you to paint a guitar, using professional Stardust brand paints and, in general, any high-quality professional paint.
Guitar Tuning: summary of the steps for painting a guitar
Step 1 ► Prepare the surface (light sanding or stripping)
Step 2 ► Apply a base coat (primer or paint)
Step 3 ► Apply the effect paint (I will show different cases)
Step 4 ► Apply the clearcoat
You will find the details of these steps below in the article.
Whether painting a car body, a bicycle, a drum set, or undertaking a guitar painting project, the processes and techniques remain largely the same. This is because, in reality, the paint adheres to a primer, not directly to the wood, metal, or any other material of the object being painted!
I believe that automotive-type finishes (which are mostly solvent-based acrylics) are the only modern products capable of offering maximum durability and gloss.
To summarize, a complex paint job, or more precisely an effect paint, is completed in 3 steps (base coat / effect paint / clearcoat), whereas a simple paint job (2K paint) can be completed in just 1 step.
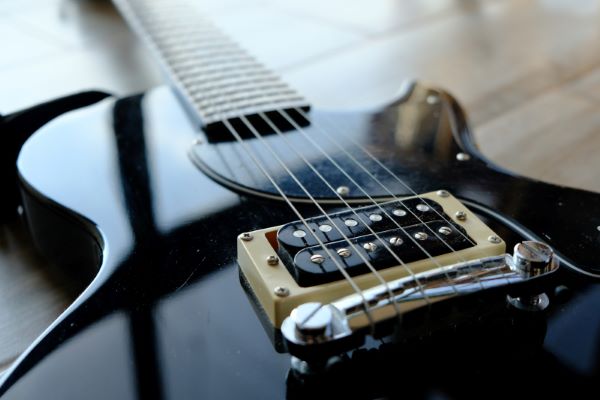
Tools Needed for Painting a Guitar:
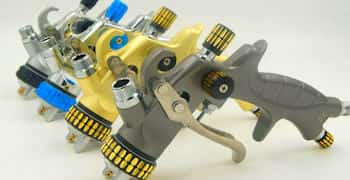
♦ A paint spray gun (with the necessary compressor)
♦ 220 / 320 / 400 / 500 / 800 grit Sandpaper
♦ Sanding block
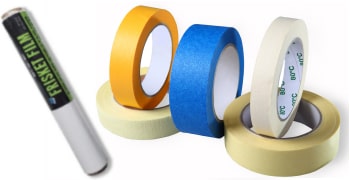
♦ Masking tape
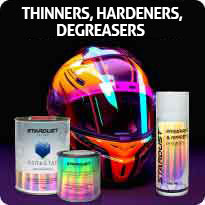
Products Required for Painting a Guitar
♦ Primer (in spray can or liquid form)
♦ Wood impregnation clearcoat
♦ Effect paint and thinner (or ready-to-use paint)
♦ Polyurethane clearcoat
♦ Cleaning thinner for the spray gun
Application Methods
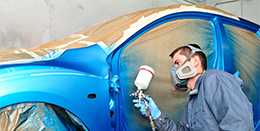
In this article, I will not cover application methods other than spraying. I strongly advise against using brushes or rollers and recommend working at a distance without touching the surface! This is the major difference when painting with a spray gun, airbrush, or even an aerosol can: the paints are atomized and projected. In contrast, using a brush or roller inevitably leaves marks and streaks. Moreover, for effect paints—the same used for vehicle customization—the paints must be sprayed.
Step 1 ► Prepare the Surface
Preparation is essential: First, assess your guitar’s current state to determine the necessary steps and strategy for establishing a solid painting foundation. Observe whether the wood is raw, varnished, or already painted. You should have a clear idea of your project and the paint you plan to apply to choose the appropriate base color.
The guitar's headstock, body and neck are generally made of wood (spruce, cedar, mahogany, rosewood, oak, maple). The type of wood doesn't really matter, as you'll prepare it as follows:
1 / If the Wood is Bare
► If you want to keep transparency:
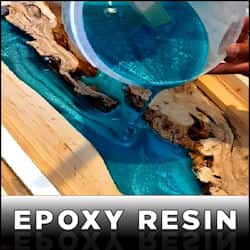
If the guitar wood is raw, meaning there is no clearcoat, primer, hard sealer, or previous coating, then you should apply a wood impregnation product. This could be an epoxy resin for wood, or a simple acrylic wood clearcoat. This step is crucial to seal and prepare this porous material.
Start by sanding with P400 sandpaper. Vacuum or blow away dust and sanding residues using compressed air.
Next, apply two coats of clearcoat, waiting 30 minutes between each coat. If the first coat is completely absorbed, you may apply a second and even a third coat to create a solid impregnation layer and a perfectly smooth base.
If you plan to keep the natural wood appearance and apply a matte or glossy clearcoat, you can skip the next steps and refer to our guitar varnishing tutorial at the end of this article.
► If you plan to apply paint:
You will likely not need to maintain the natural wood appearance.
In this case, I recommend using a filling primer. This is an opaque and thick product available as a solvent-based aerosol or liquid for spray gun application.
This product helps fill the wood pores and minor imperfections while creating a thick layer that can be sanded after drying. It dries quickly and is easy to sand.
Additionally, primer comes in various base colors (white, gray, black), which is particularly useful when preparing a base for special effect paints (metallic, chrome, chameleon, fluorescent, etc.).
Sanding
Sanding is a crucial step with two main purposes:
- To create a smooth and paint-ready surface.
- To ensure proper adhesion of the next layer, ensuring long-term durability.
Use P400-500 sandpaper. You may also use an electric or pneumatic sander, but keep in mind that for a custom guitar painting project, you should not sand with a finer grit than P500 at this stage.
♣ Important! When sanding flat surfaces, use a sanding block to maintain an even surface. Sanding with your hand alone will not effectively remove all defects.
2 / If the Surface is Already Painted
In this case, you do not need to apply a primer or any additional product. Instead, lightly sand the surface to promote adhesion, then proceed directly to painting.
If the surface has scratches, holes, or uneven areas, apply 2 to 3 coats of filling primer to smooth out imperfections. This is the same product used in car bodywork over filler to prepare surfaces before painting.
Step 2 ► Apply a base coat (primer or paint)
In a guitar tuning project, the base coat involves applying a uniform color over the entire guitar body. This step is necessary for special effect paints.
This is unnecessary if simply varnishing the wood or applying a solid-color 2K paint.
Why apply a Base Coat in a Guitar Painting System?
Since the base coat is a color layer, its purpose is to prepare the specific base color required for the effect paint. Most effect paints are semi-transparent, meaning they need a specific base color.
Here are some examples :
♣ Fluorescent paint ► White base
♣ Chameleon paint ► Black base
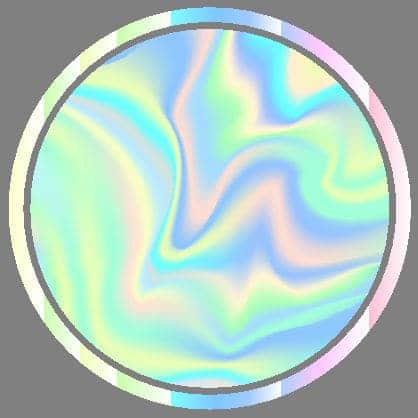
♣ Pearlescent paint ► Black or white base (depending on shade)
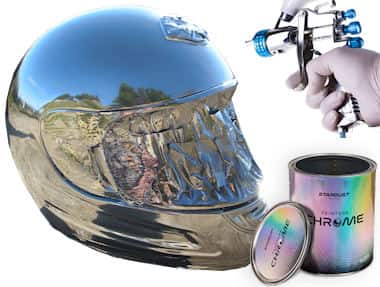
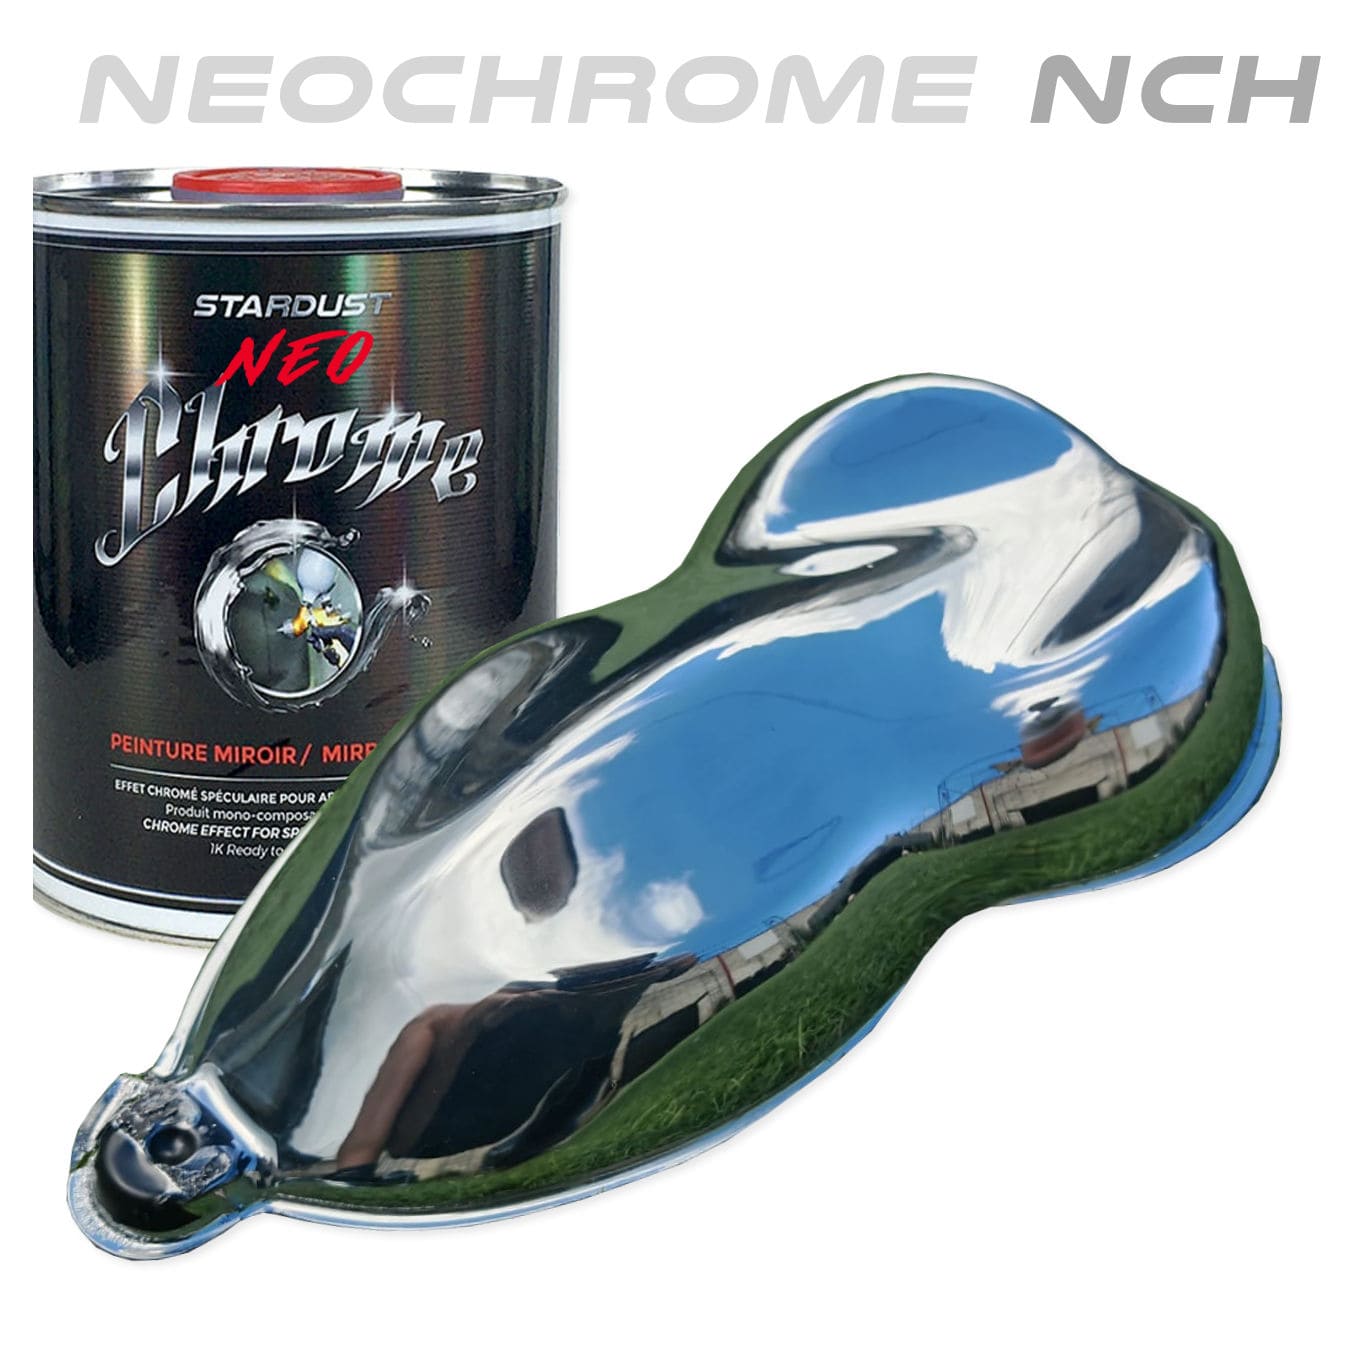
♣ Chrome paint ► Glossy black base
♣ Glitter paint ► Black or colored base
The use of primer allows you to establish a homogeneous white or black base color. However, for some special effect paints, I advise you to apply a deep black paint, that is to say a pure black. And for this, several choices are available to you, with small packaging:
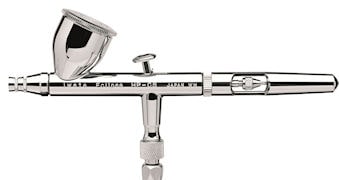
Application is done with a paint spray gun or aerosol. I do not recommend using an airbrush*.
Once your base is dry, do a surface sanding with 500 grit paper. You are now ready to paint the effect paint!
Step 3 ► Applying Special effect paint
There is now a wide range of paints known as "special effect paints." If you would like to learn more, you can download the PDF catalog here to explore nearly all the options available today.
Applying a special effect paint is typically done using a standard pneumatic spray gun with a 1.4 mm nozzle size. However, for most special effect paints, it is also possible to use finer nozzles, such as 1.0 mm, for greater precision.
We offer mini spray guns ranging from 0.8 – 1.0 mm which are highly efficient and perfectly suited for painting a guitar.
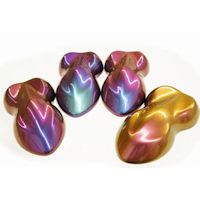
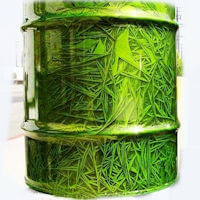
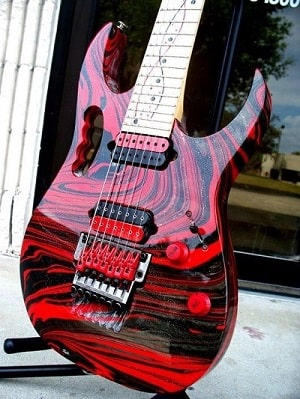
♣ METAL FLAKES effect
To create glitter paint finish on a guitar, specialized glitter particles known as Metal Flakes are used.
For the best results, I recommend using a black base coat to create a sense of depth. Alternatively, you can use a base color that matches the glitter for a vibrant, color-intense effect.
There are two main methods for applying Metal Flakes to a guitar (detailed step-by-step instructions are available on the Metal Flakes product page):
1/ Using a 1.4mm spray gun, Mix the Metal Flakes into a binder. Spray multiple layers onto the guitar until the base coat is fully covered.
2/ Using an airbrush, the mini FlakeBuster tool can be used to dry-spray the flakes directly onto freshly applied clearcoat, ensuring proper adhesion.
On silver Metal Flakes, a Candy clearcoat can be applied. This is a transparent, tinted clearcoat that colors the flakes while adding an impressive sense of depth to the finish.
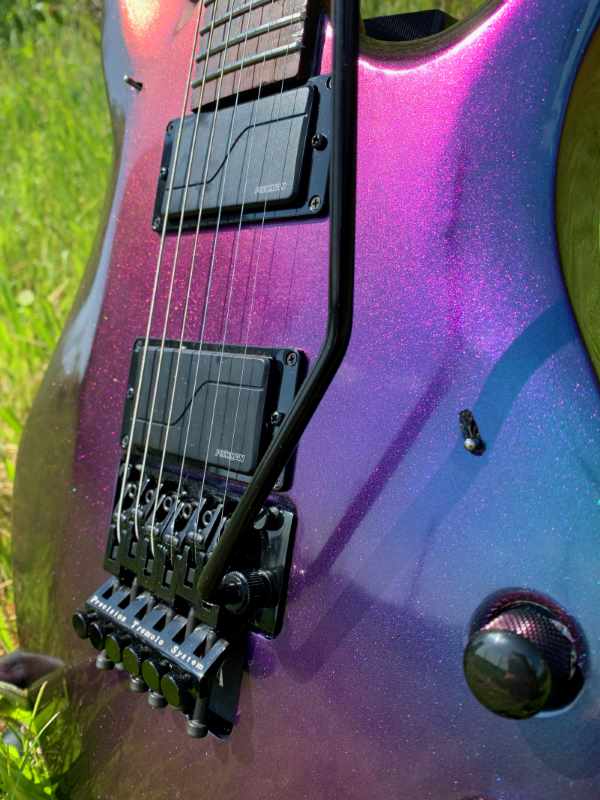
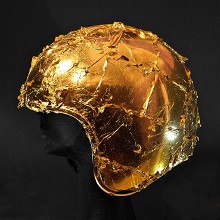
♣ CHAMELEON EFFECT
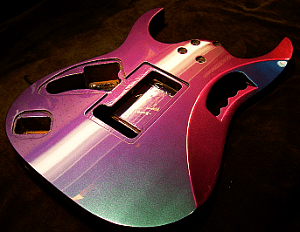
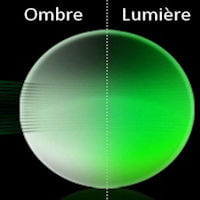
This is one of the most visually striking and impressive effects. Chameleon paint is a pearlescent finish that shifts colors depending on the viewing angle. I highly recommend Chameleon paints, as they are not only visually stunning but also very easy to apply, making them an excellent choice for beginner painters!
Base Coat: The base must be black for the best effect. However, experimenting with different base colors can create unique variations.
Apply several thin coats of Chameleon paint until the base is completely covered.
This paint is available in both aerosol spray cans and liquid pots for different application methods.
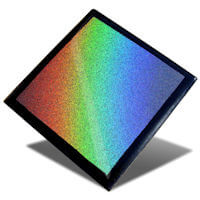
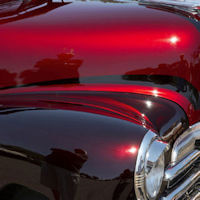
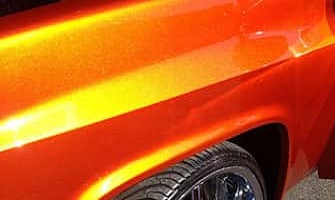
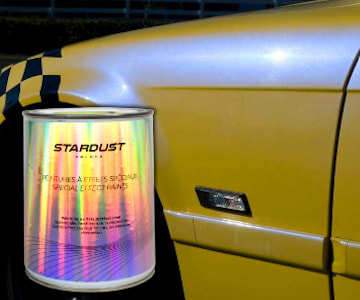
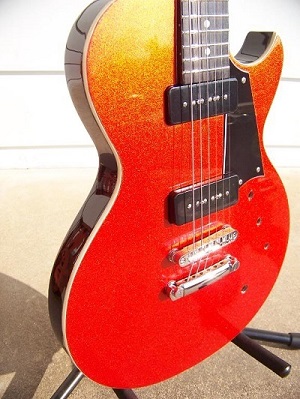
♣ CANDY, MARBLED, AND CRYSTALIZED EFFECTS
The term "Candy" comes from the bright, transparent, and appetizing colors of candy lollipops. This same effect can be reproduced on a guitar, creating a deep and vibrant finish. The Candy effect involves two main steps :
1/ Apply a metallic base coat (such as aluminum paint)*
2/ Apply multiple layers of Candy clearcoat in the color of your choice.
For the best results, I recommend applying at least 3 to 4 layers to achieve a deep and rich color. However, if you want an even darker and more intense shade, you can apply up to 5 or 6 coats! * Instead of an aluminum base, you can use any shimmering, sparkling, crystallized, or marbled base coat. Some excellent choices include Cristallizer and Marblizer effects, which add unique textures and depth beneath the Candy clearcoat.
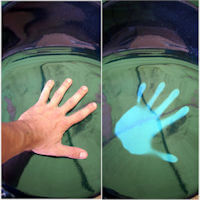
♣ FLUORESCENT or PHOSPHORESCENT EFFECT
There are fluorescent paints and also photo-luminescent paints. Phosphorescent paints glow in the dark after being exposed to light. Fluorescent paints also appear extremely bright in darkness but only when illuminated by an invisible or visible violet light source—making them a great choice for concert performances or stage lighting effects.
Base Coat: For these special paints, it is essential to apply a white base coat to maximize brightness.
Apply at least 3 layers, allowing 5 minutes of drying time between coats.
For the best intensity, I recommend applying 4 to 5 coats—the more layers you apply, the stronger the effect.
As with all automotive or special effect paints, a clearcoat must be applied immediately after to protect the finish.
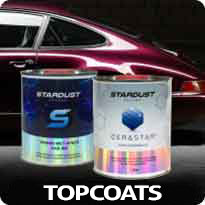
Step 4 ► Applying the clearcoat
The Importance of Clearcoat in Paint Protection
No matter which type of paint is used, it is essential to apply a clearcoat. This serves to protect the paint, enhance its gloss, and even intensify special effects. Proper application of the clearcoat is crucial to ensure good adhesion between the paint layer and the varnish layer.
There are two main methods for applying a clearcoat:
1/ Apply the clearcoat quickly after painting—usually within 30 minutes. Beyond this timeframe, the paint starts to dry and seal itself, preventing direct adhesion. If this happens, sanding will be necessary.
2/ Let the paint fully dry, then lightly sand the surface using P500 grit sandpaper before applying the clearcoat.
You can definitely use either of these techniques. However, I advise you to avoid sanding special effect paints, such as fluorescent, phosphorescent, chameleon, pearlescent, etc. These finishes are delicate and can be damaged by sanding. If sanding is absolutely necessary, always use an abrasive sponge rather than traditional sandpaper to prevent unwanted scratches.
Applying Clearcoat on a Guitar
I have dedicated a complete tutorial article to guitar varnishing, and I highly encourage you to check it out!
You can achieve a beautiful clearcoat finish using either a spray gun or aerosol varnish, provided you use two-component automotive clearcoat in an aerosol can.
Apply two coats of clearcoat, ensuring a 10-minute drying time between each coat.
The goal is to obtain a perfectly glossy surface with a smooth and even clearcoat layer. To achieve this, I recommend: Placing the guitar in a stable, horizontal position. Applying the clearcoat in a glossy and "wet" layer. Maintaining a dry and temperate environment. Avoid cold temperatures, which can cause drips, and high temperatures, which can lead to orange peel texture or reduced gloss.
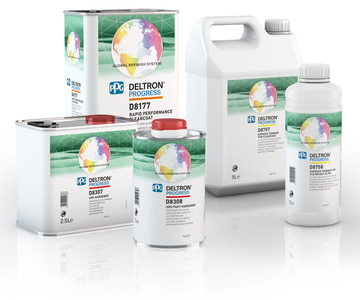
All ceramic-type clearcoats, such as ST6000, ST8500, and UHS830, are suitable for ultra-glossy and durable finishes. However, these are only available in 1L or 2L kits.
For convenience, I recommend the Mini automotive clearcoat kit which comes in a complete 850 ml package.
♣ Luthier Varnishes: Nitrocellulose and Sound Optimization
In the world of lutherie, it is common to use single-component nitrocellulose varnishes. A long-standing belief—based on partially demonstrable knowledge—suggests that this type of varnish optimizes the resonance of classical guitar soundboxes.
In my opinion, the real determining factor is coating thickness. It is best to avoid excessive layers of paint and clearcoat on a classical guitar. For reference: A single coat of paint measures approximately 0.015 to 0.02 mm thick. A single coat of clearcoat measures around 0.02 to 0.025 mm thick. Keeping the layers thin ensures better acoustic performance while maintaining a high-quality finish.
How Much Paint is Needed for a Guitar?
The required amount of paint depends on the type of paint used. However, as a general guideline, the smallest available packaging for all STARDUST products is more than sufficient for painting a guitar. In practical terms, this means approximately 125 to 250 ml of paint is enough for a complete guitar finish.
Can Any STARDUST Paint Be Used on a Guitar?
Yes, absolutely! All STARDUST paints can be applied to a guitar, including: Chameleon paints, Metal Flake finishes, Candy effects, Rust effects, Phosphorescent coatings, And many more. The key rule is to ensure proper surface preparation before painting. A well-prepared surface will allow any type of paint to adhere and deliver optimal results.