Varnishing a guitar
In our series of articles and tutorials on guitar painting, here is one of the most important topics, because it's all about finishing and protection: how to clear coat a guitar.
6 Steps to clear coat a Guitar
Step 1 ► Prepare the surface (depending on the case)
Step 2 ► Impregnate the wood
Step 3 ► Sand
Step 4 ► Apply clearcoat (different types and modes)
Step 5 ► Dry
Step 6 ► Polish
I invite you to find these steps with the complete and detailed instructions further down in the article, if you want to skip the general information.
I'll also tell you about the possibilities of adding a transparent tint to your clearcoat, and explain how to correct slight clearcoat defects.
Why varnish a guitar?
Clearcoat coats a guitar to protect it from all external aggressions, including temperature, humidity, scratches, dirt and invisible soiling such as perspiration and grease. Clearcoat provides effective protection for your guitar's wood.... Particular care is dedicated to the top coat of musical instruments, which can be a 2K paint or a clearcoat. It's both a protective layer, a coat that gives the instrument a long life, and it's also an aesthetic finish that adorns your instrument with a beautiful layer of gloss, or sometimes even matte, depending on taste. Some clearcoats are also said to have natural acoustic qualities, allowing better conduction of sound waves.
What varnish for a guitar
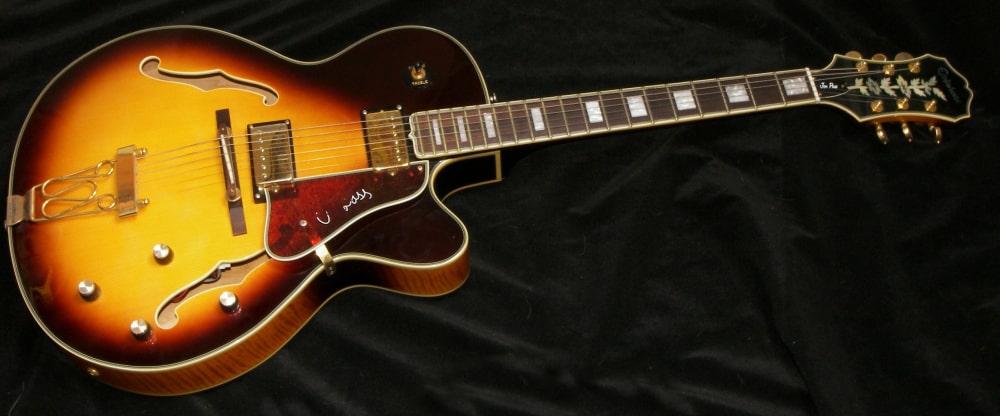
In this article, I'm going to present a few product solutions and methods for clear coating your guitar. From acrylic clearcoat, through nitro-cellulose clearcoat or 2-component polyurethane clearcoat, to epoxy resin glaze. The woods that generally make up guitars, from headstock to body and neck, are spruce, cedar, mahogany, rosewood, oak and maple. Most clearcoats blend well with these woods, which make up the living instruments that are guitars. Depending on your taste, the tools you have and the possibilities offered by your workshop, you can choose solvent-free acrylic clearcoats, single- or two-component solvent-based clearcoats, and I'll also introduce you to an original solution with epoxy resin glaze.
Are nitrocellulose clearcoats really the best choice? Is this a reality or a belief? “Personally, I only work with P.U. In my opinion, nitrocellulose clearcoats are a thing of the past, and I think they've outlived their usefulness by sticking to what made guitars famous: Fender and Gibson. At the time, polyurethanes were not yet well developed, and even though PUs already existed, these iconic brands first used nitro. I had my hands on one again recently, a '95 Gibson whose clearcoat was a horror due to a nitro that didn't age well... I think nitro is still used and recommended out of conservatism, or even snobbery. After all, it can be interesting for those restoring instruments to their original state. It is also said to have a better acoustic quality, being softer and letting the instrument vibrate more than a P.U., which to me is quite ridiculous on an electric instrument. And even on an acoustic instrument, if a P.U. clearcoat is well made, it doesn't muffle anything at all, since it's only about 0.05 mm thick.”
How clearcoat is applied to guitar bodies
Clearcoat is a transparent, sometimes tinted, usually glossy coating composed of resins and polymers. Over the ages, different clearcoats, resin formulas and application methods have been developed. Gloss clearcoat enhances the texture, grain and texture of wood, as well as deepening its natural color. Claer coating is the most important step, because it's the final touch. It's a delicate technique, because a clearcoat must always be perfect. Today, old-fashioned processes still exist, but there are modern products available. To achieve a flawless clearcoat, you need to know and respect the technical aspects of the product.
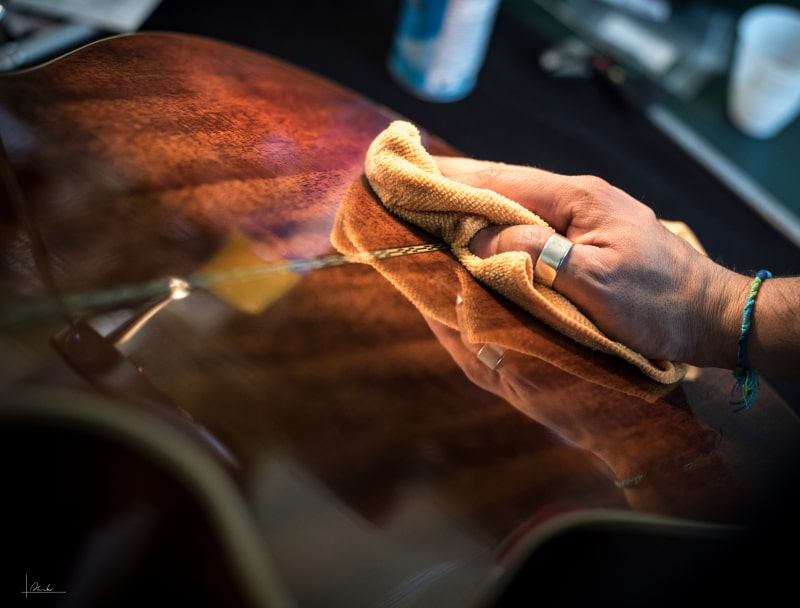
Products needed guitar clearcoating
There are a number of clear 2K paints available to achieve results that can be described as either honorable or superb. It is of course preferable not to aim for economy, for such a small quantity of surface to varnish, and for a precious instrument that you want to renovate or make last over time. I'd definitely advise you to use a professional product, if you only want easy application, good results and no unpleasant surprises.
Acrylic clearcoats
Thickness: 20-25 µm per dry coat / Brush and spray application For those who prefer environmentally-friendly, non-harmful products, so they can work quietly in their apartment, without the smell of solvents, then the first choice is to varnish a guitar with a water-based acrylic clearcoat. This is the most common type of clearcoat used on wood. An acrylic water-based guitar clearcoat is resistant, glossy and light. It will gradually harden over days and weeks, but remains permanently flexible and non-brittle. There's also a water-based polyurethane clearcoat that achieves a higher level of resistance: this is a 2-component clearcoat that hardens by polymerization.
- Glossy or matte acrylic clearcoat Aquamin and Aquacel
- two-component glossy acrylic clearcoat
Epoxy resins for impregnation or glazing
Hydro Epoxy impregnating resin/glaze Thickness: 25µm per dry coat / Brush application Once again, these are odorless products that can be handled in the workshop without special protection. Raw wood can be impregnated with a two-component waterborne epoxy resin (Resoltech 1010) which can also be used as a very hard gloss clearcoat. If you're looking for a glaze, with a deep wet effect, then the best product for achieving great thickness is resoltech epoxy resin clearcoat 4000, which can create an enormous thickness of up to 2 millimeters in a single coat, glossy and as thick as glass. The epoxy resin is applied by pouring and is self-spreading. This glaze clearcoat is probably not suitable for acoustic guitars, but rather for electric guitars Thickness: 1 to 3 mm per dry coat
Nitrocellulose clearcoats
Thickness: 15µm per dry coat / Brush and spray application. Nitrocellulose clearcoats for guitars are high-gloss solvent-based clearcoats developed a long time ago, at the beginning of the 20th century. At the time, they were used to coat the first automobiles. Unfortunately, these clearcoats were not UV or hydrocarbon resistant. On the other hand, they were easy to use and dried as they evaporated. They have long been used and favored by guitar makers, for economic reasons and also because, according to many musicians, this type of thin, flexible clearcoat offers the best natural resonance and sound wave propagation properties when applied to guitar woods.
I invite you to discover our Nitrocellulose guitar clearcoat
The advantages of Nitro are ease of application, no hardener, near-perfect tension, comfortable thickness and easy touch-up, since the new clearcoat fuses with the old. But it's also a flaw: a finish that reacts to the slightest solvent is a capricious finish, with marks or halos caused by contact with certain protective foams, and complicated cleaning that can ruin the finish if the wrong product is used. It takes months for the clearcoat to fully harden. In short, I don't think it's easy to choose such a fastidious clearcoat for an instrument that's often handled on a daily basis.
Polyurethane clearcoats
Thickness: 25µm per dry coat / Brush and spray application. “A P.U. clearcoat is insensitive to solvents, extremely durable when handled, and complicated to apply, but frankly now with the products on offer I can't see the point of doing without it...”. They are called 2K paints because they have 2 components and harden by chemical polymerization rather than by evaporation and drying. They are solvent-based acrylic polyurethane clearcoats for professional use (they are harmful, but must be applied in a spray booth or with sufficient air extraction, and the applicator must wear a respirator). They achieve unrivalled levels of resistance in terms of hardness. They guarantee a very high level of resistance to abrasion, scratching, rubbing and even chemicals. At the same time, they retain a natural suppleness that prevents them from becoming brittle and breakable over the years. This type of clearcoat surpasses all other types of acrylic or cellulose clearcoat in gloss. They easily show degrees of specular gloss in excess of 90°. High-gloss “wet effect” finishes are ideal for “gloss polish” techniques.
My selection:
♦ UHS830 gloss clearcoat kit
♦ UHS830 two-component gloss spray clearcoat version
♦ WetSpeed clearcoat kit – fast version
Finally, since we're talking about clearcoats using bodywork, I couldn't end this chapter without introducing you to the best option for extreme thinness, maximum hardness and record gloss, that's ceramic clearcoat version X It's a fairly liquid clearcoat, which dries through in 45 minutes. Its finesse is not unrelated to the quality of the sound obtained...
The 6 steps to varnish your guitar
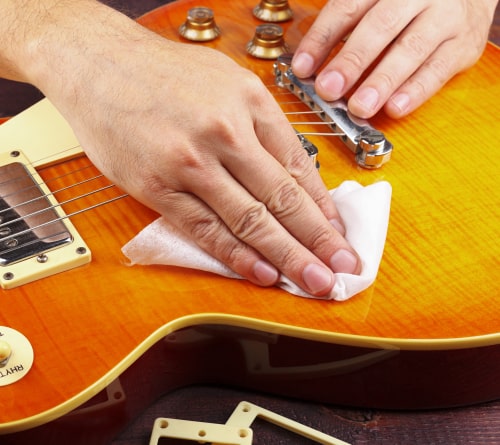
Step 1 ► prepare the guitar stand
If you are working on unfinished wood:
You'll need to do some dry sanding with P320 grit and a sanding block. Once you've finished sanding, expel the dust with a blower and compressed air. If you don't have an air compressor at your disposal, then use a brush and scrub insistently to evacuate all micro-dust and sanding residues.

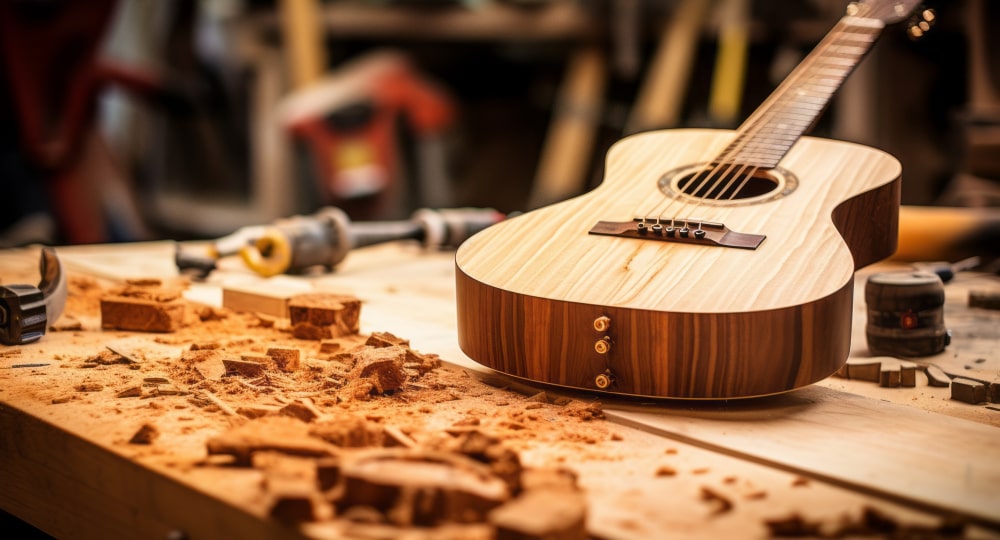
On the body of your guitar with varnished wood:
Perform a superficial sanding, using P500 abrasive grain. I strongly advise against stripping (chemically) or even completely removing the coating by abrasion, unless it is in really bad condition and is coming off. Once your clearcoat has been sanded, use a little methylated spirits to degrease the surface with a clean cloth to remove sanding residues and grease.
Step 2 ► Impregnate the wood
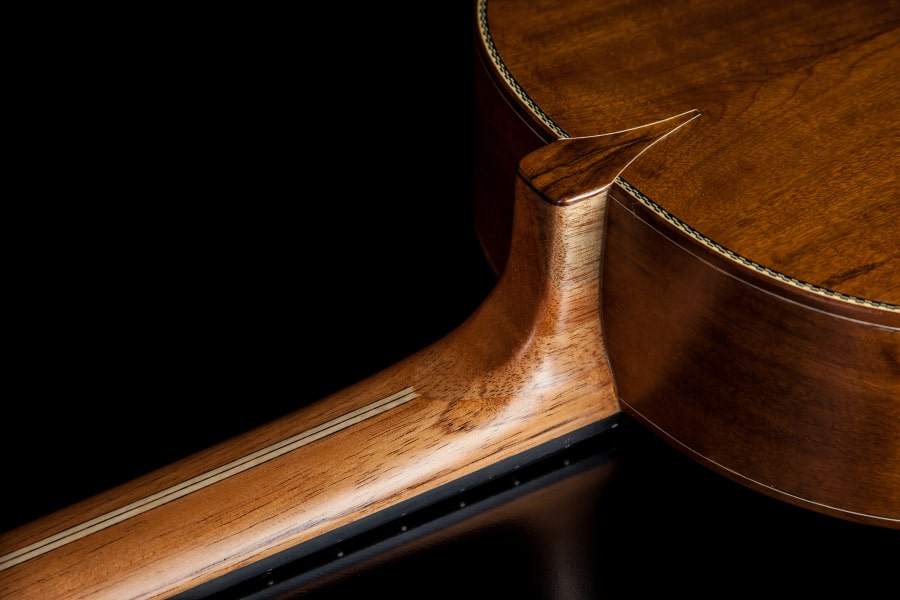
This step doesn't concern you if you're working on varnished or painted guitar, i.e. with an old, sanded, degreased and dust-free base. Bare wood is porous and absorbent, so you'll need to block out this base before you can varnish it properly. If you apply a clearcoat directly to the wood, some of it will be absorbed, and irregularities and micro-bubbles will appear on the surface.
So apply a professional acrylic clearcoat or impregnating resin to the wood in 2 or 3 coats. Allow sufficient time between coats for the clearcoat to penetrate the wood and for the water to partially evaporate. Impregnating resin is a 2-component, water-emulsified epoxy resin-based product. It penetrates, blocks and hardens the base.
I recommend our Resoltech 1010 impregnating resin It is mixed with its hardener at a ratio of 1:1. This type of waterborne epoxy resin can be used both as an impregnation to prepare guitar wood, and as a gloss clearcoat finish. Being a 2-component epoxy-based product, it is notably more resistant than a simple acrylic clearcoat.
Allow 12, 24 to 48 hours to dry thoroughly, depending on the number of layers you have applied for impregnation
Step 3 ► Sanding
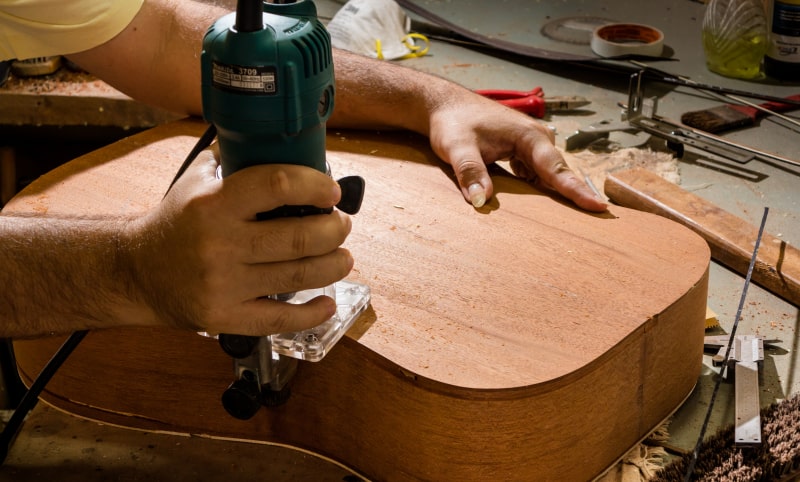
This step produces a truly smooth, perfectly flat surface. The first coats of impregnating clearcoat not only fill any crevices, but also create a levelling layer. This is the foundation for applying the finishing clearcoat.
Sand superficially with P500* grit dry paper, without going through! Be careful not to sand too much on the edges and corners of guitar parts, so as not to penetrate your impregnating clearcoat.
*It is neither necessary nor advisable to use an abrasive sheet grit finer than P500. There's no need to worry about visible scratches in your clearcoat, whatever it may be. The P500 grit is fine enough to create a maximum adhesion in which your clearcoat can anchor itself.
Once the surface has been sanded, I recommend you run your clean, dry hand over the surface of the varnished and sanded wood. Feel the texture with your fingers, and look for the slightest imperfection, for areas that are not completely smooth and soft, or for small remaining grains. Once this sanding is complete, remove all dust with a damp cloth, or use the compressed air blower.
Step 4 ► Apply clearcoat
The surface is clean, sanded, dry, degreased, and so you can now apply your clearcoat!
Brush, roller, airbrush or spray gun?
The best way to varnish is with a spray gun. You won't be able to varnish with an airbrush, as it's too small a tool for a guitar. Varnishing requires a certain flow of product to obtain a glossy, even coat.
If you're painting with a brush or roller, make sure you apply as thick a coat as possible to allow the clearcoat to smooth itself. You can, for example, pour the clearcoat onto the surface of the guitar, and spread it with the brush or roller. Clearcoat is always applied in 2 coats: make sure you wait until the first coat is tacky before applying the 2nd.
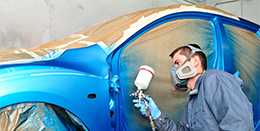
With the spray gun, you don't touch the surface as you spray and atomize the clearcoat from a distance of around 15 cm. This is ideal for achieving a beautiful, glossy lacquered surface.
Spray acrylic varnish on a guitar
Use a pneumatic spray gun with a 1.4 mm nozzle
You can dilute the clearcoat with up to 5% water.
Apply a thick coat, then allow 30 minutes drying time before applying a 2nd coat.
Spray polyurethane varnish on a guitar
Start by preparing the mixture using a weighing scale. Follow the mixing ratio between clearcoat and hardener as precisely as possible. Take careful note of the instructions on the product data sheet, and mix only as much as you need, as your mixture has a very limited shelf life (usually between 30 minutes and an hour). You can add thinner up to 20%, but only if necessary, for example if you're using a mini spray gun
Apply a medium coat, then allow 8 to 10 minutes for the solvents to evaporate.
Apply a second and final coat (the final coat), and make sure it's thick enough to spread evenly over the surface to give a high-gloss wet look.
How to obtain a perfectly glossy varnish with a spray gun?
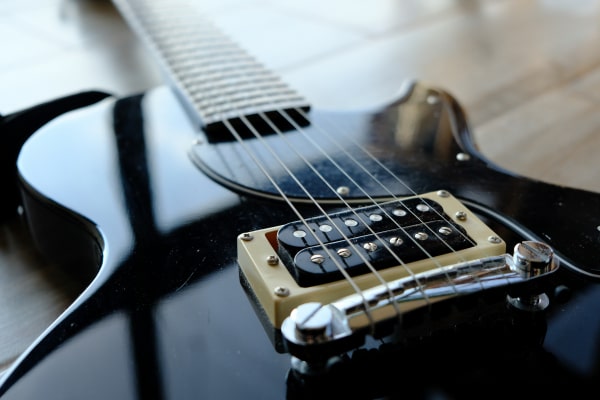
If you're varnishing a guitar, your aim is to obtain a high-gloss, thick, mirror-like clearcoat. However, it is also possible to obtain defects due to lack or excess, which manifest themselves concretely as drips or lack of brilliance. Of course, external conditions such as humidity, cold or heat can contribute to a low-gloss clearcoat, but it's above all the quality of the clearcoat and the way it's applied to the guitar that makes the difference.
The secret of a successful clearcoat lies in the “quantity of clearcoat deposited on the surface” of the guitar: this quantity of clearcoat results from the distance of the spray gun, the speed of movement and the angle of the gun. So keep your spray gun perpendicular, at a distance of 10 to 15 cm, and move it evenly, neither too fast nor too slow.
Apply more coats
I don't recommend applying more than 2 coats of acrylic or solvent-based clearcoat. I mean 2 coats per session: applying 3 or 4 coats all at once will certainly produce a thicker layer, but will increase the risk of dripping, and will inevitably reduce the gloss level. This is called “burying” the clearcoat.
You can achieve a deep, high-gloss surface by repeated varnishing sessions, always allowing 24 hours for drying, and fine sanding, e.g. with P800 grit paper.
The best conditions for varnishing a guitar
I advise you to choose a day with a mild or warm temperature (minimum 18°C), and low humidity. If you're using polyurethane clearcoat outdoors, beware of dust by applying the clearcoat on a windless day, and in a clean place. You can fix the dust to the floor first by vacuuming and then lightly sprinkling with water. Of course, we're never safe from a little flaw, a small particle, an insect that comes to rest on the wet clearcoat, but that's no big deal, as we'll see how to polish on guitar clearcoat.
Step 5 ► Dry
Allow the clearcoat to dry and harden in a dry, mild environment (24 hours at room temperature). Drying time depends on ambient temperature and also on the thickness of the type of clearcoat. It is important to take note of the drying times detailed on the technical data sheet. Some polyurethane clearcoats dry through in 24 hours, and by exception some ceramic polyurethane clearcoats dry through in 45 minutes.
In general, you can start handling and transporting your guitar after a few hours.
For guitar assembly and commissioning, I advise you to be patient and allow additional core hardening.
Acrylic or solvent-based clearcoats naturally harden more and more during the first 7 days after application. It is normal that one may be marked with the nail if the clearcoat is pressed hard.
Step 6 ► Polish
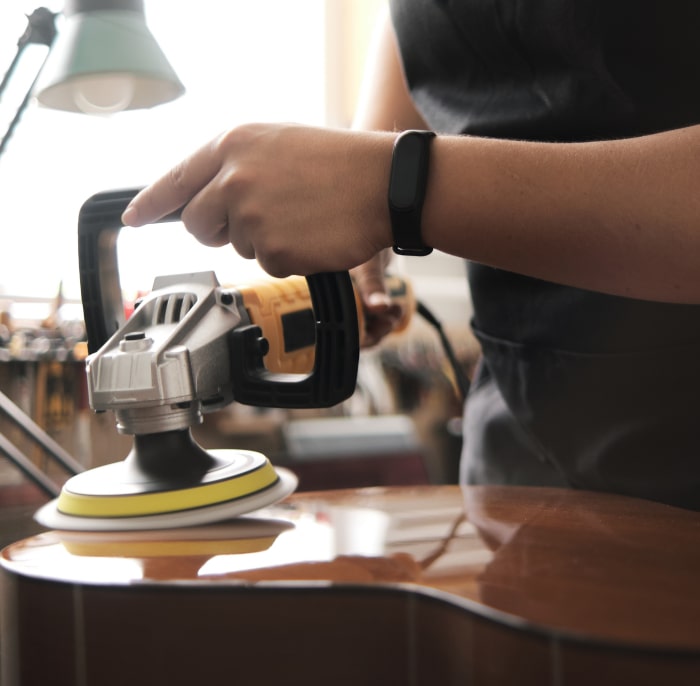
"Mirror polishing” is an optional step that can be carried out from 24 hours after application of a 2-component polyurethane clearcoat.
It perfects the shine and removes micro-defects, such as orange peel or a speck of dust.
I've written a full article on polishing techniques in automobile bodywork.
In fact, it's exactly the same tools, products and techniques that are used on a guitar.
Polishing is carried out with a polisher (there are even pneumatic mini-polishers (link) with 75mm discs).
Defects are removed with P1500 or P2000 abrasive discs in water. The gloss of the clearcoat disappears momentarily during the first stages. Next, polish 2000 and 4000 discs and a polishing compound. The speed of rotation causes a rise in temperature which modifies the surface finish of the clearcoat, giving it a very high gloss.
VARNISH AND SOUND
If you ask guitarists and audiophiles, the choice of clearcoat is very important. Among the latter, some claim that it's a secret that influences the quality of the guitar's sound. It's true that in terms of acoustics, the type and thickness of clearcoat is important. But did Stradivarius guitars benefit from state-of-the-art clearcoat for hundreds of years? The choice was not as important then as it is today! According to Stardust, it is important that the clearcoat is thin, i.e. in its “dry” state, its thickness should not exceed 50µm, or 5 times the diameter of a hair. The clearcoat's flexibility and hardness (the latter will increase over time) are two important parameters.
Adding color to guitar clearcoat
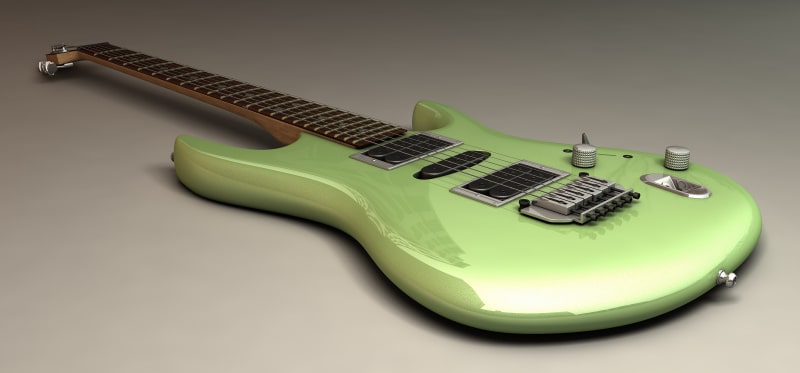
Pigments and dyes are used to add color. To create a transparent coloration in a clearcoat, and enable tinting without masking the texture of the background, then only transparent colorants should be used. These are concentrated, soluble tints that are added to the clearcoat at around 5 to 7% of the total weight. These concentrated inks are known as “Candy” inks.
There are Candy inks concentrated in solvent phases
There are Candy inks concentrated in aqueous phase
There are also ultra-fine dry pearl pigments, which can be added to clearcoats to give a slight pearlescent sheen to the finish.


