All Products are in stock
and shipped from France.
Delivery within 48 hours.
and shipped from France.
Delivery within 48 hours.
Our categories
Golden rules for preparing the surface before painting
Whether it is a bodywork painting or a building painting, painters know that the secret to successful painting is substrate preparation. Indeed, even if 2 coats of paint can be applied in less than 5 minutes, 10 times as much time will have been spent preparing the bodywork. Following these few rules will save you a lot of worries!
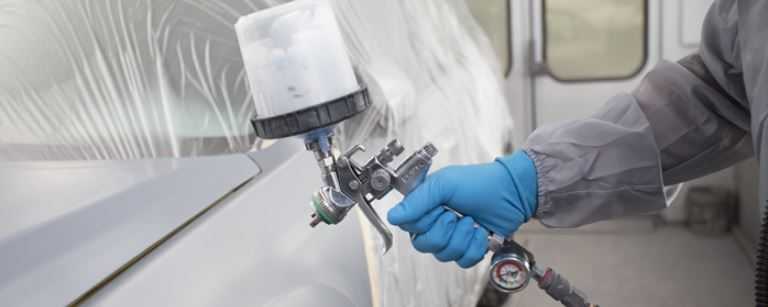
Bodywork preparation is the basis of the rules of the art of painting:
1/ Avoid reactions and paint defects in the bodywork
If the surface is not "sound," it may cause a visible defect (pinholes, bubbling, etc.), a lack of adhesion, or even a complete failure of the coating. To avoid any surprises, do not paint or prime on :
- dusty or dirty surface
- A surface with moisture, grease residues (such as fingerprints), glue, or silicones
- Presence of rust or unstable substrates
The surface must therefore be dried, degreased using a degreaser, and dusted using tack cloths.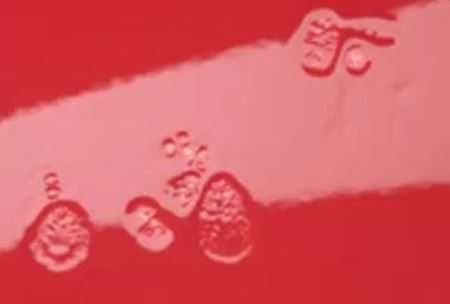
2 / Primers:
First identify and assess the medium:
Is the surface already painted?
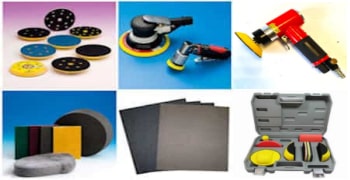
> In this case, sanding is compulsory to create the grip. This can be done dry or wet*, with the grain recommended on the paint data sheet. By hand on curved surfaces, with a sanding block on flat surfaces.
For sanding difficult areas, you can use a sanding sponge
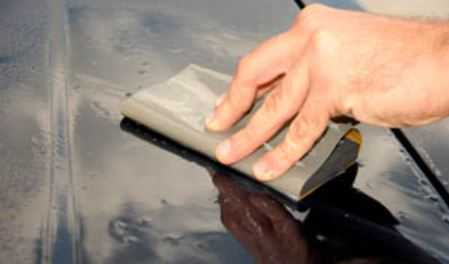
* Wet sanding allows for better sanding without heating or clogging
Caution: you need to make sure that the old paint base is of good quality, that it won't flake, and that it's compatible with the paint you're going to apply over it. If in doubt, scrape, sand and apply a primer.
Is the support raw/bare*?
a raw substrate is a bare material, e.g. bodywork stripped or sanded down to the base: sheet metal
In general, all raw materials should not be painted without first being primed.
> glass, concrete, iron, aluminum, chrome, glass, plastics
Ensure good adhesion with an adhesion primer:
What is the type of metal, type of plastic, or material?
It is important to apply an adhesion primer that matches the material, to ensure that the paint will not peel off after a month!
You cannot use an anti-corrosion primer for iron and steel on aluminum or other non-ferrous metal.
Applying a primer alone does not guarantee that the paint will adhere !
For example, if you apply an adhesion primer for plastic on plastic without having also done any preparation, the adhesion will be close to 0.
On plastics, you must carry out various preparation phases (flammable, sanding with a sponge, removing static electricity, degreasing), on metals you must deoxidize (remove rust by sanding) and degrease, on non-ferrous metals or even concrete, you must sometimes remove the rust with an acid solution.
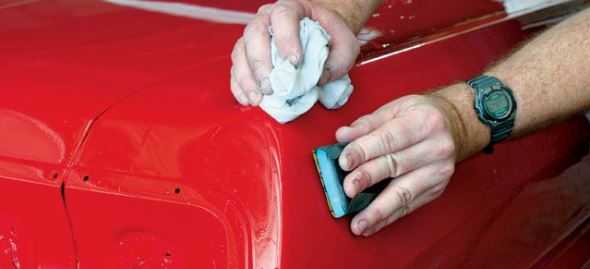
The substrate must be smooth and perfect, and free from imperfections.
On painted surfaces in good condition, light sanding with a fine-grain abrasive (P800) is sufficient.
On scratched or damaged surfaces, you will need to fill with putty and surface fine defects with a primer (filler or surfacer primer in French), then sand with abrasive paper (P320 or 400)
Checking:
- by eye, to check for defects
- with bare hand, to feel the surface imperfections
Degreasing:
Using a degreaser removes glue residues, or invisible greasy traces. This must be done with a damp cloth, and this degreaser must be immediately removed with another dry cloth, before it evaporates and contaminates the surface.
Just before painting:
The surface is perfectly clean, primed and sanded...
The final step before painting the bodywork is a final dusting using a sticky pad, without pressure, and a little pressurized air.
Accessories:
Sanding case
Complete paint kits
Varnishes and finishes
Complementary products for bodywork paint
Types of bodywork paints
Primers or bodywork primers
Epoxy paint for rims
How to repair scratches on bodywork paint?
How to repaint your bodywork in matt or satin


