


 Bicycle Painting Techniques: For a Beautiful and Durable Finish
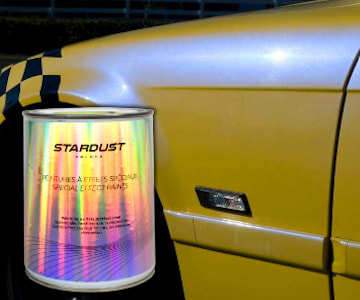
In this article, essential for those planning to apply a Stardust Bike paint to their bicycle, we present the main steps and specific techniques required for bicycle painting.
Preparation and Application Techniques for Bicycle Painting
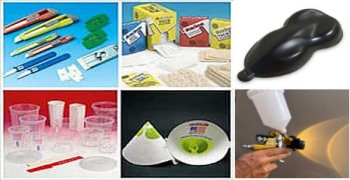
The preparation and application techniques for painting a bicycle are directly derived from automotive painting. Successfully painting a bicycle requires selecting a professional-grade paint, either in cans or aerosol sprays (avoiding consumer-grade products in favor of professional paints), and meticulously following a precise set of steps and rules. Otherwise, what initially seemed like a fun project can quickly turn into a disaster.
Take the time to thoroughly read the instructions on our product pages for paints and complete bike painting kits.
Below is a summary of the steps, followed by detailed instructions:
Step-by-Step Guide
Step 1 ► Complete disassembly of the bicycle
Step 2 ► Degrease using a degreaser
Step 3 ► Sand the clearcoat and remove stickers using a hairdryer or heat gun. Sand with P320 without stripping
Step 4 ► Suspend the bicycle frame and fork
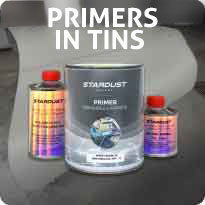
Step 5 ► PApply a filling primer or specific adhesion primer*. Allow to dry for 2-4 hours
Step 6 ► Sand with P500 abrasive paper
Step 7 ► Apply the various color coats, allowing one hour of drying time, sanding with P500, and masking between each color
Step 8 ► Clearcoat with a bi-component clearcoat for bicycle paint.
Have you seen a cool video on YouTube that makes it look effortless? The truth is that unless you are a professional painter, achieving a flawless paint job without proper study and meticulous preparation is highly unlikely.
It’s best to take 5 to 10 minutes to review the application process, contact technical support if necessary, and maximize your chances of achieving a beautiful and durable bicycle paint finish.
 How to paint a Bicycle: From Preparation to Clearcoat
Regardless of whether you use an aerosol spray or a paint gun, the process remains the same, and so does the result, since the products are identical whether in cans or aerosols. Whether you're an amateur or a professional, success depends primarily on preparation,
This process follows a multi-layer system:
• Substrate preparation (including priming)
• Painting (either standard or multi-layer for effect paints)
• Clearcoating
Preparation
Painting or repainting a bicycle is 80% preparation and 20% execution! Properly following the preparatory steps ensures there are no unpleasant surprises. Preparation also involves planning the paint application process, especially if your design includes graphics, multiple color layers, or masking elements.
Step 1 ► Disassembly
A complete disassembly of the bicycle is essential. Any holes in the frame or bottom bracket should be filled. Achieving a high-quality finish is nearly impossible without disassembling the bike.
Step 2 ► Degreasing and stripping
It is important to remove all presence of contaminants and grease before sanding and afterwards.
Thoroughly remove any contaminants and grease before sanding. You may use a chemical stripper for a carbon bike frame or fully sandblast a metal frame if weight reduction of 250-400g is a priority.
We do not recommend stripping off the factory primer. Exposing bare metal or carbon will require applying a specific adhesion primer for carbon, aluminum, or steel before proceeding with the rest of the painting process.
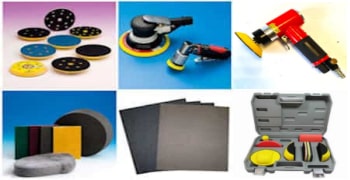
Step 3 ► Sanding
Sanding the clearcoat is necessary for proper paint adhesion and for removing plastic stickers hidden under the clearcoat. A heat gun simplifies sticker removal. Once removed, the surface will likely have some uneven areas that should be smoothed out with P320 grit sandpaper.
Step 4 / 5 / 6 ► Suspension and Priming
Suspend the frame at eye level using wire (a technique used by professionals). To create a smooth, uniform surface, apply a filling primer or surfacer to cover imperfections and create a thick layer suitable for sanding. First, use P320 grit, followed by P500 grit (do not go finer). Our primer adheres well to steel and carbon but primarily functions to smooth the surface rather than provide adhesion. For maximum durability, first apply a thin layer of a specific adhesion primer before the filler primer
Drying time for the primer is about 2 hours at 20°C, after which it can be wet sanded with P500 grit abrasive paper. A sanding block can be used on defective areas where there are irregularities to ensure proper sanding and achieve a flat, smooth finish.
♣ Can You Paint a Bike in One Coat?
Yes! This is called a 2K paint finish. However, this method resembles classic opaque glossy finishes from the past and is not compatible with most pearl or metallic effects..
 Painting the Frame and Fork
Once preparation is complete, ensure that sanding is properly done and that the surface is dry, dust-free, and degreased.
From this point on, never sand finer than P500, as this can reduce adhesion between layers.
Step 7 ► Painting and design
Which paints for a bicycle?
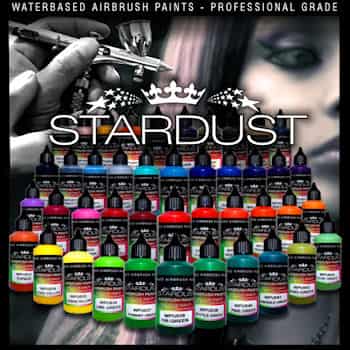
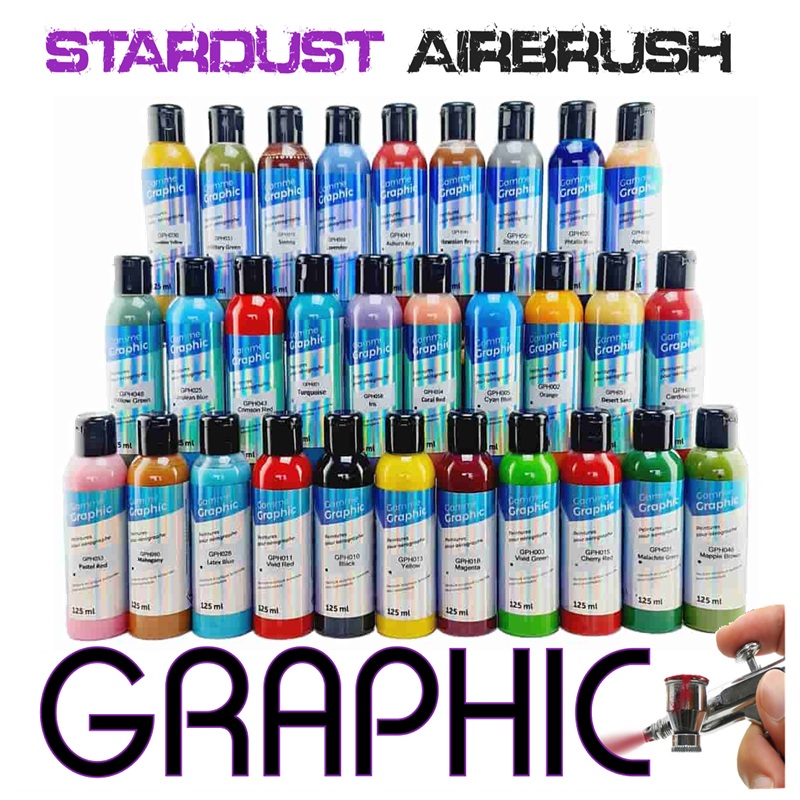
All designs are created using 1K basecoats. These are pre-thinned, user-friendly paints that dry quickly and provide a smooth finish.
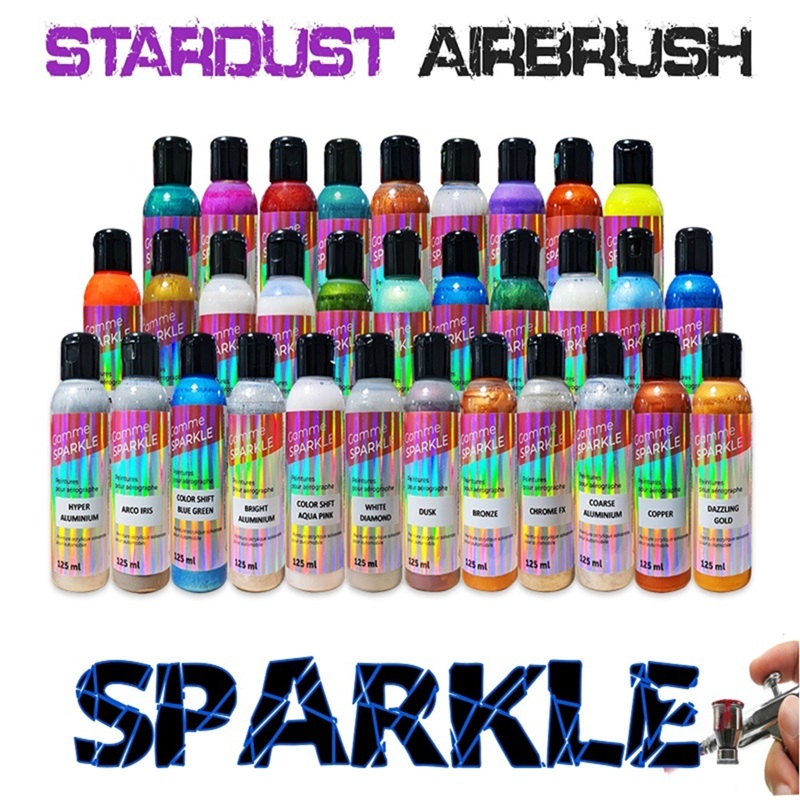
For spray gun users, we offer over 100 colors in 125ml containers in the Graphic series and the Sparkle series.
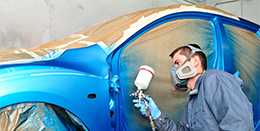
Best Conditions for Painting a Bicycle : Paint in dry conditions, with a dust-free environment and a moderate temperature of 15-25°C.
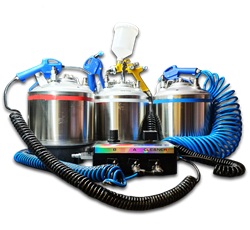
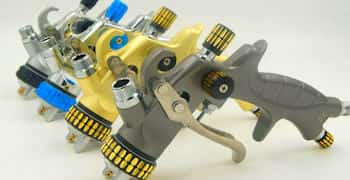
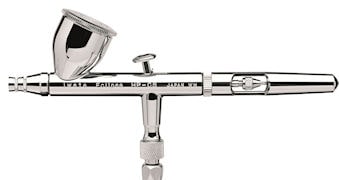
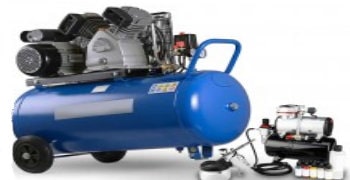
What tool to paint a bike?
Painting with aerosols and obtaining good results is quite possible, but it is not economical (the gas is 75% of a spray paint can).
It is not possible to paint with an airbrush, as this is a tool reserved for small parts. The ideal is both a paint gun or a mini paint gun, which is more manageable and allows you to pass inside the frame. With a single gun, you can paint primer, paints and varnish at the same time. Dilution allows the use of any nozzle.
The strategy
A plan must be developed if the design includes multiple overlapping colors or layers. A well-thought-out strategy is essential.
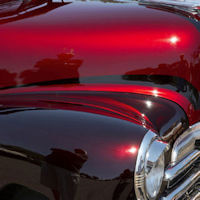
►For simple designs, apply light and bright colors first (e.g., white, red), followed by darker colors at the end.
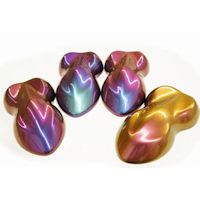
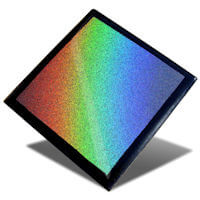
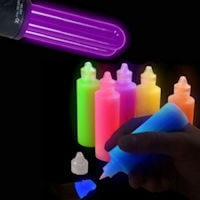
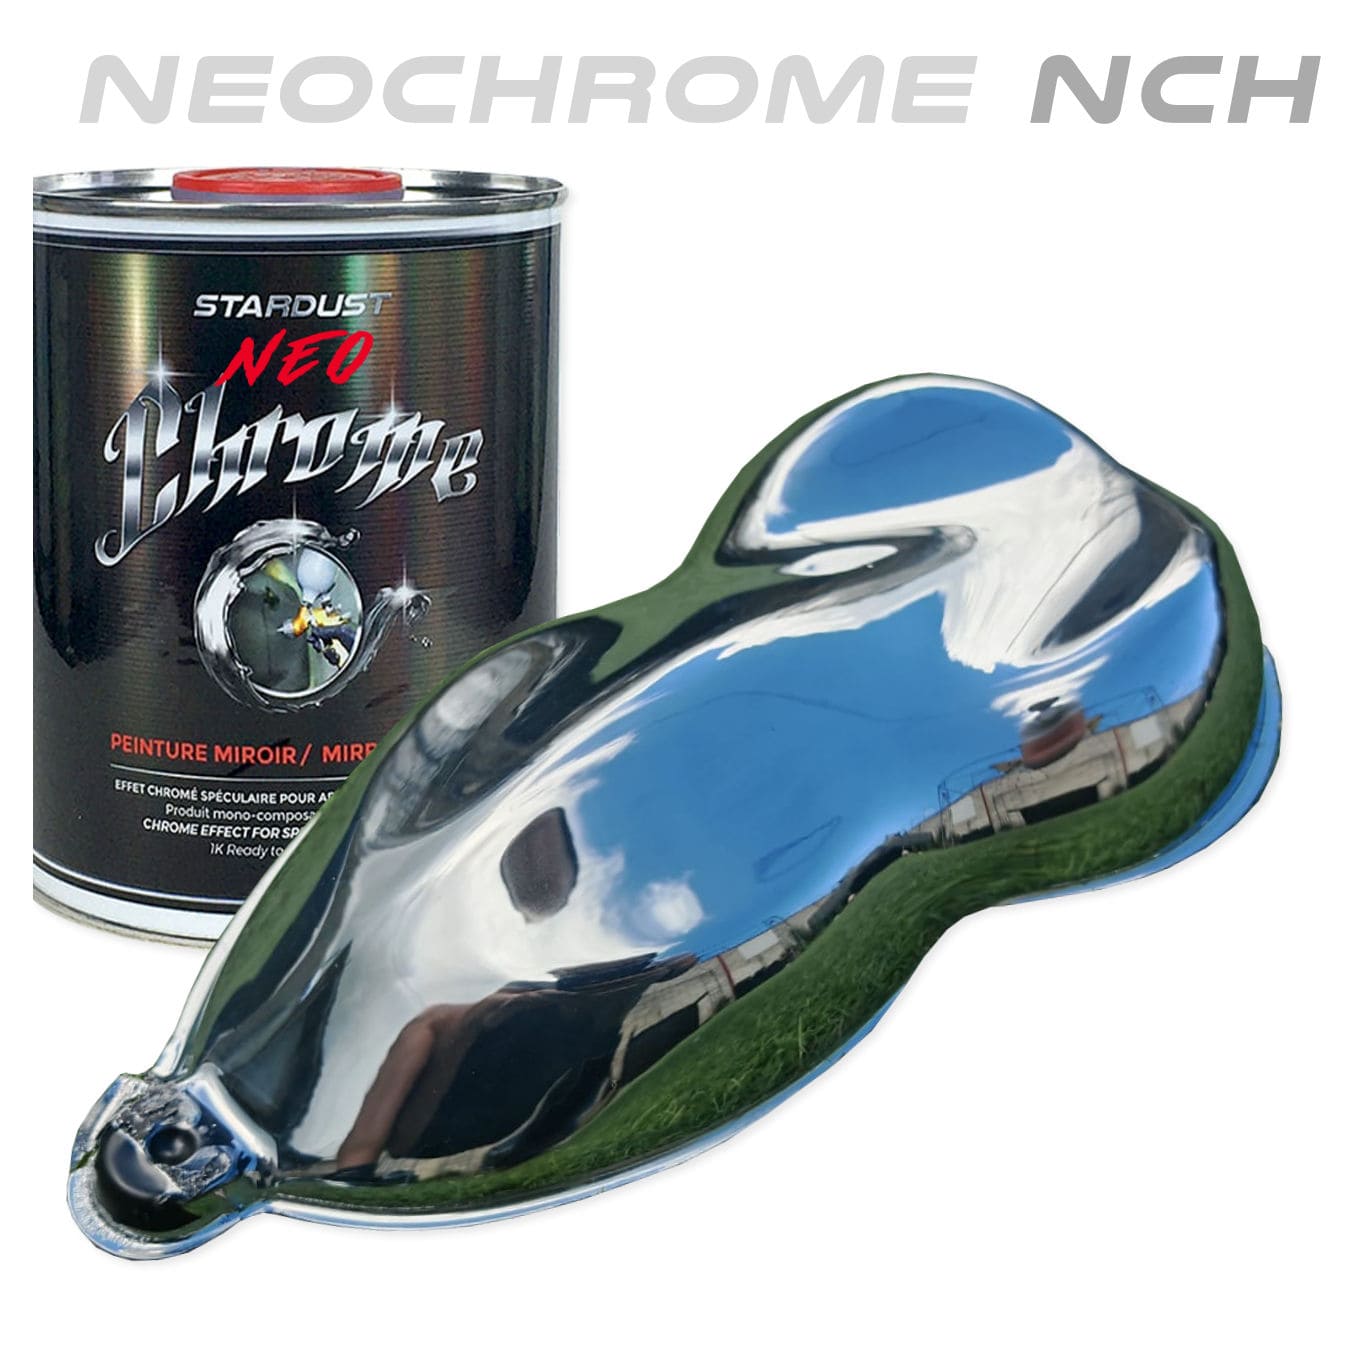
►When using effect paints such as Diamond, Pearlescent, Metallic, Chameleon, Holographic, or Fluorescent, always follow the specified basecoat color application.
The Coverage rule:
This is a fundamental rule in painting. Following it ensures proper layer cohesion and eliminates any risk of peeling.
Solvent-based 1K paints can be clear-coated or overcoated within 30 minutes of application (at 20°C). Beyond this timeframe, the "wet-on-wet" adhesion is no longer guaranteed, and sanding is required before overcoating.
For designs requiring additional time for sticker placement, let each paint coat dry for 1 to 2 hours, then sand with P500 before applying the next layer of paint or clearcoat.
Sanding with abrasive paper or sponges?
Sanding should be done with abrasive paper on primers, standard paints, and clearcoats. For all paints containing pearlescent, metallic, or chameleon pigments, use only a gray abrasive sponge.
♣ Tips and Tricks:
To achieve optimal application quality, finish, and adhesion, apply multiple thin coats rather than thick ones.
With a spray gun, apply thin coats.
With an aerosol, apply quick, light coats.
This technique is particularly effective for pearlescent and metallic colors.
Avoid applying excessively thin coats, especially in dry and hot weather.
The final coat thickness should be as minimal as possible for two reasons:
• To reduce overall dry weight.
• To improve crack and peel resistance.
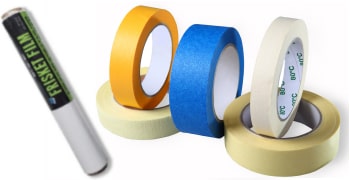
 Creating Stencils, Logos, and Designss
On a P500-sanded basecoat, any simple or complex design can be created.
Use a scalpel and different types masking adhesives: standard masking tape for coverage, thin PVC masking lines, or transparent adhesive film to transfer a logo or lettering. These can be traced from a screen or cut with a plotter-type printer.
When to Apply Stickers on a Bicycle Paint Job?
Stickers are often needed and should be applied on the paint and under the clearcoat. Any printing shop can create custom adhesive logos. These adhesives are always solvent-resistant, so there is no risk of damage when applying professional clearcoats. If more time is needed for positioning, apply stickers on a dry and sanded paint layer.
For simple placement, apply stickers on freshly painted, touch-dry surfaces (about 15 minutes after painting), just before clearcoating.
It is crucial to have clean hands when applying and pressing stickers. Generally, professional bicycle painters apply two layers of clearcoat, which is sufficient to cover and level the adhesive’s thickness.
Applying clearcoat to a bicycle
Step 8 ► Clearcoating
The final step that enhances brilliance and protects the paint.
Apply clearcoat directly after the paint (within 10-30 minutes) or on a dry and sanded paint surface.
Which Clearcoat to choose?
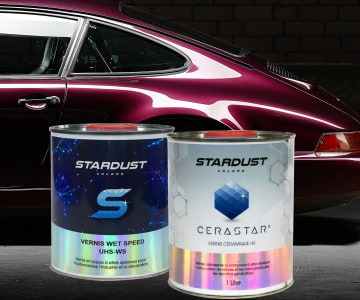
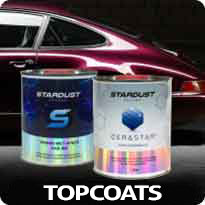
Always use a 2K clearcoat, whether matte or glossy, flexible or hard. Investing in a high-quality, durable clearcoat is essential. For racing bicycles, a light, ultra-hard clearcoat is recommended. The hardest clearcoat available is ST8900x Ceramic Clearcoat.
For mountain or cross bikes, a flexible, impact-resistant clearcoat is ideal.
How many coats?
The rule is clear: 2 coats of clearcoat must be applied. This ensures an optimal 50-micron dry thickness, providing both a brilliant finish and effective protection. Clearcoat should be applied in 2 glossy layers, spaced 10 minutes apart, then left to dry and cure for 24 hours.
Contrary to Popular Belief :
Applying more than 2 coats does not increase gloss—in fact, it reduces it. Additionally, excessive layers of paint and clearcoat increase thickness, making the coating more prone to cracking, fissuring, and peeling upon impact with stones or debris.
Re-clearcoating and Corrections
It is always possible to reapply clearcoat if the initial result lacks sufficient gloss, is imperfect, or has visible drips. In such cases, perform a light sanding after full curing, then apply one or two additional coats of clearcoat.
How to paint a car?
How to paint a motorcycle?
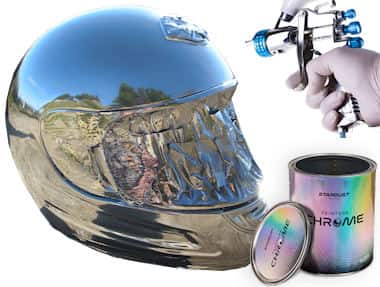
How to paint a helmet?
How to paint a quad?
How to paint a boat?
Stardust Spray Bike
Bike paint for spraygun
Bike paint primer and filler
Special varnish for bike paint
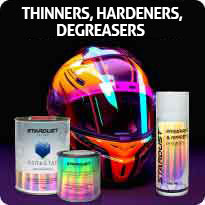
Bike paint tools and accessories
Special effects for bike paint
How to repaint your racing bike ?
What paint to paint your bike ?
How to repaint your bike without dismantling it ?