


 How to Achieve Stunning Candy® colors ?
Many have discovered the technique, or rather seen pictures of Candy paint, without truly understanding how it works.
Here, we will present a comprehensive tutorial on Candy painting techniques and provide some tips to help you achieve the best colors and master the different variations of Candy paint.
Everyone has different tastes and preferences, of course! That's why Candy Stardust products and techniques offer a wide range of possibilities:
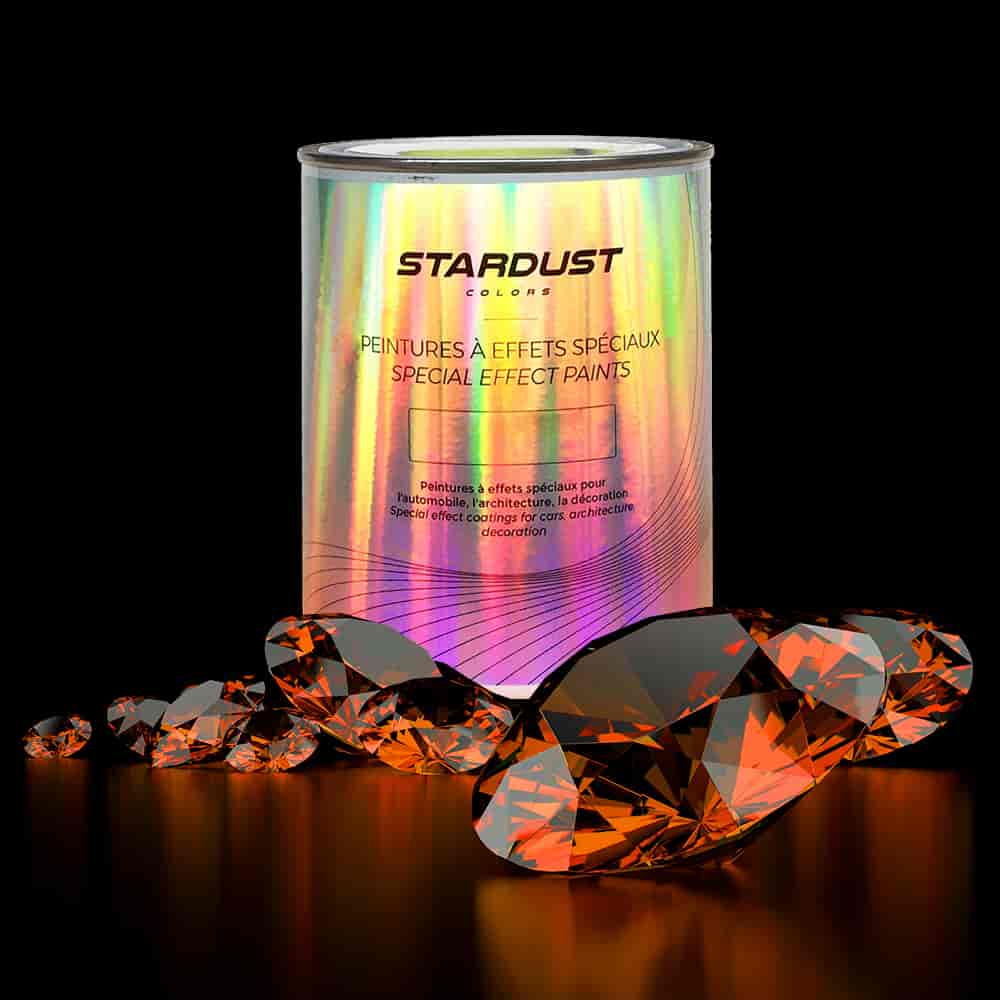
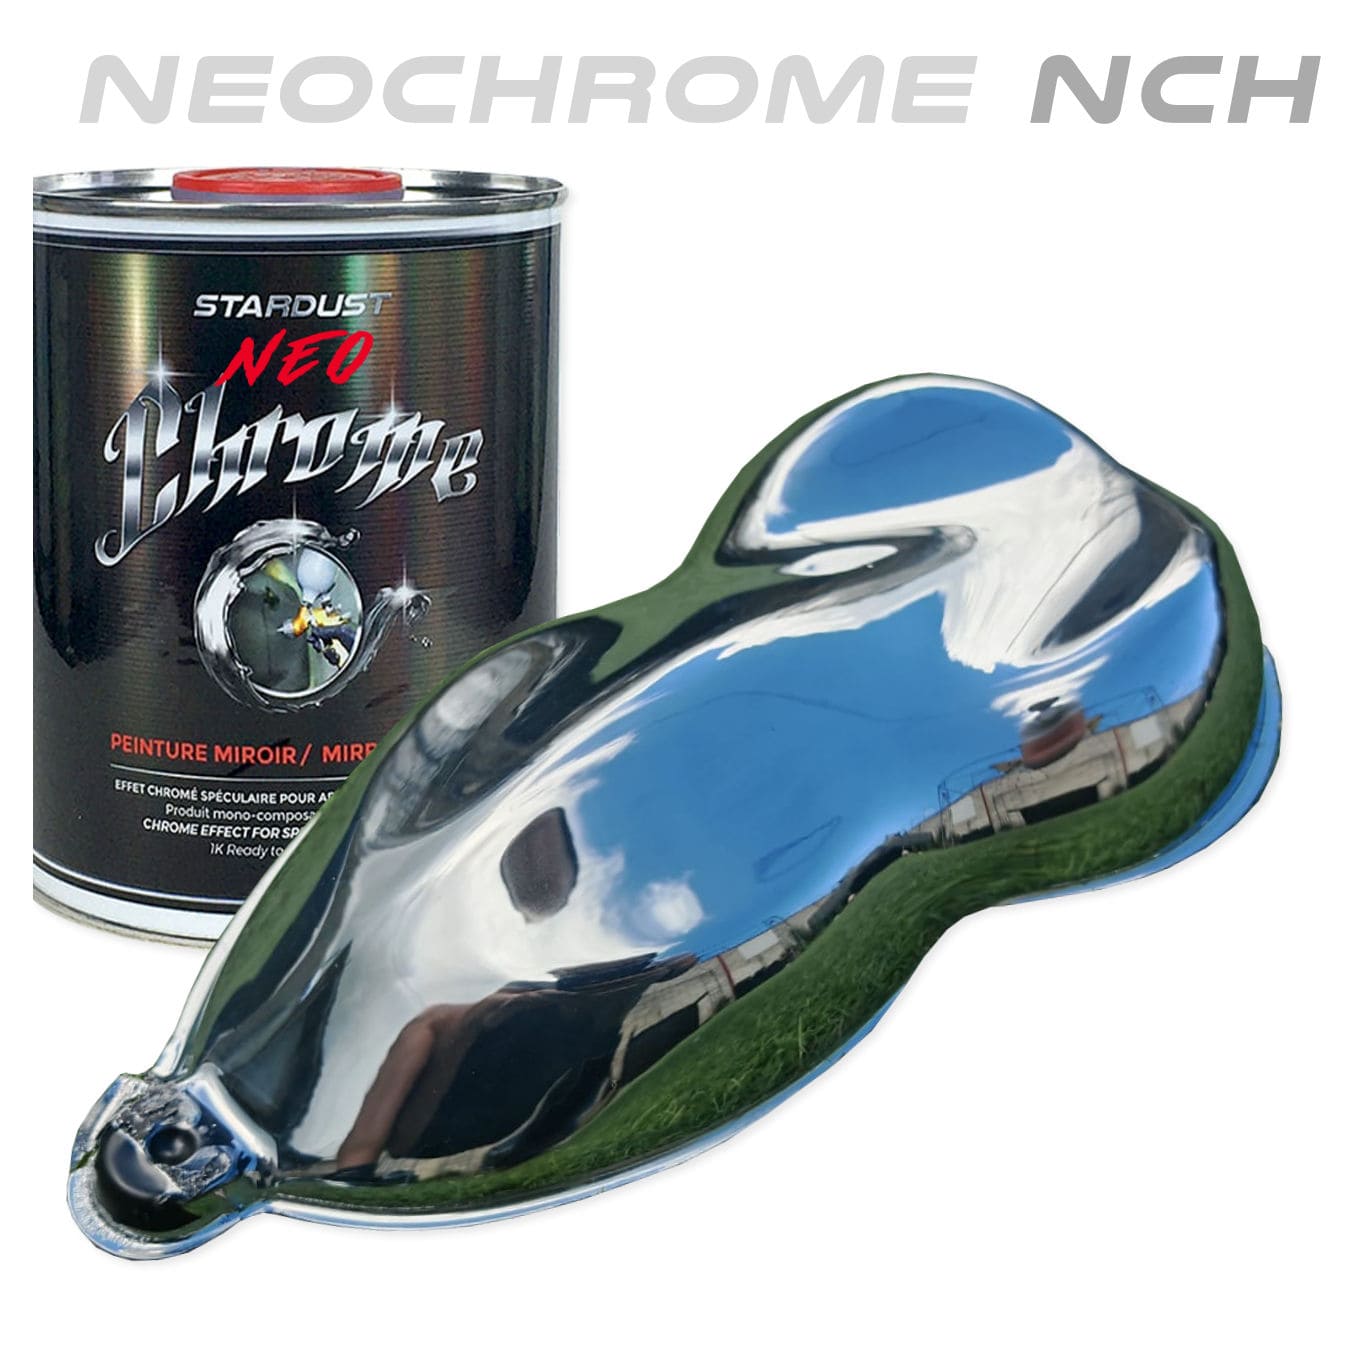
“Candy®” is a registered trademark of STARDUST. Since 2009, we have been offering a wide selection of Candy paints, showcased in our Candy color chart. These shades are achieved by combining a specific undercoat with a Candy clear coat.

Summary tutorial for Creating a Candy Paint Finish
Step 1 ► Apply the base coat (paint or primer – white or black)
Step 2 ► Apply the Candy undercoat (metallic or pearlescent)
Step 3 ► Apply the Candy color (transparent 1K* or 2K)
Step 4 ► Apply the clear coat (necessary in certain cases*)
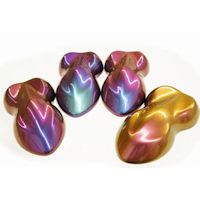
Characteristics of Candy colors
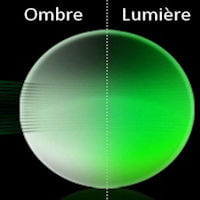
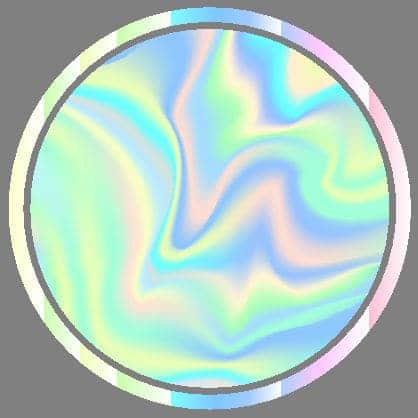
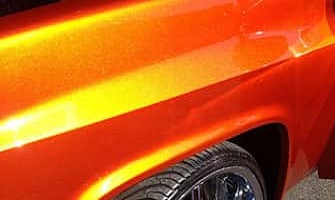
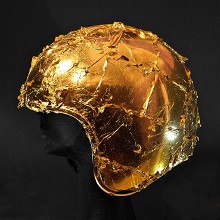
Candy color is achieved through layering. The final shade results from applying the transparent Candy color over a reflective and neutral base (pearlescent or metallic). This combination creates a vibrant and deep color.
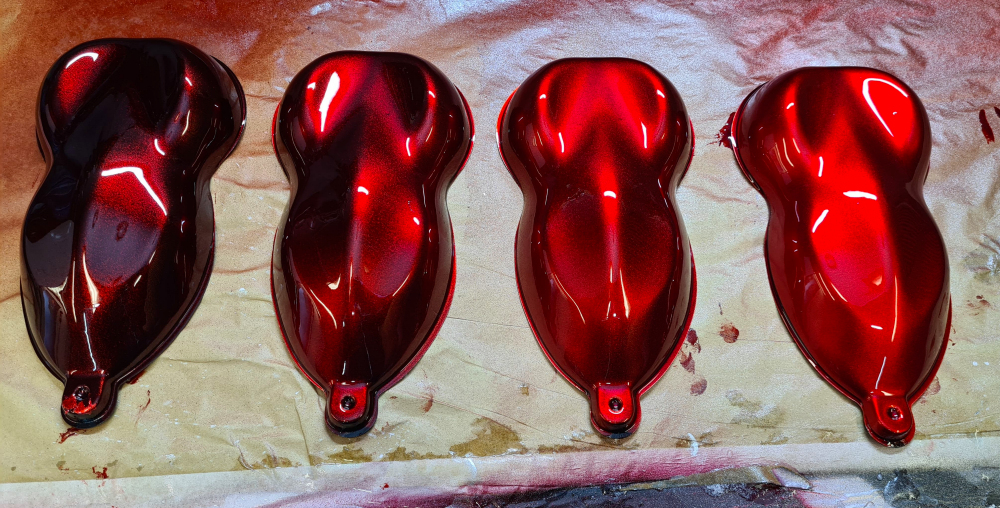
The intensity of the color depends on the number of transparent color layers applied. Typically, 3 to 5 coats are applied to achieve an intense or dark Candy color. Beyond 4 or 5 coats, the color becomes very dark.
Various Products Used in the Candy Painting Technique
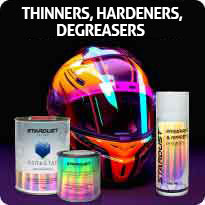
- Candy concentrated ink: An ultra-concentrated additive that tints paints, clear coats, and binders. It is the essential product for all Candy paint techniques. Available in solvent-based, alcohol-based, or Hydro versions on the Stardust website.
- Candy undercoat: A paint based on aluminum or pearlescent pigments, highly pure, reflective, and sparkling.
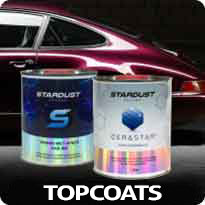
- Candy clearcoat: A transparent clearcoat tinted with concentrated Candy ink. Available in 1K or 2K versions, providing a glossy finish.
- Candy Binder or 1K Candy: A variation of Candy clear coat, in a matte base coat version that requires a final clear coat. This layer is monocomponent, transparent, and tinted with concentrated Candy ink but is not a finish and must be clear-coated.
Detailed Tutorial on Applying Candy Paint
Step 1 ► Apply the base coat
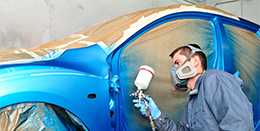
Regardless of the surface (vehicle, sculpture, furniture, bottles...), proper preparation is essential. If the surface is already primed or paint-ready, a simple coat of paint will suffice.
The base coat is crucial beneath the Candy undercoat, as these undercoats are always somewhat translucent. A uniform base color is necessary to set the foundation.
Base coat color: A black base coat optimizes metallic effects, while a white base coat is used mainly with pearlescent white paints. However, applying Candy paint over a pearlescent white undercoat is rare.
→ use black or white base paint
→ use black or white primer or a metal primer in black or white
 Step 2 ► Apply the Candy undercoat (Metallic or Pearlescent)
The undercoat significantly influences the final appearance and color. Standard undercoats, such as BC1 aluminum, can be used, as well as more unique and specialized options.
Candy undercoats allow incoming light to reflect and refract through the transparent, colored Candy layer on the surface.
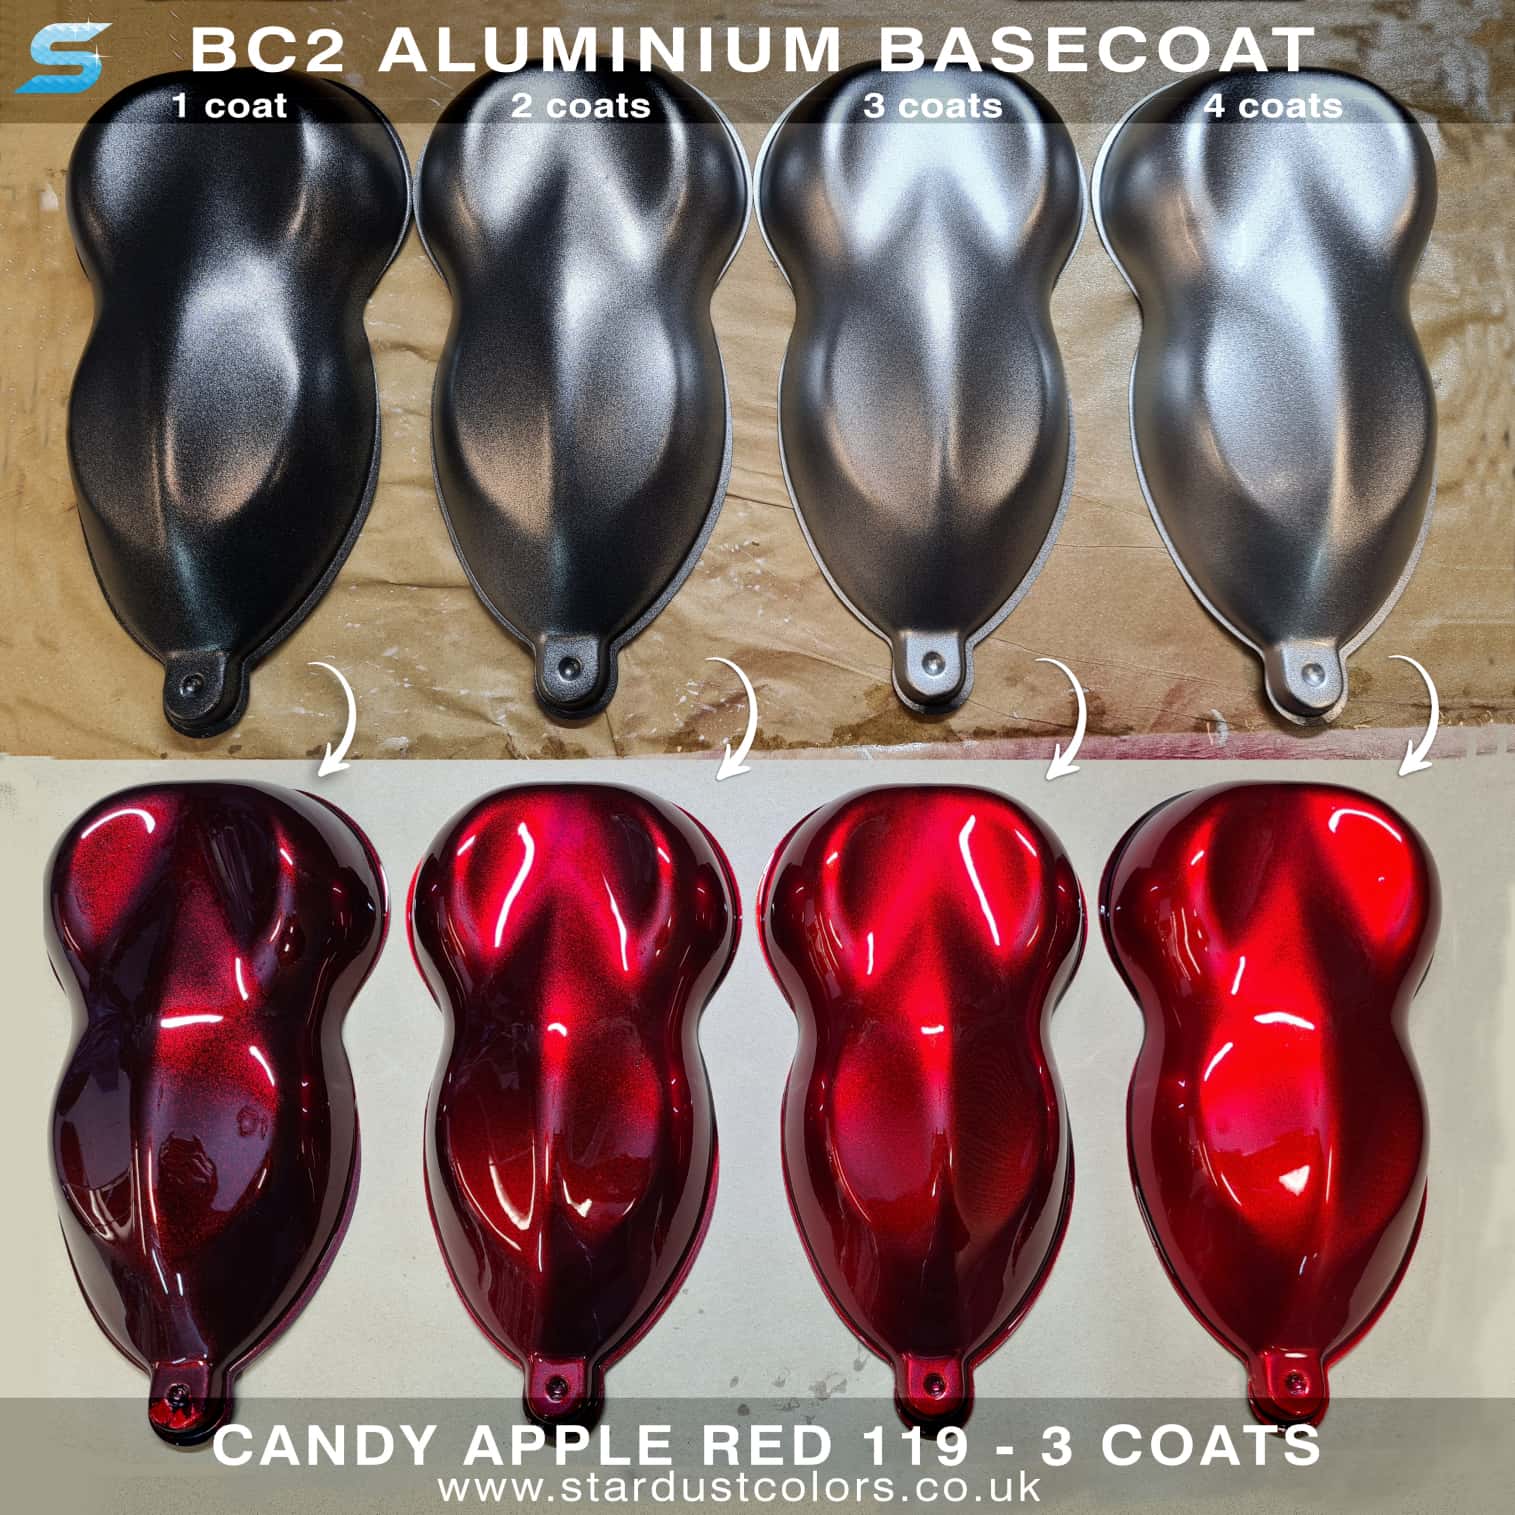
Most commonly used undercoats are pure aluminum-based paints, which are covering, easy to apply, and highly effective. These create a metallic gray layer and produce stunning, deep, and bright Candy effects:
BC1: Medium aluminum (30-50µm)
BC2: Large aluminum (50-80µm)
BC60: high-end aluminum (10-25µm)

Step 3 ► Apply the Candy color (Transparent 1K* or 2K)
Once the undercoat is applied, it’s time for the transparent, colored Candy layer.
This layer can be created using a clearcoat or a binder mixed with 5-6% concentrated Candy ink (color additives).
2 options:
The difference in results between a clear coat and an HS binder is minimal, but each has its own advantages and disadvantages
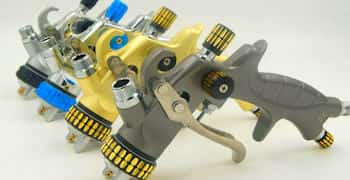
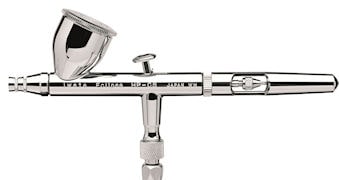
→ Candy clearcoat (2K) : A glossy, translucent finish. Ideal for motorcycles. It is limited to 3 coats due to the risk of runs and loss of gloss when over-applied.
→ Candy binder (1K) : A transparent bicomponent base coat that dries quickly and can be applied in unlimited thin layers.
Applying the Candy Layer
To achieve a deep color, painters usually apply at least 3 coats. Up to 5 coats can be applied for a dark and intense shade. Beyond 6 coats, the color appears black.
Step 4 ► Apply the Clear Coat
A clear finishing coat is only necessary for 1K Candy. However, additional clear coats enhance gloss and protection against abrasion and UV rays.
Candy colors are more delicate than standard colors, so using a UV-protective clearcoat is recommended. While it does not provide absolute protection, it helps preserve the colors.
►Full car kit
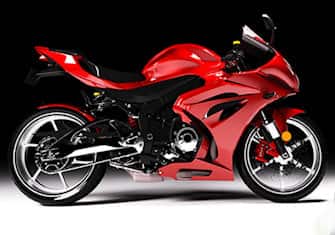
►Full motorcycle kit
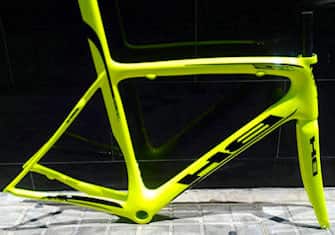
►Full Bicycle kit

Creating Beautiful Candy Paint with Sumptuous Colors
Here are some of the best undercoats for achieving unparalleled colors:
- BC60 : One of the finest aluminum pigments—highly reflective and premium quality.
- BC24 : A dark, graphite-like pearlescent pigment that accelerates the creation of dark hues.
- BC71 : A high-quality aluminum-based gold pigment—ultra-fine, brilliant, and excellent for warming colors.
- BC11 : A blue pearlescent pigment that can be combined with contrasting colors (e.g., red) for unique and stunning effects.
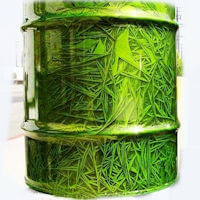
- BC5 : A large, sparkling diamond-like pearl pigment for creating iridescent Candy finishes.
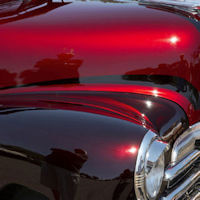
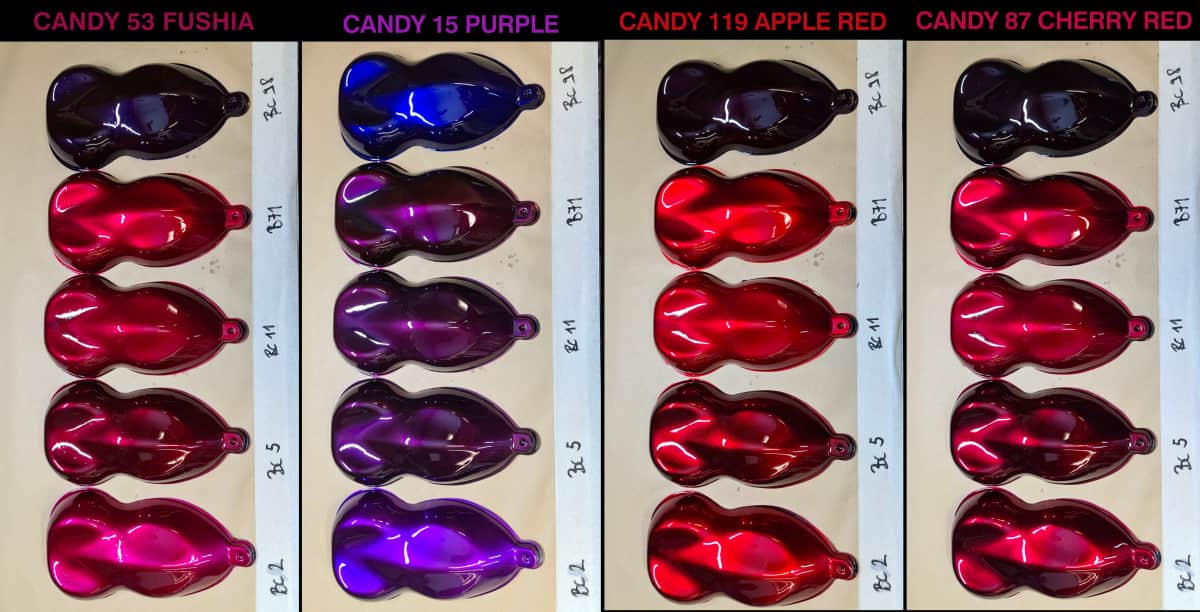
For an impressive Candy paint finish, it is important to choose the greatest possible contrast between the background (the undercoat for Candy) and the transparent Candy layer. The greater the contrast, the deeper and more striking the hue.
How to Create Dark Candy Paint Colors?
WFor deep blue, violet, or red Candy shades, you can darken the final tone by:
Adding more Candy layers (simplest method), but also by using a dark undercoat .
A standard undercoat like BC1 (a bright metallic paint applied over a black base) can be used. To further darken the effect, stop applying BC1 before full coverage to let the black base show through.
Sun resistance – how to protect your Candy paint?
A PDF document detailing the resistance levels of transparent colors is available on Candy concentrate product pages, there is a PDF document that details the different resistance levels of transparent colors.
It is essential to protect Candy-painted vehicles from prolonged sun exposure. Parking in the shade whenever possible helps maintain color vibrancy.
The number of clear coat layers and the quality of the clear coat also play a key role in protecting colors.
Professional painters should inform customers properly about the requirements for maintaining a Candy paint finish.
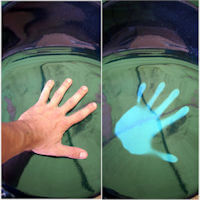
Can Candy Be Applied Over Chameleon, Fluorescent, or Phosphorescent Paints?
Yes, but the results are not optimal. A transparent colored layer diminishes the shifting effect of chameleon paints and cancels out the glow of phosphorescent and fluorescent paints.
However, other effects like chrome, thermochromic or glitter can produce interesting results.
How to Achieve a Deep Red Candy paint ?
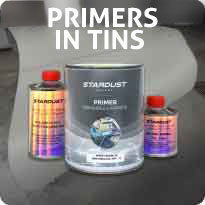
Candy paint primer
Candy paint in spray
Candy paint varnish