All Products are in stock
and shipped from France.
Delivery within 48 hours.
and shipped from France.
Delivery within 48 hours.
Our categories
THE INDISPENSABLE


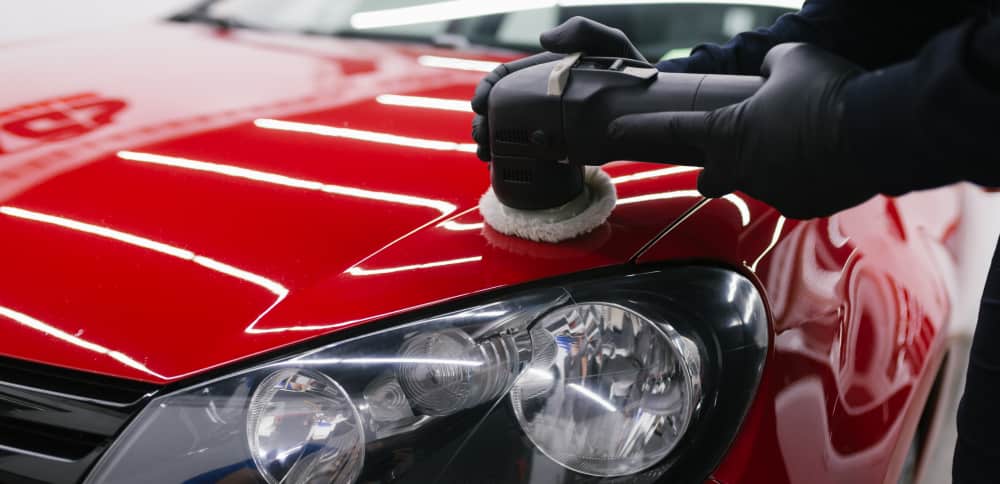
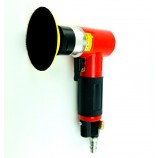
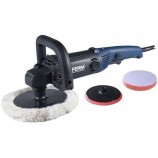
The FERM AGM1120P electric polisher (angle polisher), from Holland, is a powerful and effective professional tool, easy to handle, for polishing and buffing clear coats.
- Ergonomic design, and easy to operate.
- Delivered with its solid protective case, for storage or carrying
- Multiple grips for a maximum of comfort and safety
- Adjustable/variable speed for precise working and optimal control
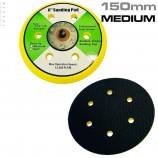
- Velcro. backing for quick polishing or buffing pads
- 4 meters Extra long cable
Features :
Voltage : 230V
Frequency : 50HZ
Power : 1400 W
Speed : 0 - 3200 rpm
Disk diameter : 180mm
Warranty : 3 years
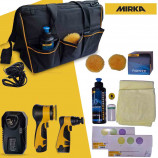
Included in the case :
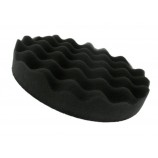
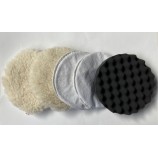
Front handle - Hexagon key - Base plate (Velcro®) - Polishing foam pad -
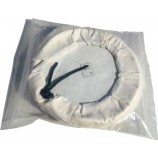
Polishing wool pad - Nylon accessory bag
Tutorial: Polishing over varnish
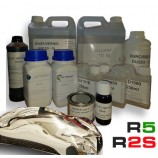
Materials needed:
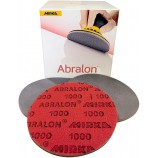
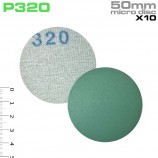
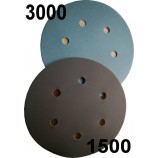
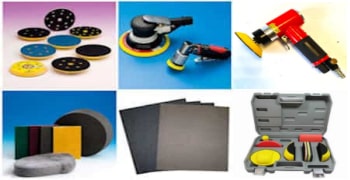
► Sandpaper : 600, 1000, 1500, 2000, 3000, 4000, 5000 grit (preferably for wet sanding).
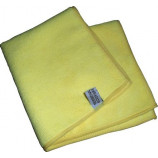
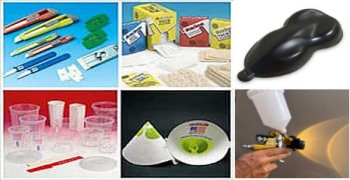
► Soft cloths or microfibers
► Polisher
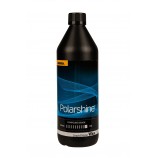
► Polarshine polishing product or other
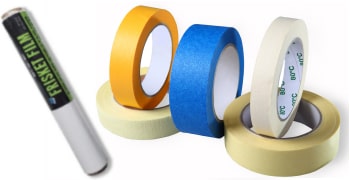
► Masking tape: to protect adjacent areas.
Step 1: Prepare the surface
1. Inspect the varnish: make sure it is completely dry and cured (at least 24 hours after application, depending on the product used).
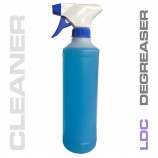
2. Clean the surface: remove any dust, dirt or grease with a cloth and a mild cleaner such as isopropyl alcohol
3. Protect adjacent areas: use masking tape to avoid damaging unvarnished surfaces.
Step 2: Progressive sanding
The goal is to eliminate surface defects (orange peel, scratches, drips, etc.) and obtain a smooth and uniform surface.
1. Start with 800 grit paper:
Soak the paper in water (wet sanding).
Work in linear or circular motions, applying light pressure. by hand or machine (be careful not to force or insist too much)
Spray water regularly to avoid the accumulation of residue.
2. Progressively move to higher grits:
P1000 → P1500 → P2000 → P3000 → P4000 → P5000.
At each step, check that the scratches from the previous grit are completely erased before moving on to the next one.
Clean the surface regularly to assess the progress.
Step 3: Polishing
1. Apply a polishing product:
Spread a small amount with your finger without making clumps to avoid splashes.
Buff with a polisher or a mini polisher equipped with a hard disk.
Avoid forcing or staying on the same area (especially corners and edges) as this can cause marks or drilling of the varnish and avoid too high a rotation speed, which could overheat the varnishes.
2. Add a protective wax (optional) such as NanoShine :
This protects the varnish and accentuates the shine.
3. Wipe with a clean cloth until a mirror effect is obtained.
Practical advice:
♣ Test on a small area before working the entire surface.
♣ Work in the shade or in a cool space to prevent the product from drying too quickly.
♣ Take your time between each step to ensure an impeccable result.
♣ Check regularly under bright light to identify areas requiring touch-ups.
♣ Polishing is a very fine sanding and it reduces the thickness of the varnish. A varnish is therefore limited in the number of polishes, because we reduce the thickness of this said varnish which can cause the varnish to be pierced or become fragile in the long term
♣ Hide the adjacent areas well because the polish once dry can leave marks on plastics and joints, which is difficult to remove!
If you want to learn more and in more detail about the techniques of polishing and buffing, we invite you to consult our complete tutorial on polishing and buffing.
Accessories


-
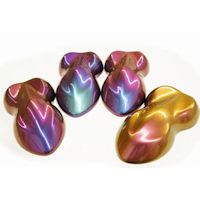
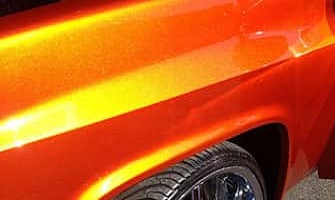
Special Effect Paints


-
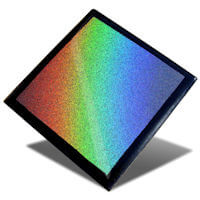
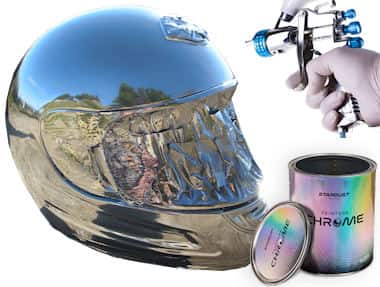
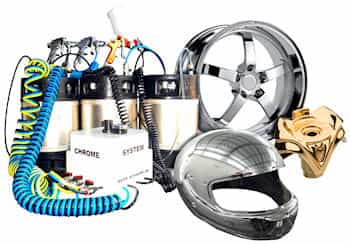
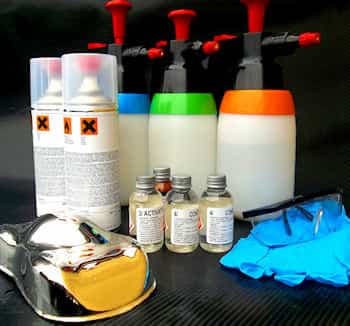
Chrome Effect
-
Car and motorcycle paint
-
CAR COLOUR CODE
- AIXAM car paint
- ALFA ROMEO car paint
- ASTON MARTIN car paint
- AUDI car paint
- BMC car paint
- BMW car paint
- BUGATTI car paint
- CADILLAC car paint
- CHEVROLET car paint
- CHRYSLER car paint
- CITROEN car paint
- DACIA car paint
- DAEWOO car paint
- DAIHATSU car paint
- DODGE car paint
- FERRARI car paint
- FIAT car paint
- FORD car paint
- GENERAL MOTORS car paint
- HONDA car paint
- HYUNDAI car paint
- ISUZU car paint
- IVECO car paint
- JAGUAR car paint
- JEEP car paint
- KIA car paint
- LADA car paint
- LAMBORGHINI car paint
- LANCIA car paint
- LAND ROVER car paint
- LEXUS car paint
- Lotus car paint
- MASERATI car paint
- MAZDA car paint
- MERCEDES car paint
- MG car paint
- MINI car paint
- MITSUBISHI car paint
- NISSAN car paint
- OPEL car paint
- PEUGEOT car paint
- PORSCHE car paint
- RENAULT car paint
- Rolls Royce car paint
- ROVER car paint
- Saab car paint
- SEAT car paint
- SKODA car paint
- SMART car paint
- SSANGYONG car paint
- SUBARU car paint
- SUZUKI car paint
- TOYOTA car paint
- Volkswagen car paint
- VOLVO car paint
-
MOTO COLOUR CODE
- APRILIA motorcycle paint
- BENELLI motorcycle paint
- BIMOTA motorcycle paint
- BMW motorcycle paint
- Buell motorcycle paint
- CAGIVA motorcycle paint
- DERBI motorcycle paint
- DUCATI motorcycle paint
- GILERA motorcycle paint
- HARLEY-DAVIDSON motorcycle paint
- HONDA motorcycle paint
- HUSQVARNA motorcycle paint
- INDIAN MOTORCYCLE PAINT
- KAWASAKI motorcycle paint
- KTM motorcycle paint
- KYMCO motorcycle paint
- LAMBRETTA motorcycle paint
- MALAGUTI motorcycle paint
- MBK motorcycle paint
- MORINI motorcycle paint
- GUZZI motorcycle paint
- MV AGUSTA motorcycle paint
- PEUGEOT motorcycle and scooter paint
- PIAGGIO motorcycle paint
- SACHS motorcycle paint
- SUZUKI motorcycle paint
- SYM motorcycle paint
- TRIUMPH motorcycle paint
- YAMAHA motorcycle paint
-
CAR COLOUR CODE
-
Finish Paints and Topcoats

-
Specialties


-
Accessories and consumables

-
AIRBRUSH PAINT


- COLORCHART