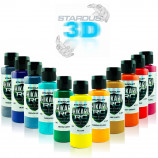
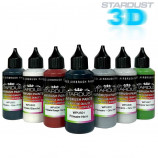
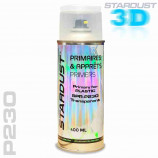
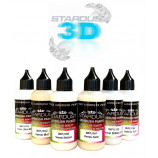
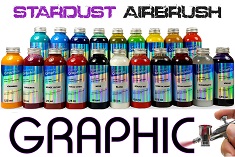
Stardust offers specialty paint ranges specifically designed for 3D prints made with both filament plastic 3D printers (FDM*) and resin printers (SLA*).
Stardust paints enable customization of FDM or Resin prints, whether they be miniature or life-size figurines, parts, or sculptures of various sizes, used in diverse fields such as cosplay, jewelry, mechanical parts, various accessories, games, toys, medicine, jewelry, aerospace, and more.
The purpose of this article is to provide you with basic concepts in 3D printing and guide you through the different steps and processes to achieve the cleanest painted piece possible! With numerous videos available online, it's easy to get lost, but this article will help you focus on your needs to choose the right materials for realizing your projects. Happy reading to everyone!
Paints for COSPLAY 3D Printing
Metallic colors can be applied with aerosols or a spray gun on full-scale COSPLAY prints 1:1 (e.g., IRON MAN armor with sword, gun, helmets, etc.). It is possible to prime, paint, and varnish other mechanical parts or accessories. Stardust 3D printing paints adhere to plastics obtained with FDM printers and ensure good durability over time. Primers provide adhesion and leveling, and the finishes are resistant to abrasion, chemicals, sunlight, UV rays, etc.
Ultra-fine Paints for 3D Printed Figurines
For collector's figurines, high-end figurines, manga figurines, or miniatures for tabletop games (Warhammer), paints are primarily applied with an airbrush. The paints highlight the details of 3D prints.
The colors are opaque and very fine simultaneously (thickness below 40 microns when dry in 2 layers) to color without covering the details and reliefs of high-precision prints. Dozens of colors allow players to paint and customize buildable figurine kits while saving money.
► Personally, I always use glossy hydro or polyurethane two-component clearcoats because they provide excellent resistance to paints and resin miniatures, which I often handle or transport to conventions.
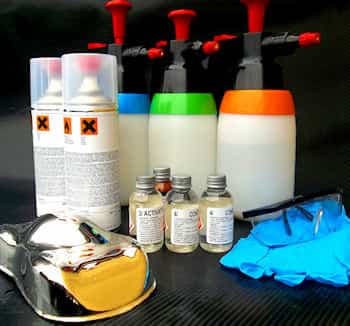
3D Printing Paint Kit
Painting on 3D Prints: A Comparison Today, we have the choice between traditional solvent-based paints and the new acrylic paints for 3D printing. The major difference lies in thickness and drying time, with water-based paints taking longer to dry. Solvent-based paints are thinner and dry very quickly, making them their main advantages.
♣ Drying at 20°C / coat : 5 minutes for solvent-based paint / 20 minutes for acrylic paint for 3D printing
♣ Dry thickness / coat : 15µm for solvent-based paint / 25µm for Hydro acrylic paint
For me, the obvious advantage of water-based paints is their safety and pleasant user experience, as well as their ease of rinsing. Personally, I recommend water-based paints for airbrushing. I have witnessed recent progress that has elevated water-based paints to the level of solvent-based paints in terms of coverage, finesse, drying time, and even resistance.
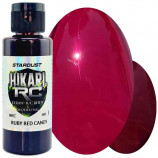
For instance, concerning effects, in water-based paint ranges like HIKARI and STARDUST Pro, you can find all metallic, pearlescent, chameleon, Candy colors, and they have almost nothing to envy from solvent-based paints.
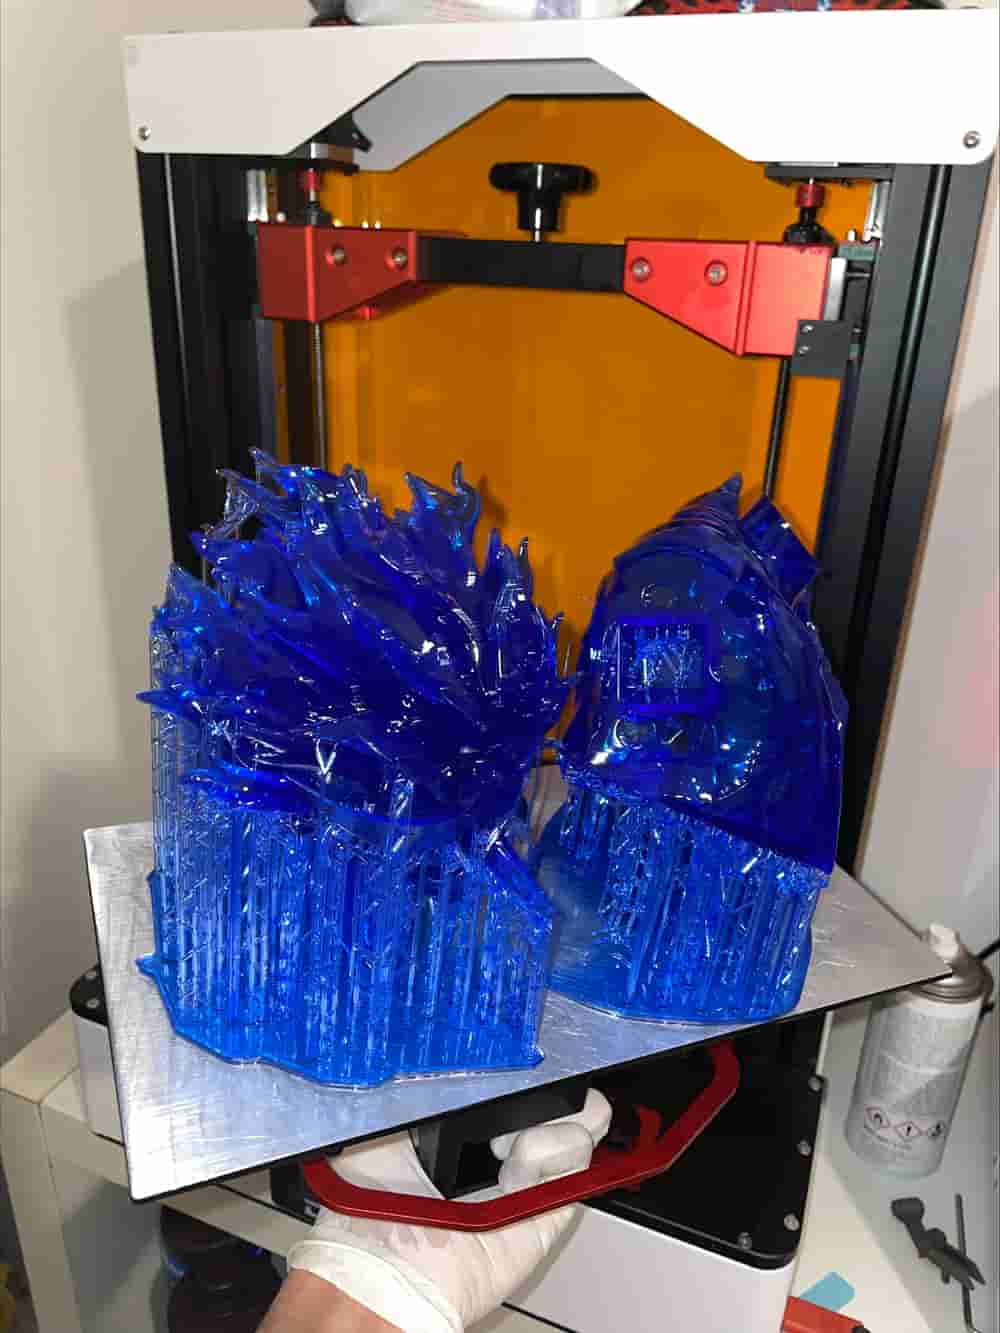
Primers for 3D Printing: Adhesion, Surfacing, and Colored Base
► From experience, when manufacturing figurines, articulated toys, or small-sized objects, it can be difficult or impossible to sand the surface and detailed reliefs. Therefore, I use a primer in the form of a direct adhesion primer that allows me not to erase the micro details. Stardust 3D printing paints adhere directly to Resin or Plastic Filament prints.
► For very large-scale figurines in 1:2 or 1:1 scale, to achieve a smooth surface and eliminate print lines, I sand and apply a filling and leveling primer. Finally, I use primers because they help me create a uniform colored base, serving as the foundation for my multicolored paintings or my 3D printing paintings with metallic or pearlescent effects..
Clearcoats for 3D Prints
Stardust offers a wide range of next-generation clearcoats that can be applied on paints but also directly on FDM plastic or UV resin prints.
► Depending on the case, I can choose to use ultra-resistant 1K or 2K solvent-based clearcoats, or water-based ones (odorless and suitable for indoor use). Above a 3D printing paint, clearcoats protect paintings and materials from abrasion or chemicals (detergents, fuels). Some resin prints are generally less resistant than plastic resins, and it can be useful to varnish them with a durable and glossy clearcoat. Clearcoats also allow for creating a glossy or matte visual effect, as well as "Soft velvet" or rubber texture effects.
FDM Printing (Fused Deposition Modeling)
Choosing the Right Paint for FDM Printing? I invite you to explore the article on FDM (Fused Deposition Modeling) printing technique, creating files with Slicer for FDM printers, as well as applications for COSPLAY, mechanical parts, accessories, and figurine gaming.
Definition
*FDM (Fused Deposition Modeling) printing is a process in which 1.75mm plastic filament is extruded at around 200°C and deposited in a melted state. The printed filament is then cooled and hardened by fans. This wire-based printing method is suitable for large-sized parts, producing very durable prints.
Preparing 3D Prints Before Painting
Before rushing to the airbrush, it's crucial to prepare the piece properly. I understand your eagerness to apply numerous colors to decorate your piece. However, to achieve a perfectly painted, smooth, defect-free piece without the risk of detachment, attention to the initial step of preparing the support is essential.
Adhesion
For medium to large-sized printed parts, adhesion is achieved through sanding, while for figurines printed with micro-details, sanding is impractical. In such cases, I sometimes use a very fine adhesion primer, either transparent or colored. Of course, this primer is optional when using paints with direct adhesion, such as Hikari water-based paints.
Surfacing 3D Prints
This preparation aims to eliminate the lines and grooves from FDM or resin printing layers, or marks caused by support structures. FDM printing leaves more marks than resin printing, requiring more extensive sanding.
I start surfacing with 320-grit sandpaper, followed by the application of a filling primer because fine paints and clearcoats highlight the slightest defects in the printed background.
► When there are significant defects, I usually apply putty, sprayable filler, or sometimes add a bit of UV resin with a syringe. After applying putty or resin, I always apply primer. Primer is a product that fills in micro-imperfections and creates a base color.
► I always use a white, gray, or black primer to create my background color, depending on the colors and effects I intend to paint.
Sanding a PLA Piece Made with FDM Printing
As the lines and surface are more pronounced, it's necessary to rough out the piece with more intensive manual or electric sanding, using progressive sanding grits (P180, P240, P320). For PLA pieces, it is highly recommended to use a primer or at least an adhesion primer to paint and apply adhesive masking without fearing detachment.
Painting on a Resin 3D Print?
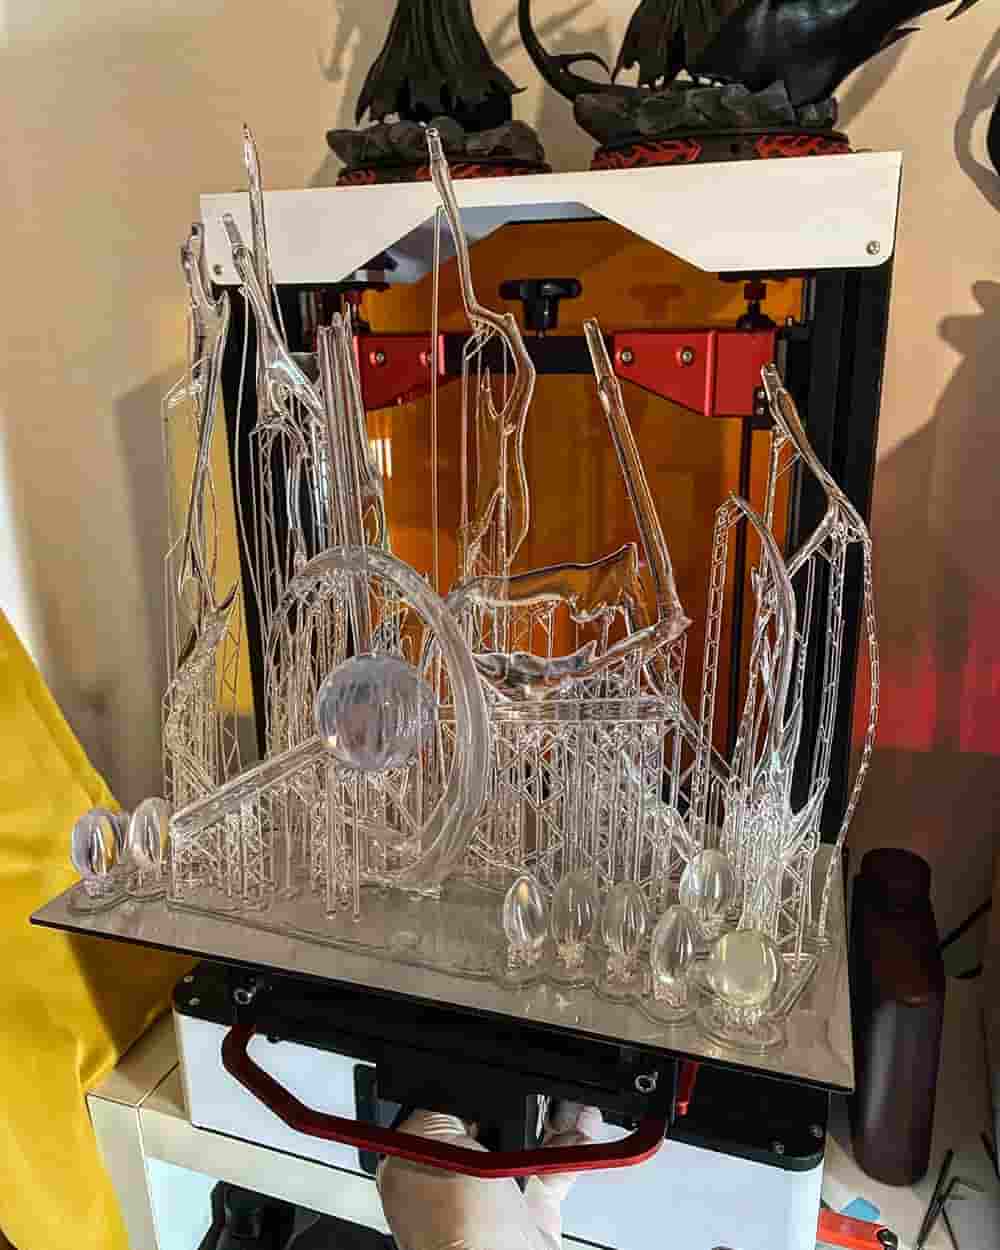
Take the time to check out our article on this technique : we delve into the resin printing technique, the Slicer process for resin printers, and our tips for creating collector figurines, tabletop miniatures, or larger pieces with cosplay prints.
An airbrush is the primary tool for painting on a resin 3D print, but a fine brush is also used for specific details. Painting with an aerosol or spray gun is also possible, especially when the piece or figurine exceeds 30 cm.
Definition:
*SLA Resin Printing : Resin 3D printing through photopolymerization also allows for creating 3D objects. Liquid resin in the 3D printer's reservoir is cured layer by layer using a UV light source. Resin printing provides exceptional resolution, precisely highlighting all textures.
Resin prints create surfaces with fewer defects, and it is easier and faster to prepare surfaces before painting compared to FDM printing.
Sanding Resin Prints :
For medium-sized pieces, I first sand major defects near support areas with P220 or P320 grit abrasive, then apply primer and sand the resin or primer with standard P400 and P500 grit, resulting in a perfect surface ready for painting. Primer should always be sanded on large smooth and flat surfaces.
Sanding scratches may only be visible below P300 grit, so no worries! On the contrary, I advise against sanding too fine, i.e., above P500 grit, as it does not provide satisfactory adhesion conditions.
I strongly prefer wet sanding, i.e., sanding with water, as it promotes smooth sanding without heat buildup and abrasive paper clogging. Then, I rinse the piece with water to remove dust and sanding residues, and I dry the piece.
Painting on 3D Prints
► I recommend an airbrush for all pieces measuring less than 20 cm. I use the airbrush as much as possible because it's a wonderful tool, allowing me to paint with a high level of finishing quality almost anywhere, using my small, portable, and quiet compressor.
For pieces between 20 cm and 2 m, I inevitably use a spray gun: it paints perfectly and quickly. Moreover, there is no other way to properly paint pearlescent, metallic, or transparent paints, especially clearcoats.
While many people are accustomed to using aerosol paints, I advise investing in an airbrush and a spray gun, firstly for economic reasons, and secondly to achieve unparalleled finishing quality.
FDM vs Resin: Which 3D Printing Technique to Choose?
Here's an article I've written to help you navigate the differences, advantages, and disadvantages of the two primarily used 3D printing techniques: FDM vs Resin. So, for your project, which 3D printing technique should you choose in each of these cases?
- Creating 1/8 to 1/4 scale collector figurines.
- Producing 1/1 scale figurines or "Cosplay."
- Making decorations/toys for exploring 3D printing and having fun.
- Crafting spare parts/mechanical components.
If you're looking to venture into 3D printing but are unsure where to start, or if you already have a printer but need guidance on achieving clean prints and painting, along with choosing the right materials, then this article is tailor-made for you!
Which Printer?
The choice of 3D printing method depends on your project and goals. If your aim is to create miniature figurines for collections or exhibitions with a high level of detail, then opting for a resin printer is clear. These machines are affordable and efficient, providing exceptionally high resolution.
While it's possible to create miniatures using the FDM wire-based printing technique, the level of resolution and precision is significantly lower. Even with substantial preparation work, achieving results as good as with a resin printer is challenging.
Choosing Paint for 3D Printing
Many resin 3D printing enthusiasts prefer using acrylic paints applied with an airbrush. However, professionals often opt for solvent-based paints. So, what paint should you use for 3D printing and how do you choose the best solution for each type of 3D printing?
Among acrylic paints for airbrushing, there is a wide range of colors, excellent quality finishes, and the durability of these acrylic paints and clearcoats is more than sufficient for display, gaming, and transportation.
Professional solvent-based paints are mainly used for medium and large-sized prints and by applicators with a paint booth or a workshop equipped with adequate air extraction systems. They enable accelerated drying and superior finish quality, particularly in terms of glossiness and the resilience of 2K clearcoats.
Masking
There are various types of liquid masking agents, such as Maskito and Liquid Mask. These products can replace the use of adhesive tapes and are especially useful on curved and intricate surfaces. However, caution is advised!
► Maskito is a flexible and pliable product that doesn't break when pulled. I use it for printing figurines with intricate and very fine reliefs.
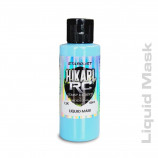
► Liquid mask is a very thin, transparent product that works only on smooth and flat surfaces. I apply this product easily with a spray gun or airbrush. I never use it on small pieces with many intricate shapes as it becomes challenging to remove in such cases..
How to Paint 3D Prints ?
What tools are needed to paint the different types of 3D printed parts?
► I choose an airbrush for miniature figurines or collector figurines up to 1/8 scale. The spray pattern from airbrushes with nozzles ranging from 0.2 to 0.5mm measures 4 to 6 cm in diameter when it reaches the surface at a distance of 10/15 cm. Let me provide you with these details to explain how to paint 3D prints up to 25 cm.
It is mainly during varnishing that the airbrush proves incapable of quickly applying a thick, glossy, and homogeneous layer on oversized pieces. The airbrush is maneuverable, easily adjustable, perfect for coloring with a high level of detail. It allows applying an ultra-fine layer to pieces with complex reliefs, printed with a high level of resolution.
► Mini spray guns for 1/8, ¼, ½ scale figurines
These mini paint guns have nozzles ranging from 0.8 to 1 mm, allowing me to apply primers, paints, and clearcoats to prints up to 80 cm. These small guns are very maneuverable, and their spraying is very precise. To apply clearcoat, a good spray rate is necessary. So, instead of using an airbrush, use a mini spray gun for your small miniatures.
► HVLP paint guns allow me to paint and varnish large pieces, for example, prints for COSPLAY. They also allow me to paint small pieces since it's always possible to adjust the settings using the gun's various knobs (pressure and shape of the wide or pointed spray pattern).
Paint Guns or Aerosol?
Some believe it's more convenient to use aerosols or spray cans because there's no cleaning involved, and no paint to extract or store. I would argue that it takes only a few seconds to rinse and clean a paint gun or an airbrush. I find that there are only advantages to using paint with a gun or an airbrush, including an incomparable application quality. It also leads to substantial savings as spray cans mainly contain gas and a small amount of paint.
Regarding formats :
In this category, several product ranges are offered :
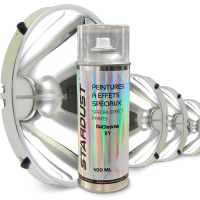
- Aerosol paints
- Solvent-based paints for airbrushes and spray guns
- Hydro paints for airbrushes and spray guns
- Auxiliaries (primers, cleaners, degreasers, varnishes, liquid masks)
Painting Techniques and Color Layering
I advise all painters who want to customize a printed piece with a design featuring multiple zones of different colors to prepare a "battle plan" with steps planned in advance. For example :
- Light opaque colors are always applied before dark colors.
- Metallic colors are applied on a black background.
- Some light pearlescent or fluorescent colors are applied on a white background.
So plan the sequence of colors, different effects, or even gradients, from the base, background color, to the clearcoat. Feel free to contact me for technical advice (tech@Stardustcolors.com).
Coverage and Drying
Regardless of the type of paint used, I recommend closely monitoring drying times. You can apply one color over another without sanding between the "dry to the touch" and "fully dry" moments. When the paints are completely dry (30 minutes for solvent-based paint or 2 days for water-based paint), you should sand the surface before repainting or covering.
♣ When I need to apply certain masking adhesives or liquid-type masking, I make sure to let the base paint layer dry properly and do a preliminary sanding with an abrasive sponge. This way, I have no risk of detachment when removing the adhesives.
Choice of Acrylic Paints for 3D Printing
Michael from @3Dfigurz, an expert in 3D printing, presents in this article dedicated to the comparison and choice of acrylic paints for 3D printing a review of various airbrush paint ranges he uses.
His comments are based on real and solid experience (you can get an idea of his works and talent through his Instagram page). Being self-taught, his attention to detail and commitment to quality work has allowed him to master both high-level 3D printing techniques and painting techniques.
In this article, primarily, three ranges of airbrush paints are briefly described and reviewed, highlighting their advantages and disadvantages.
Certainly, there are many other airbrush paint brands on the market that can be of excellent quality. However, we are proud to present three of the best paint brands in the modeling market, all 100% made in France.
Airbrush Paints
Special Pigments Effects
Additives
Gilding
Bodypainting
Hydro Dipping or Water Transfer
Pinstriping
Epoxy Resin
Minimize
