


The different paints applicable for 3D printing
3D prints are produced with different materials and result in ready-to-paint (or almost) pieces that can be covered with any type of 3D printing paint to bring them to life!
Anyone who has recently invested in a printer has undoubtedly realized that there is a clear necessity to own an air compressor or mini-compressor, along with an airbrush or paint gun.
There are in fact two ways of painting, with on the one hand the traditional way, that is to say with a brush and this is clearly not suitable for painting complicated reliefs and producing a piece with a perfect finish!
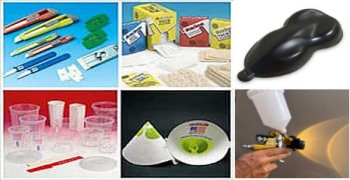
The other way of painting is spraying: in this way, the tool never touches the surface and the paint is projected by atomization. The result, as well as the possibilities, are incomparable to the rustic application with a brush. For this, two tools exist and are essential for all creators of figurines by printing: the airbrush and the pneumatic gun.
Of course, we will always need to use a fine brush, for certain small colorings and especially for lines and details. Otherwise, for all smooth or complex surface coloring, gradients, stenciling and masking techniques, airbrushing is used.
With which tools should I paint the different types of 3D printed parts?
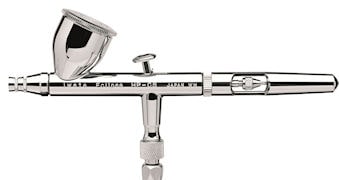
Regarding miniatures, we use an airbrush.
There is no point in investing in very expensive, high-precision airbrushes. Airbrushes with very fine nozzles (0.18 – 0.2mm) are not useful for painting printed miniatures and above all, they are very, very expensive!
I recommend that you opt for an airbrush with a medium (0.3 - 0.35mm) or even large (0.5mm) nozzle. For what ? I clearly think that using multipurpose airbrushes will save you from spraying problems with certain paints that are not fluid enough, which do not pass through very fine nozzles without dilution. Ultra-fine airbrushes are reserved for freehand drawing.
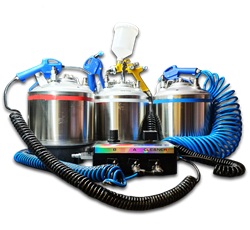
♣ Here is my selection of choice for airbrushes, starting with the BADGER 150, robust and efficient with its glass cup located below the airbrush and its choice of 3 nozzles and 3 needles included in the case, and the ECLIPSE 0.35mm airbrush from the IWATA brand and its cup positioned above (gravity type).
What to choose between an airbrush with a cup on the top or the bottom?
If you only paint small miniatures, then I definitely find the cup on top (Volume up to 7ml) more practical. You can pour the paint directly, you can stir it with a brush, rinse easily... But if, on the other hand, you are painting large miniatures, for example up to 20 cm, then in this case opt for the suction airbrush, which has the paint bucket underneath (volume up to 20 ml).
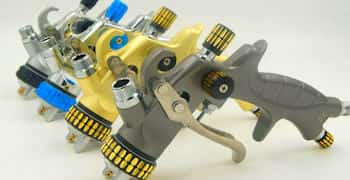
Regarding paint guns
This is valid if you paint mechanical or other parts and even more so if you paint armor or COSPLAY parts. In this case, I suggest you practice or even do a mini-training or an initiation with a local painter, to learn the basics.
I advise you, if you want to have a fairly economical case, with several guns, to opt for the two gun kit (a mini 0.8mm + a large 1.4mm).
Otherwise, if you want equipment, still in an economical price range, but with better performance and honorable quality, which will last you for years if you take care of it, then look instead at this mini gun delivered with 2 nozzles 0.8mm and 1.00mm.
Finally here is the 1.4mm ECO spray gun which will allow you to paint large parts (but just as much small parts). Personally, I only use this one because it is a versatile gun, which is equally capable of spraying thick primers, as well as ultra-thin paints. It's ideal for painting and clearcoating human-sized pieces!
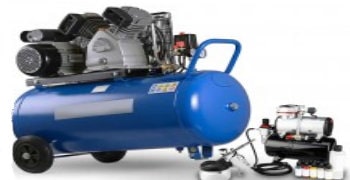
Which air compressors for 3D printing
Here is a subject on which I can advise you precisely, because I have a little experience under my belt, I have tested most of the compressors that exist on the market and I have worked equally well on miniatures of a few centimeters, than on sculptures of several meters.
Mini-compressor
If you work at home, on small parts up to 25 cm, then opt for a mini compressor: it's silent (It makes almost no noise and you can work at night without disturbing your family) and it's portable ! This is suitable for feeding an airbrush. If you sometimes have slightly larger rooms, then opt for a mini-compressor with a tank, that is to say a 3 liter air tank. And yes, most mini compressors do not have an air tank and they produce compressed air directly (but have no reserves, and therefore the air pressure depletes immediately at a fairly low pressure level around 1.5 bars).
Traditional air compressor with tank
If you plan to paint rooms larger than 50 cm and up to 2 meters, you need a compressor with a little more power! No need to have a 100 liter compressor, because you can work with a small compressor around 25 liters. You can use any gun with any compressor. What is important is to relate the size of the air tank to the quantity of surface that you want to paint (in general, I say that you need 25 liters per m²). Don't plan to put this in your apartment, it's quite noisy (around 80 dB)! But you can place it in your garage, or even outside your workshop, protected from bad weather in a small shed.
Paints for 3D printing COSPLAY
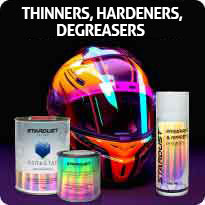
Let's get back to the subject of this article, paints for 3D printing! Please note that you can obtain the same results with solvent-based paints or with Hydro paints. In the case of water-based paints, you simply need to be more patient with the drying times, both between each coat and for the final drying.
Water-based paints certainly have a great ecological advantage and quite simply, an advantage of comfort of personal use in your workshop or at home. But they have a small flaw, they are water-based and water evaporates more slowly than solvents! This is not a problem in summer, but it can be a problem especially in winter. In this case, I usually heat the workshop to 20°C and I sometimes use a hair dryer, or a heat gun, to accelerate the drying and hardening of the paints.
Painting professionals also complain of difficulty sanding dry water-based paints, because they are thicker and softer than solvent-based paints, which are thinner and so easy to work with.
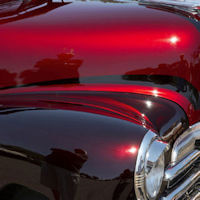
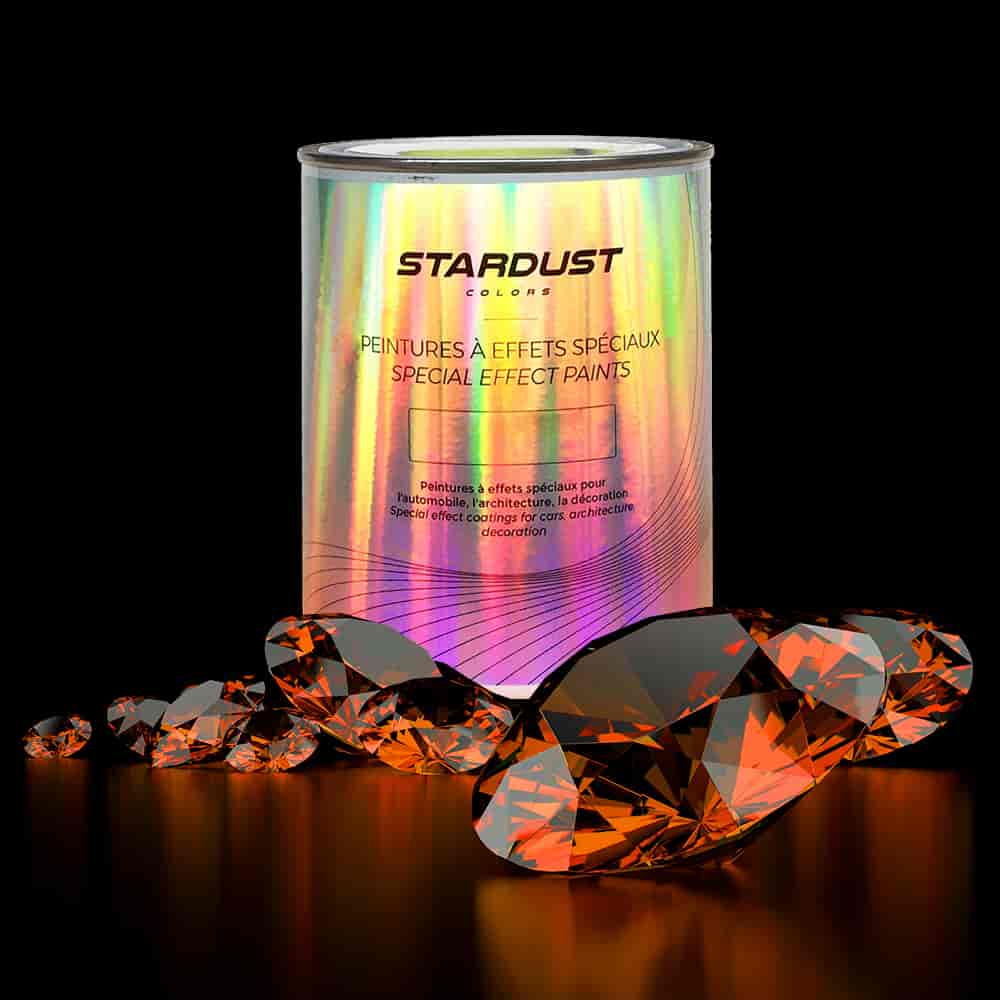
If you are interested in using the paints and special effects on our site, know that they are not just reserved for cars! In fact, they are used on any properly primed supports: they can be found almost anywhere, from coatings on household appliances, mobiles, architecture, windows... and therefore, this means that you can perfectly use them on your Cosplay 3D print, properly primed, with a professional primer.
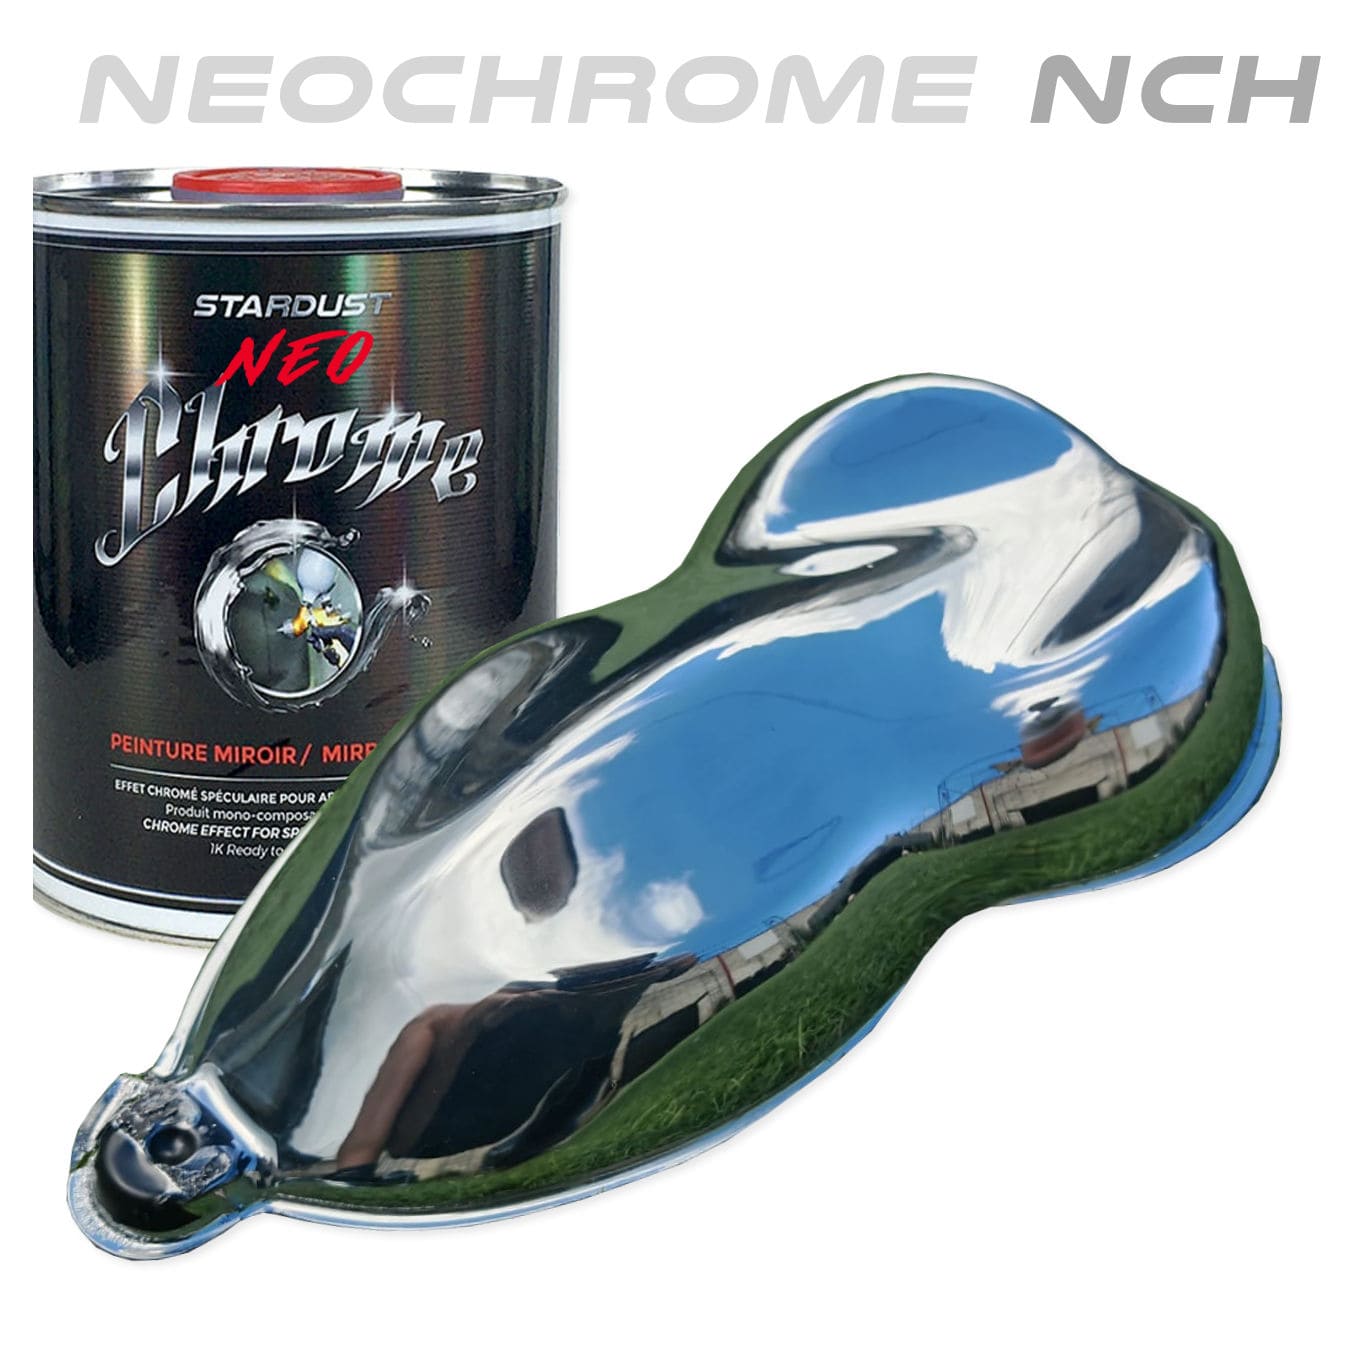
It is possible to use water-based paints for the decoration and coloring of all the pieces, but also to subsequently use a solvent-based clearcoat. Clearly, solvent-based clearcoats are by far the brightest and most resistant. Unfortunately, they can cause some poor quality paints to react with water. The paints in the Hikari 3D range are water-based colors that can be covered with solvent-based clearcoats.
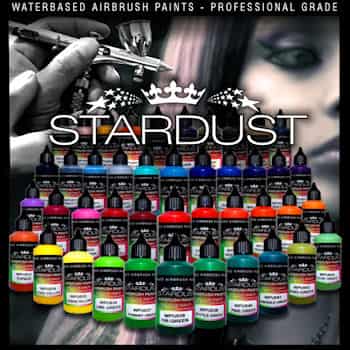
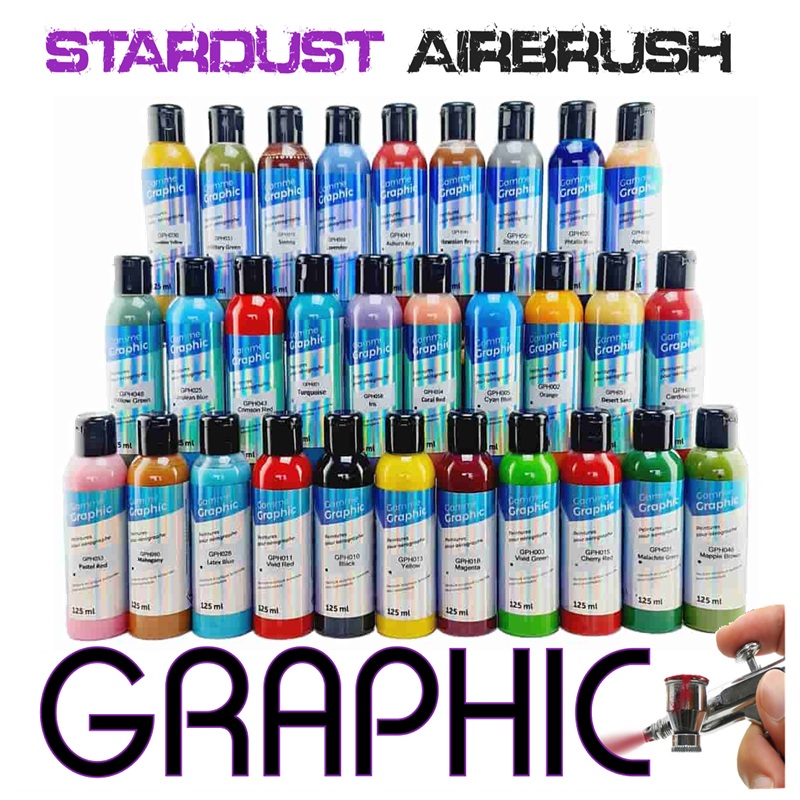
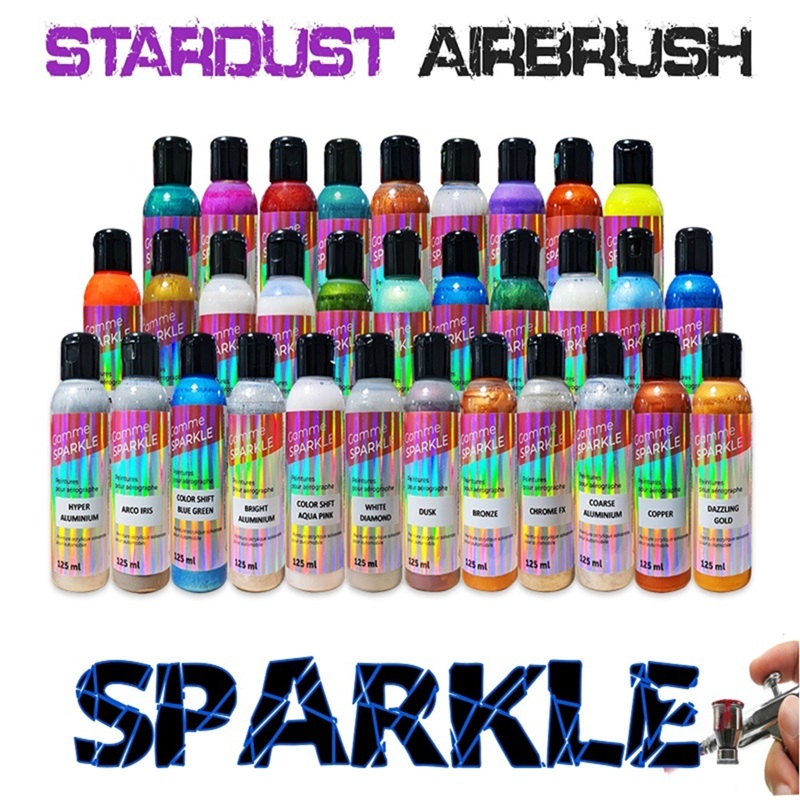
Ultra-thin paints for figurine 3D prints
To work at home, with a mini airbrush paint booth, the ideal is to use acrylic water-based airbrush paints.
The advantages are numerous:
- These are ultra-fine, ready-to-use paints that can be used without dilution with the finest airbrushes. But you can use them just as well with a paint gun.
- They are odorless and non-dangerous.
- They can be covered without sanding for 48 hours.
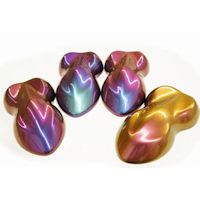
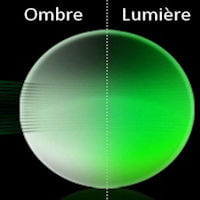
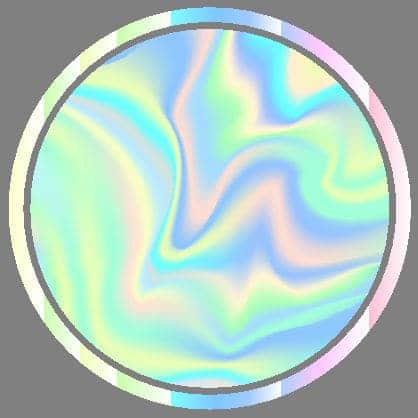
- The new innovative ranges provide all the new effects such as Candy, chameleons, fluorescents, shiny and matte clearcoats, pearly and metallic... In short, they no longer have anything to envy of solvent-based paints!
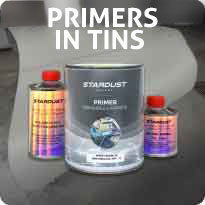
3D printing primers: adhesion primer and surfacers
A primer is a product that makes a surface “ready to paint”, it prepares! But then, what exactly does that mean?
The term primer has a vague meaning. There are mainly 2 types of primers:
1- The primaries or adhesion promoters
I use them mainly on FDM plastic prints, as I know from experience that plastics are more difficult to hang, than any other material.
In general, resin type prints are easy to adhere. Or, simply do superficial sanding (or deglazing) with an abrasive sponge. Adhesion promoters are generally transparent, very fine primers which are used to obtain adhesion without/or with sanding on certain materials.
In the case of 3D printing, I use the plastic primer which is a really very effective specialized primer. And I also like to use the universal acrylic primer, which I can cover with any other paint for 48 hours, without worrying about it peeling off afterwards.
2- Filling primers or surfacers
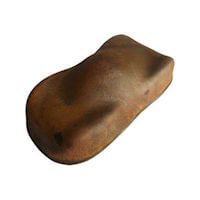
These are products originating from carpentry work, or even bodywork. These are thick products, which allow all pores and defects in the material to be filled, under a thick layer, which is intended to be reduced by fine sanding.
► For airbrush miniatures, there is an acrylic primer, ready to use, fine, leveling, matte and which sticks very well. I can paint afterwards, without sanding.
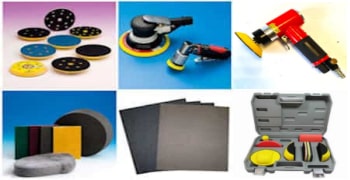
► I use the two-component solvent-based filling primer (spray or pot) only for COSPLAY prints or prints of ¼ or ½ scale parts. I apply a thick layer and generally let it dry for 2 to 4 hours. Then I sand with 320/400/500 grit sandpaper. I remove as much material as possible and then obtain a perfectly smooth and flawless surface.
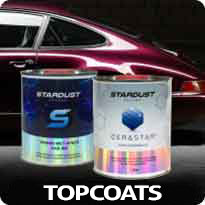
Clearcoat for 3D prints
clearcoat mainly has 2 functions, the first of which is decorative and the second is protective.
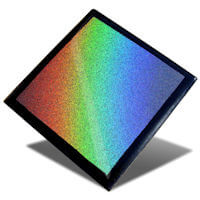
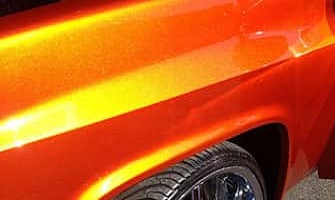
clearcoat is a transparent layer, which can have high or very low levels of shine. There is a whole range of clearcoats from matte clearcoats, through satin clearcoats, to glossy clearcoats.
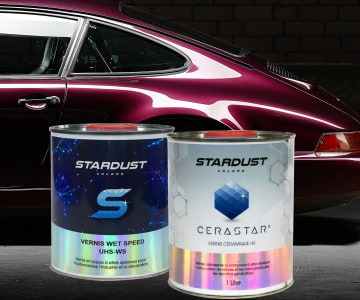
► For small figurines, I always use ready-to-use acrylic clearcoats which are offered in the Stardust pro range (thick or thin glossy clearcoat, satin, matte, ultra matte). They are easy to apply and give very good results. And that suits me very well for the level of demands I ask for his pieces!
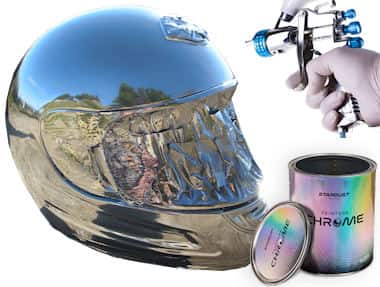
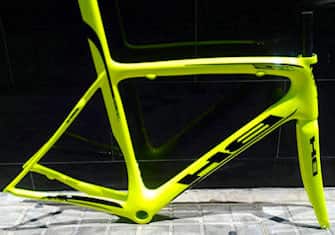
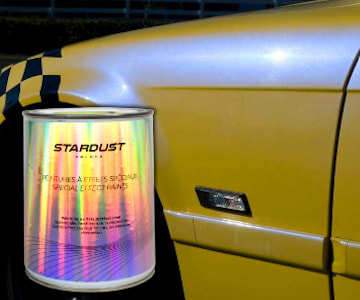
► For large prints and especially for Cosplay, I use very high quality clearcoats. These are clearcoats borrowed from the automotive world, which are always 2-component products (you must mix the clearcoat with its hardener and use it before hardening). The result I obtain with this type of clearcoat is always on par with my metallic paints: the gloss is exceptional and the resistance is foolproof. Of course, this type of clearcoat is quite harmful and I have to do the applications outdoors, with a painter's protective mask.
There are also special clearcoats, with velvet/peach skin type touch effects, or “gum touch” or “rubber effect” effects.
So, that’s it, I think you have all the keys in hand to start 3D printing! Now all that remains is to choose the material! At the end of this article you will find pages of advice, in particular on the tools that I recommend depending on the applications you want to make of them!
Now that everything is clear about 3D printing, we are ready to create! To our printers! And to our airbrushes!
Painting on a resin 3D print
FDM VS Resin, which paint for 3D figurine to choose?
How to paint a 3D print?
FDM (Fused Deposition Modeling) printing
Choosing acrylic paints for 3D printing


.jpg)