Choice and comparison of airbrush paints for 3D printing
Applying colors
We finally arrive at the stage that I prefer, the moment when we finally see our figurine, cosplay or other come to life by applying colors!
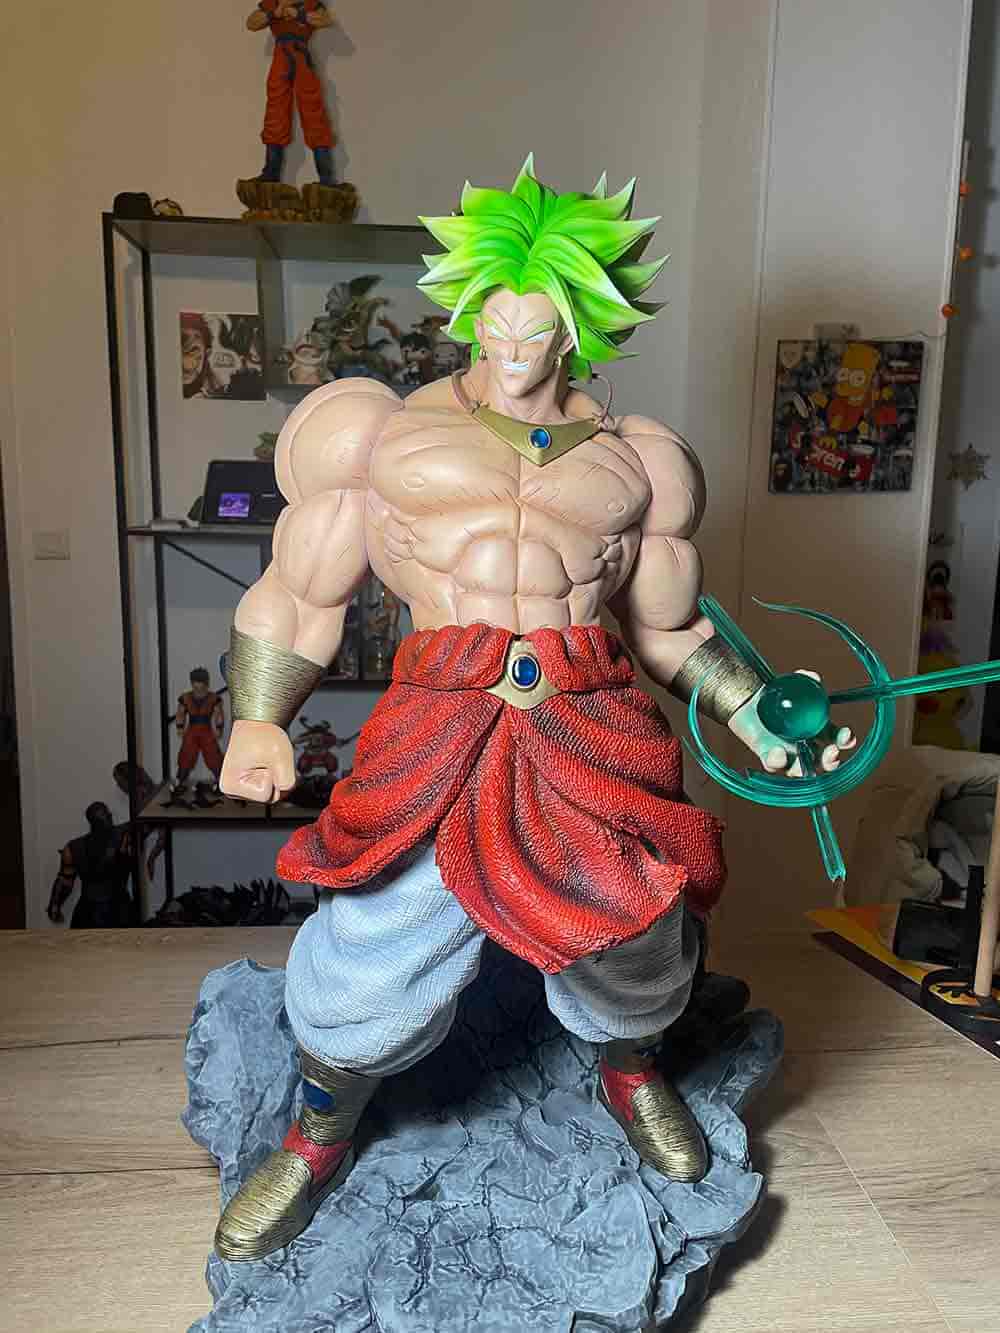
For painting 3D prints, I think everyone has their own style and techniques, even if there are some basic notions, ultimately tastes and colors are quite personal. For my part, I found the style that I like and my way of painting follows the following steps:
a. Base color for aero
b. Aeroshading
c. Air thinned
d. Fine details (eyes, contours, lines, etc.) with brushes
e. Highlighted with brushes (dry brushing and/or highlighting)
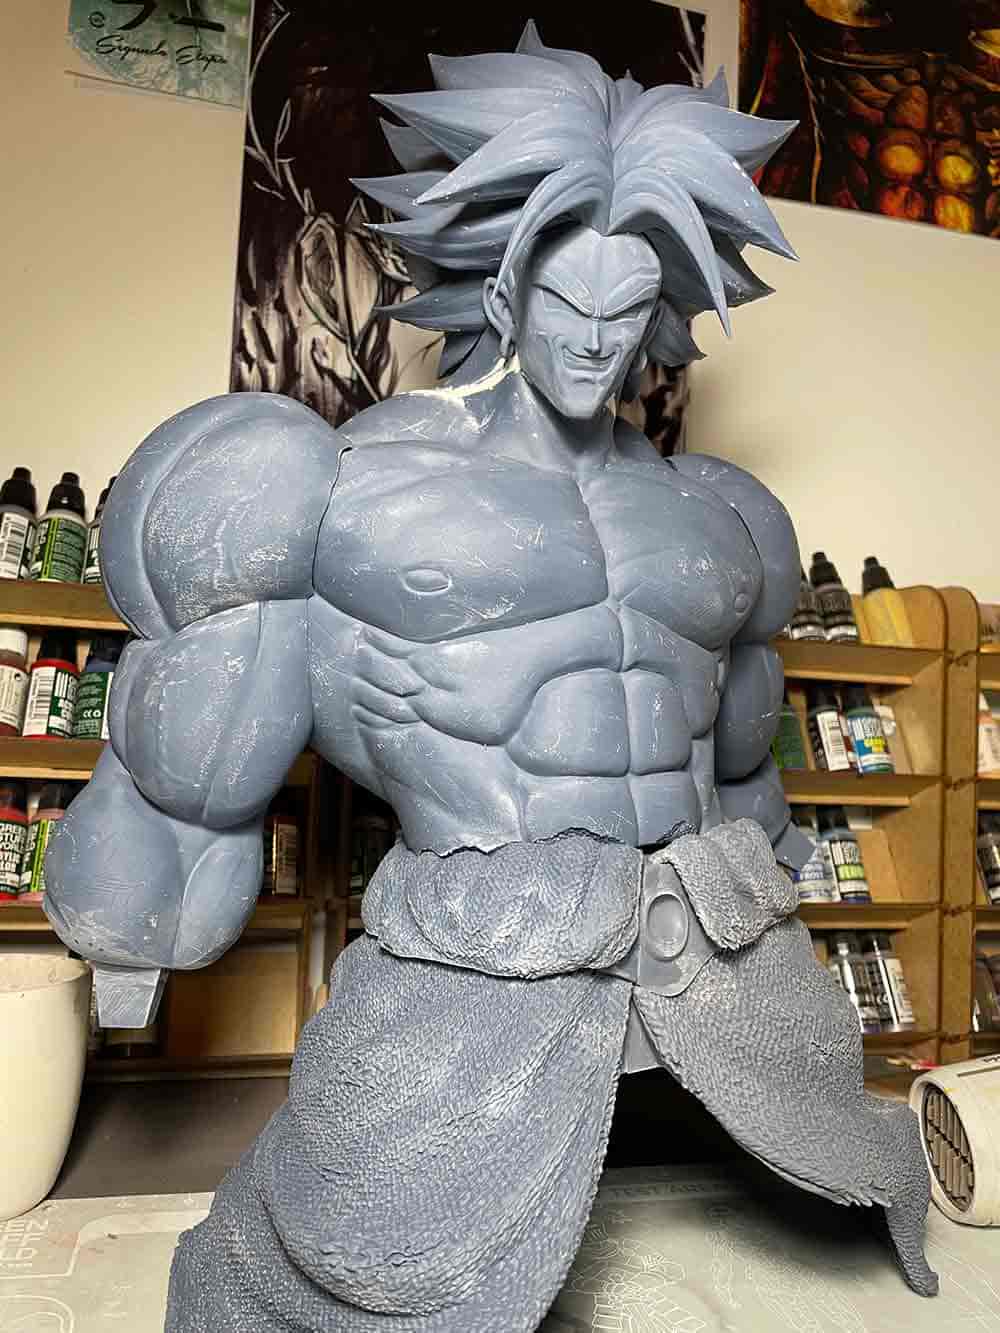
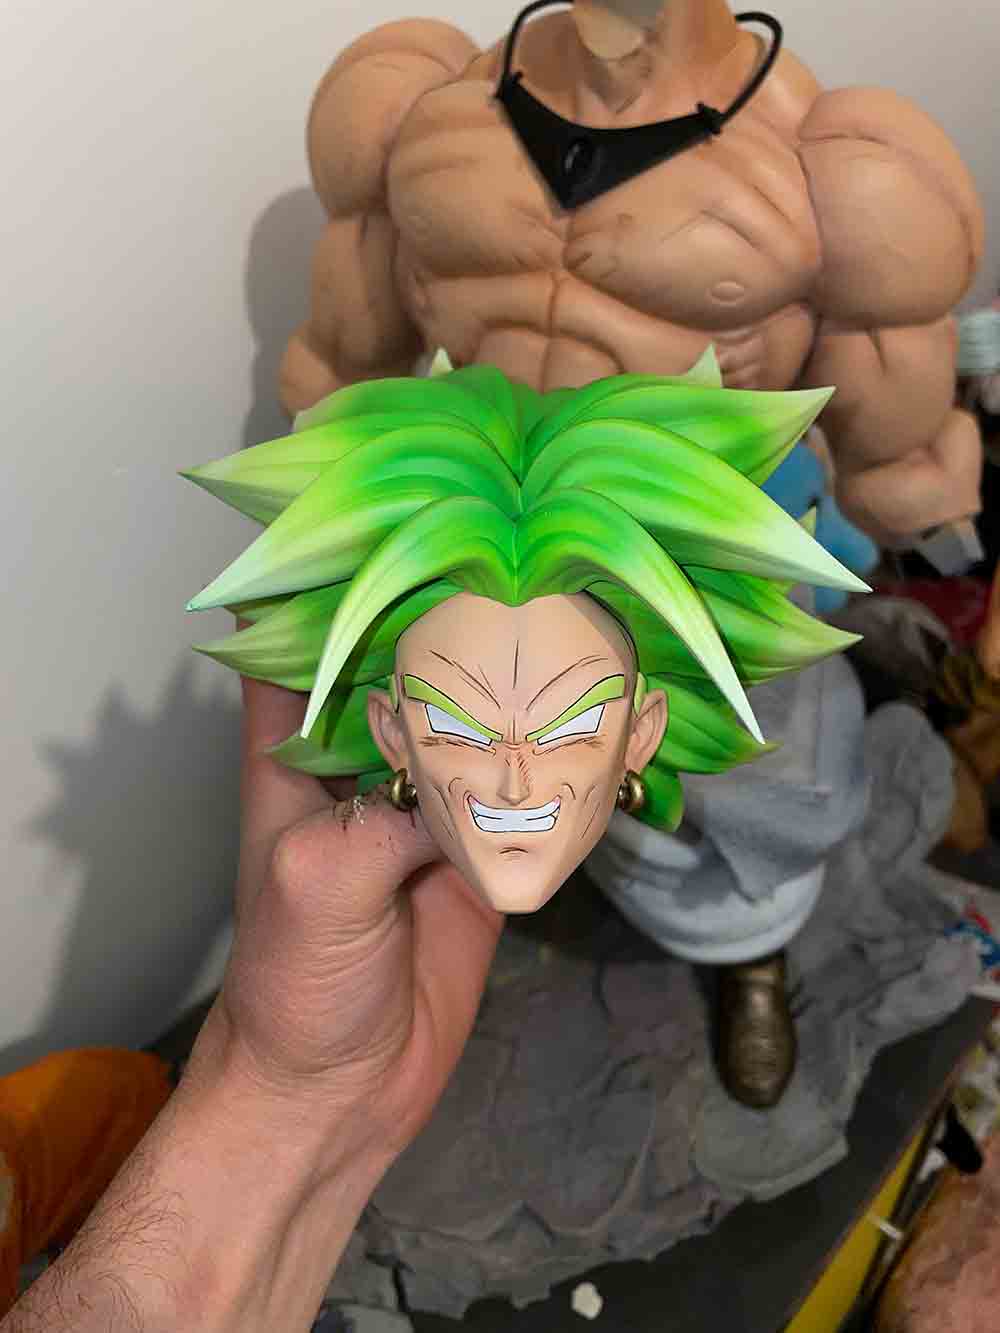
I am not going to go into detail about the painting techniques because that is not the purpose of this article. Once you have figured out how you want to apply your colors, the next thing to know is which paint ranges/brands to use! There are a lot of different brands of paint and several types of paint and you can quickly get lost…
I will try here to guide you as best as possible in your choices, always basing myself on my personal experience and on the equipment that I have used and that I use on a daily basis.
The choice of paints
In the same way as choosing the 3D printer, the choice of paints depends on what you want to do with it. Almost all of my paintings, with the exception of a separate range, are acrylic paints. My experience and my selection advice will therefore be based solely on this type of paint.
Even if you are just starting out, in my opinion it is very important to start directly with good, or even very good, quality paints. The difference between pots of low-cost, entry-level acrylic paint that you will find in supermarkets and pots of paint offered in specialized stores/sites is truly enormous.
“Low-end” paints are generally very thick and with few pigments, to be able to apply it properly you will have to dilute it a lot and to cover correctly, you will have to apply dozens of coats for a result which will probably not be Perfect. This is the best way to get discouraged and hate painting. I know what I'm talking about, I've experienced it myself...
So here are the paints that I use and that I recommend to you whatever your level of paint:
The Stardust Pro WPU acrylic range
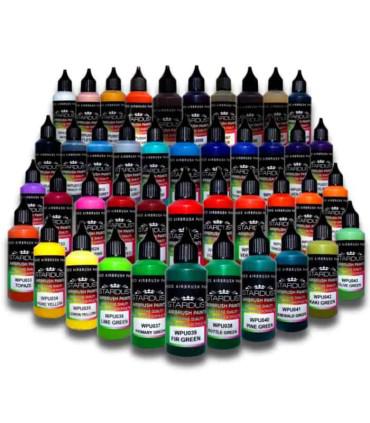
This range of acrylic paint to be applied with an airbrush is certainly my favorite!! There isn't a single figure I paint without using at least one color from this range! The pigmentation is great, the colors are very beautiful and the dilution is almost perfect for direct use in the air without additional dilution. Some colors require a slight dilution but nothing too complicated! What I particularly like about this range is that its matte finish gives a professional look to my figurines. The paint sticks and covers the piece very well and dries quickly to the touch.
The Stardust pro series is broken down into several categories of paints. Among them, we will find:
- The professional artistic series composed of 47 colors
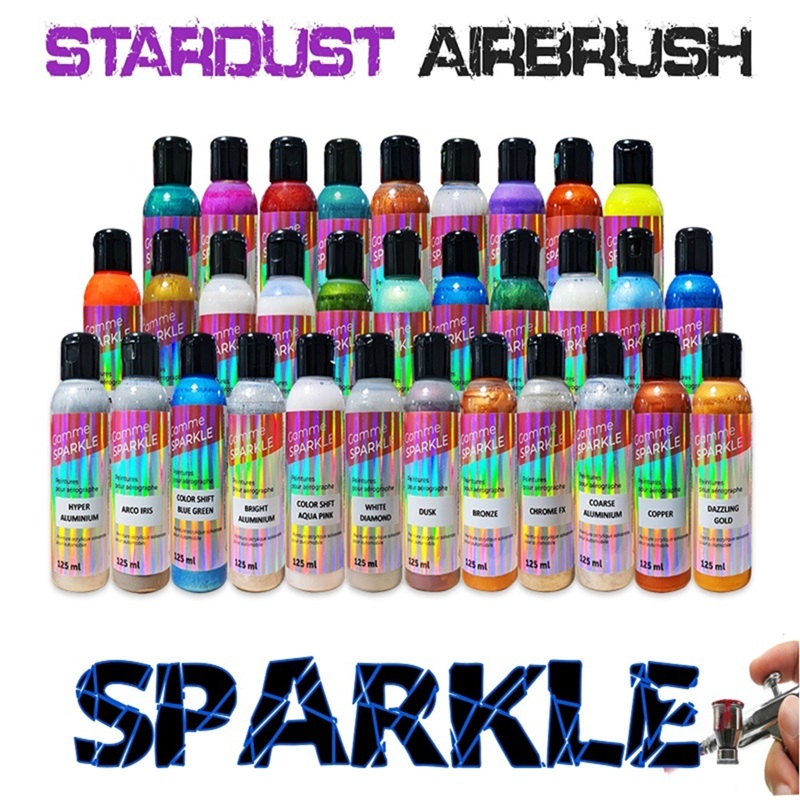
- The metallic/pearl series composed of 35 colors
- The Candy series composed of 11 colors
- The chameleon series composed of 20 colors
- The fluorescent series composed of 13 colors
For my part, I haven't yet had the opportunity to test the Chameleon, Metallic and Fluorescent ranges so I won't talk about them. I mainly use the artistic range and the Candy range.
+ Strong points of the Stardust pro range:
- Wide choice of colors
- Very good pigmentation
- Very covering colors
- Good fluidity
- Usable without dilution (except some colors)
- A professional rendering
- Low cost 60ml jars
- Dries quickly
- Weak points of the Stardust Pro range:
- The paint dries quickly on the airbrush needle
- Can quickly clog the airbrush if cleaning is not done or done poorly
- The drip of the pots often gets clogged
Well you will have understood, I 100% recommend this paint!!
The Hikari RC acrylic range for airbrushing
This is another range of acrylic paint to be applied with an airbrush that offers opaque colors. It’s also a range that I use very often because it offers color shades and allows for different results from the pro range. The main advantage of this paint is its strong grip and impact resistance!
A very interesting point for artists like me who often move their figurines to exhibit them at conventions. It is also a very wise choice for painting accessories for cosplay!! It is also a paint specially designed for Lexan and radio modeling!
In the same way as for the pro range, we will find several categories of paints for this Hikari RC range: Candy, fluorescent, metallic, chameleons…. I mainly use Candy and “standard” paints.
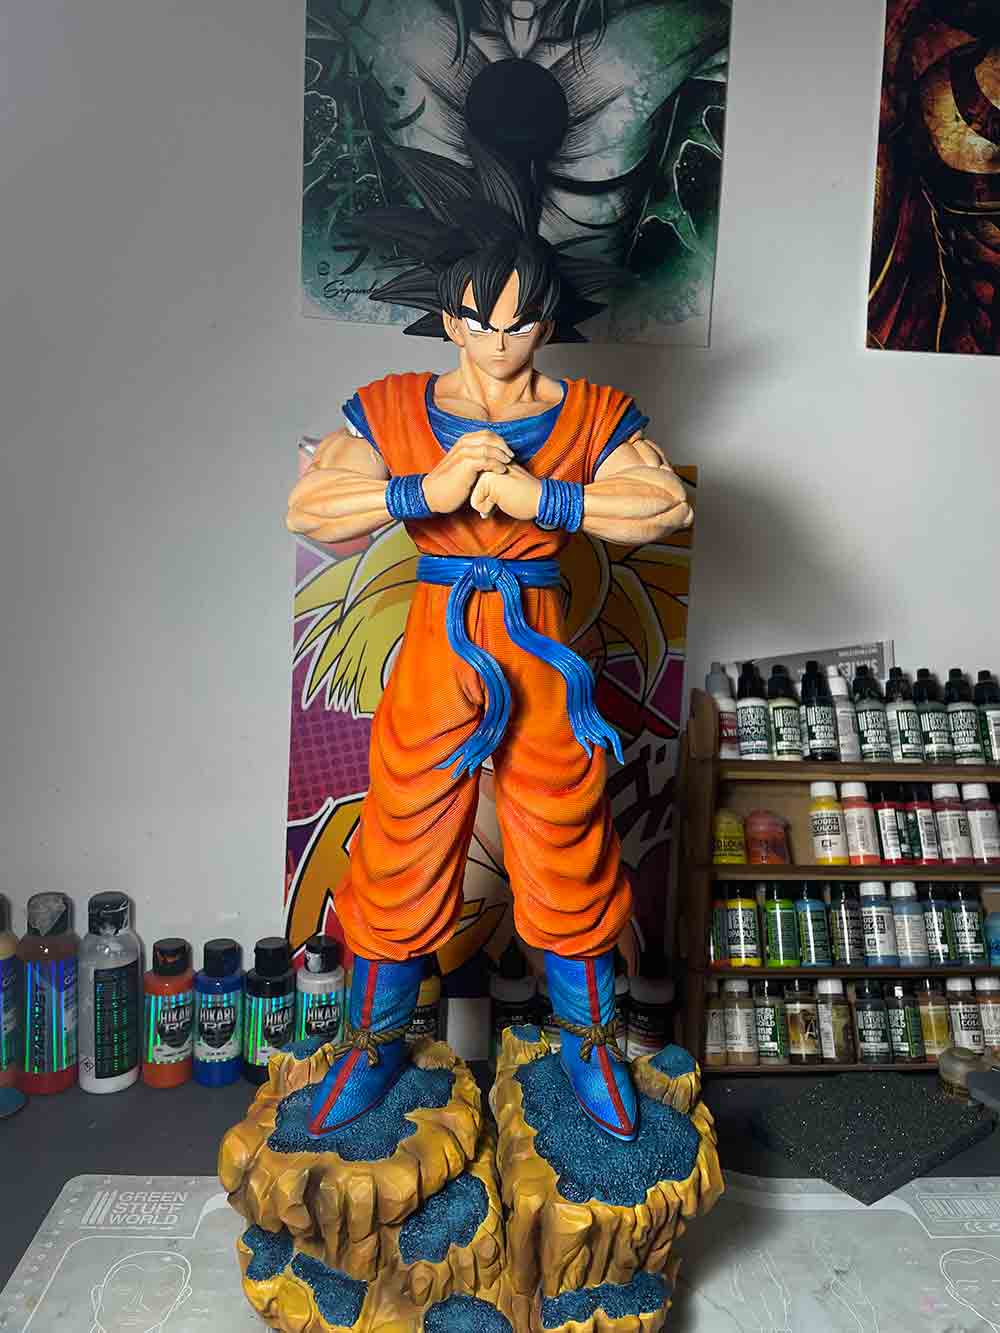
+ Strong points of the Hikari RC range:
- Wide choice ofk colors
- Very good pigmentation
- Very covering colors
- Very good fluidity
- Can be used without dilution
- Impact resistance
- The White !! Best white acrylic airbrush paint I have tried!!
- Weak points of the Hikari RC range:
- Can quickly clog the airbrush if cleaning is not done or done poorly
- A slightly 'shinier' rendering (this is not a real fault depending on the rendering you want)
- Jar caps are a little fragile and do not allow as precise dosing as for the Pro WPU range
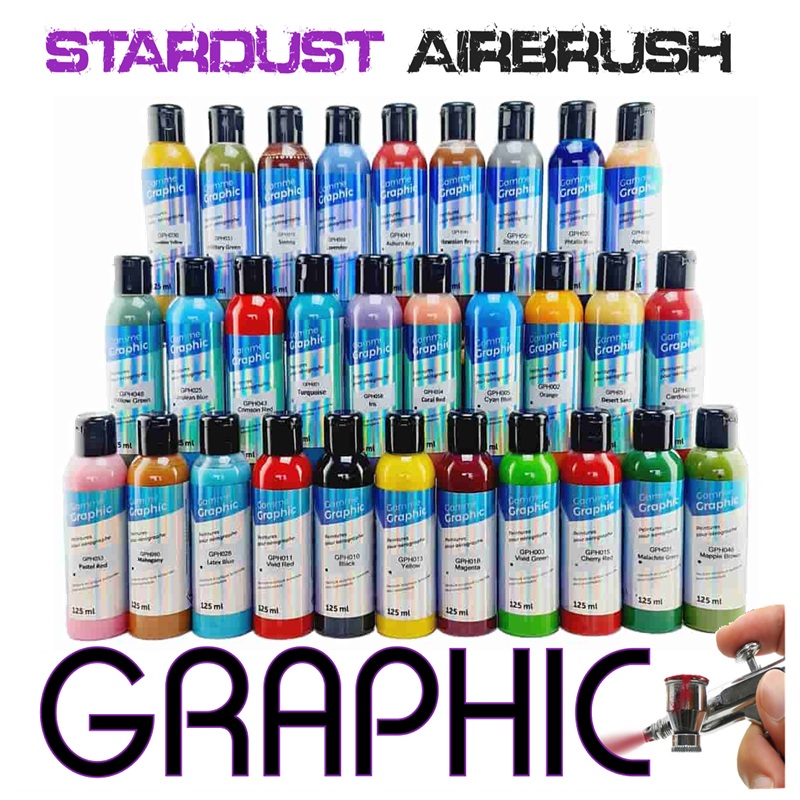
The Graphic solvent range
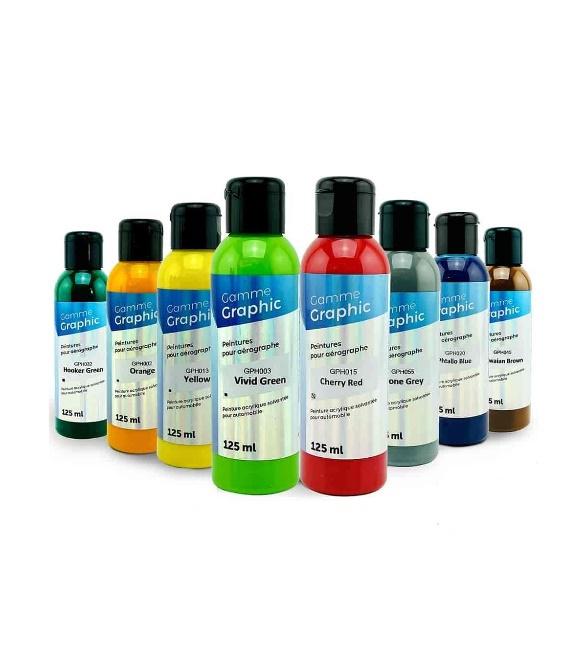
This range of paint is quite special since it is not acrylic paint but solvent-based. Stardust is the only brand to offer this type of paint for airbrush use. It’s a very interesting range that I also use to paint my figurines because it offers a wide variety of colors and very interesting advantages compared to acrylic paints:
- Finer paints
- More resistant
- Easier to clean
- Do not obstruct the aerodynamics (major advantage!!)
- Extreme fluidity and unlimited dilution
This range, however, has a major drawback: the harmfulness of the paint. Of course, you just need to have the appropriate equipment to overcome this problem, but it still remains a constraint to take into account, especially if you are starting out.
Candy paints for airbrushing and printing
Here, I am not going to talk about a range of paints but rather about a type of paints that I use a lot and which are found in all the ranges presented above: Candy paints.
Candy paints are transparent or semi-transparent paints that can be used for many reasons, but one of the main reasons I use them is for painting over clear resin!! This allows you to maintain transparency while coloring the resin! The result is just great!!
You should know that there are now concentrated and transparent colors to tint transparent resins. These inks are delivered in a small 17 ml bottle. Just add 1% to color the transparent resin. There are also transparent and fluorescent inks available at Stardust.
Clearcoats for printing
Here we come to the end, as we enter the very last step: The clearcoat! After you have finished painting your object, it is important to varnish it to protect the paint. In the same way as for undercoats, there are many clearcoats and you can apply them with a spray, airbrush or even a brush!
Personally, I always varnish my figurines with a matte clearcoat that I apply with a spray can or airbrush and each range of paints offers clearcoats. Clearcoat can also be used not to protect the painting but to play on renderings, textures and draw the eye towards a specific point.
For example, I always varnish the eyes of my figurines with gloss varnish. Simply test several clearcoats to find the one or ones that suit you best. For my part, these are the clearcoats from the Stardust pro range!
The final word
By reading this article, you have learned the general functioning of printers and how to choose the right one when you want to start 3D printing. You also know what steps to follow before moving on to painting your parts and what paints to use with an airbrush (at least which I recommend based on my personal experience). Now it's up to you, hoping that this article will help you accomplish your projects!
Michael to @3DFigurz https://www.instagram.com/3dfigurz/
Painting on a resin 3D print
FDM VS Resin, which paint for 3D figurine to choose?
How to paint a 3D print?
FDM (Fused Deposition Modeling) printing
Which paint for 3D printing?


