Black/Colour Effect
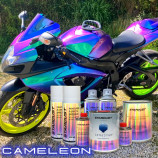
10 colours available
In stock
The kit includes all the products needed to complete the three-step paint process for your motorbike body parts :
Background colour
Black Interference effect paint Stardust® (choose from the drop-down menu)
Topcoat
► Tutorial: How to Paint a Motorcycle
Products included:
Background : 1 L pre-thinned black base
Black Interference Stardust® : 1 L pre-thinned
Clearcoat : 1.5 L kit, UHS830
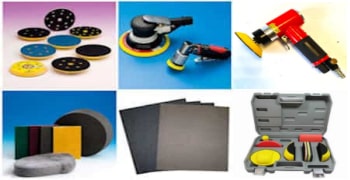
The kit does not include abrasives or adhesives
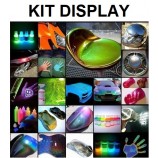
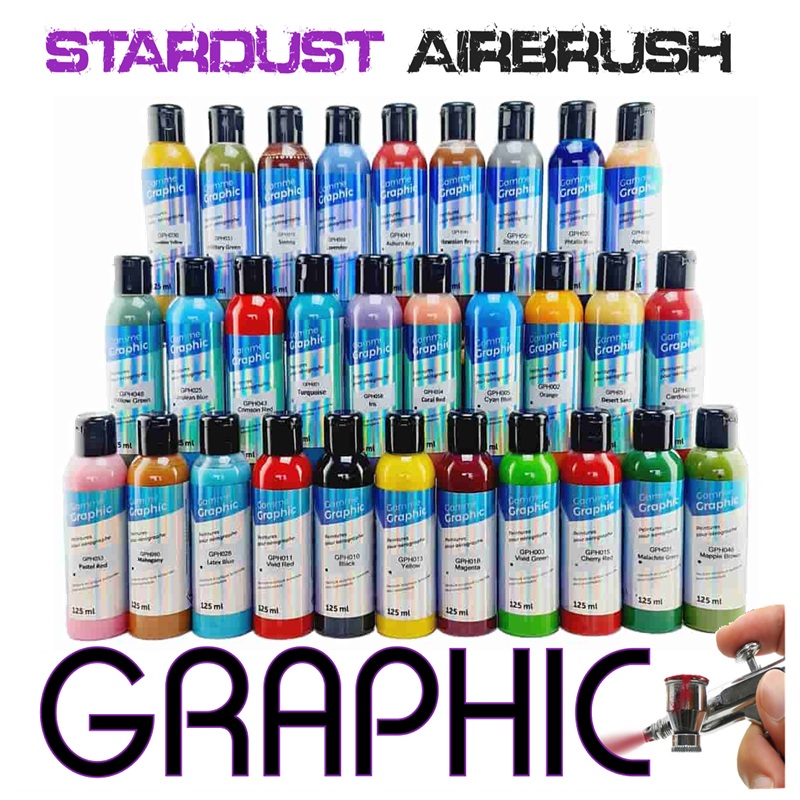
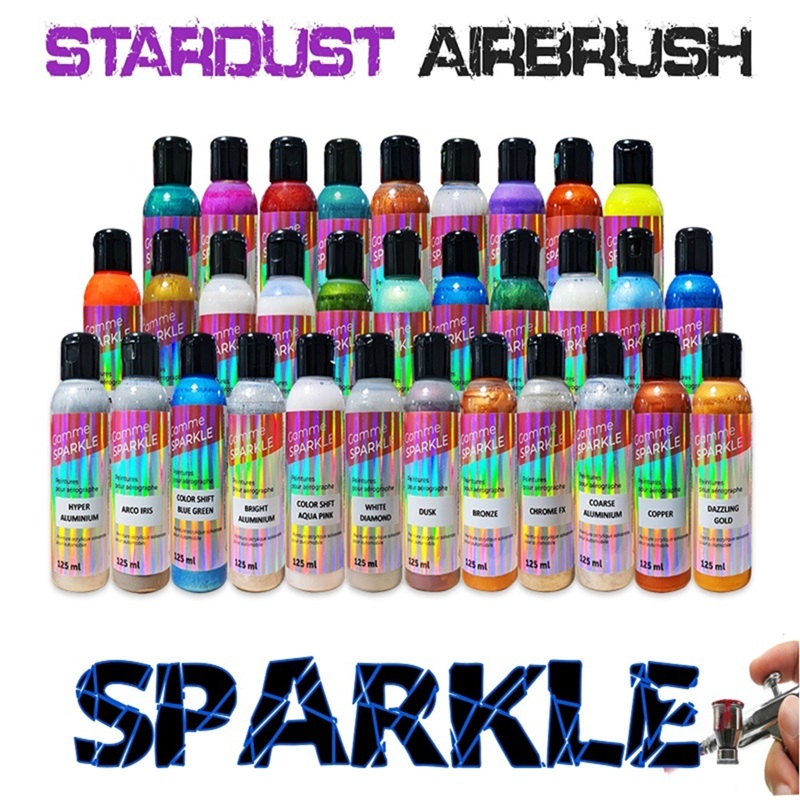
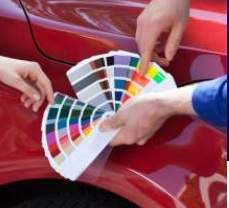
Available colours (see photos)
The following summarises the application method:
Prepare the substrate: for an existing paint surface, do not strip it. Sand lightly with P800.
Ensure the surface is sound and free from grease, moisture, and dust.
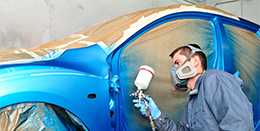
Apply the products using a spray gun with a 1.0–1.5 mm nozzle.
Apply the black basecoat in thin passes until the previous colour is fully covered.
Immediately follow with the Black Interference paint, applying thin coats without excess material.
Use only the amount required; do not completely cover the black base — 2 to 3 light coats are sufficient.
Then, apply the clearcoat straight afterwards.
Mixtures:
The black base and the Black Interference basecoats are ready to use; no hardener or thinner needs to be added.
For the UHS830 clear Topcoat, the mixing ratio is 3:1 by volume, with 5–10% thinner.
It can be applied in 1 to 3 coats, allowing a 5–10 minute desolvation interval between coats.
Find here our complete BLACK INTERFERENCE paint kits:
► Car Kit
► Bike Kit


