


 How to apply paint to plastic?
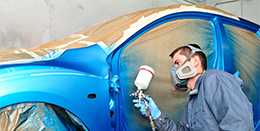
In automotive painting, surface preparation and adhesion are crucial, as they determine the durability and long-term resistance of the paint job. The longevity of a paint finish does not solely depend on the quality of the paint, but also on the preparation, technique, and primer used. Painting plastic surfaces can be challenging, and achieving strong adhesion is often difficult.
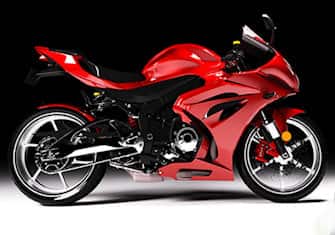
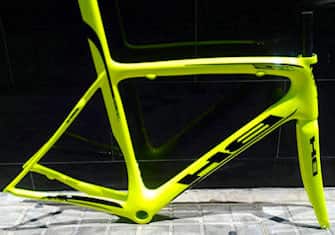
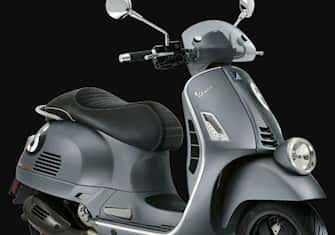
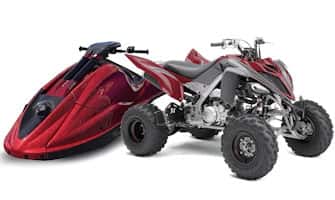
Plastics may require painting in both the automotive industry (bumpers, quad fairings, body panels) and the industrial sector (crates, eyewear, storage tanks, etc.).
Here is a unique, complete and detailed tutorial on techniques for painting plastics in 4 steps:
Step 1 ► Identify the Type of Plastic
Step 2 ► Prepare the Plastic Surface
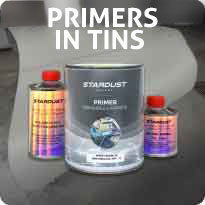
Step 3 ► Apply a Plastic Adhesion Primer
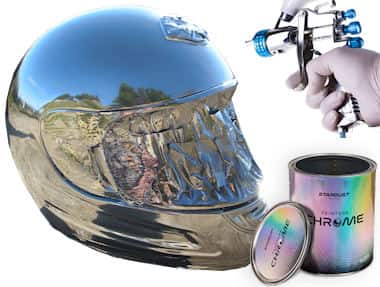
Step 4 ► Apply Paint and Clearcoat
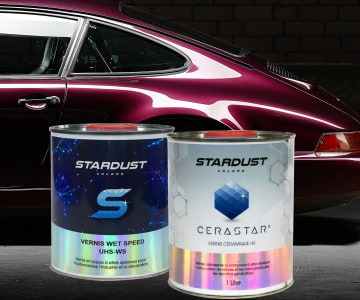
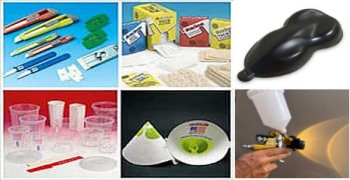
Required Products for Painting Plastic:
♦ Degreaser
♦ Paint thinner
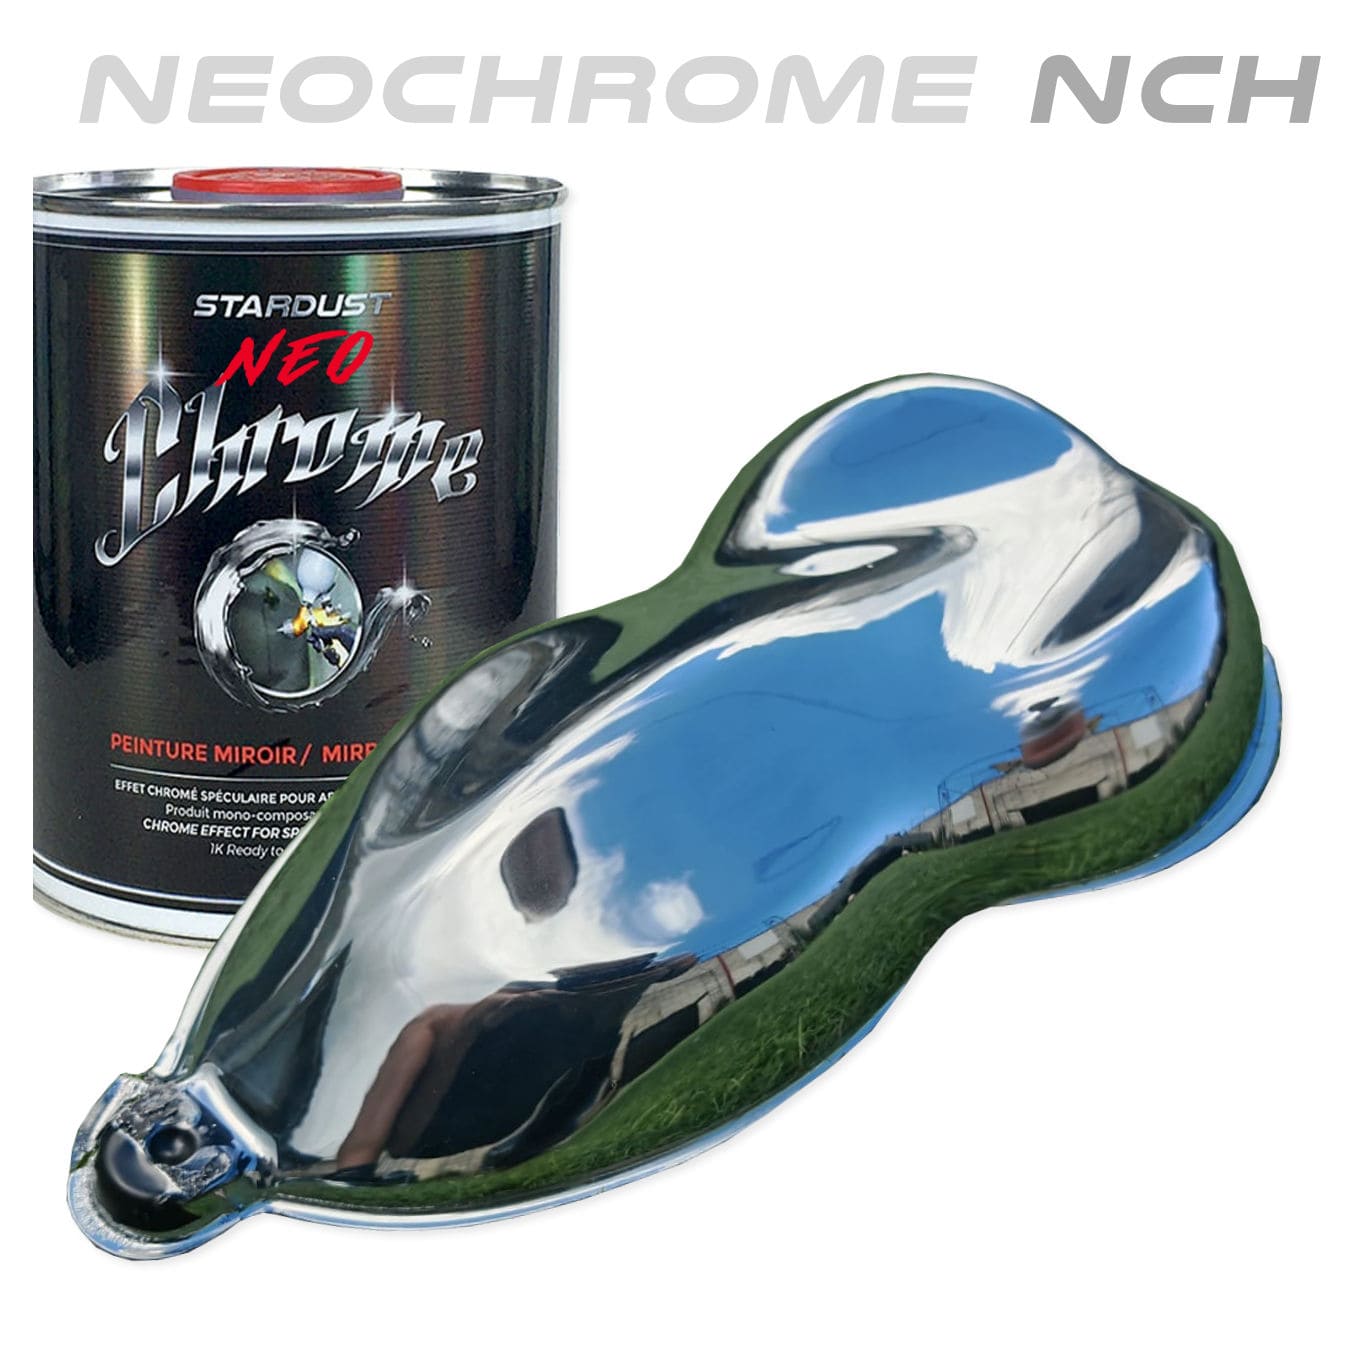
♦ Plastic paint
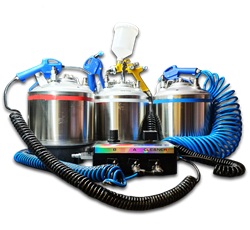
Here is the equipment needed to paint on plastic:
♦ Abrasive sponge
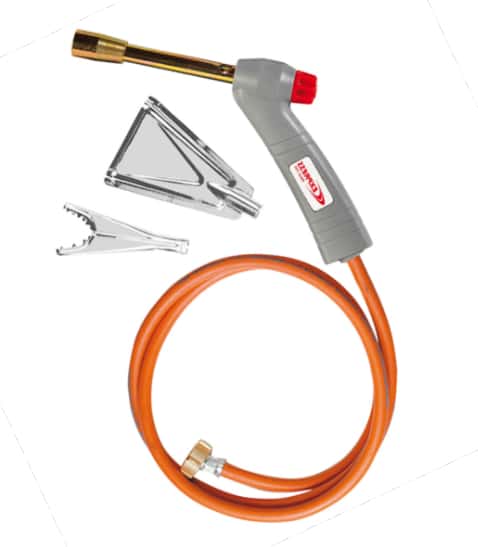
♦ Gas torch/burner
⚠ Important Considerations
Painting plastic is far more complex than many might assume. The risk of peeling or chemical reactions between the paint and the plastic is significant.
For successful adhesion, it is crucial to understand that plastic preparation is just as important as applying the plastic adhesion primer.
Simply applying a primer without proper surface preparation will not guarantee strong adhesion.
Step 1 ► Examine before painting a plastic
The techniques described here apply to bare, unpainted plastic surfaces.
If the plastic is already painted, then the paint adheres to the existing finish. In this case, only light sanding is needed, without requiring any special primer or treatment.
Before painting, examine the plastic surface and determine its type.
Most plastics have an identification code imprinted on the inner side of the part. Whether it's a fairing, water bottle, or toy, this marking—often a letter inside a triangle—identifies the plastic type.
Knowing the type of plastic helps determine the best preparation technique. However, a plastic adhesion primer will always be necessary, regardless of the plastic type.
 Step 2 ► Prepare the plastic for excellent adhesion
Since different plastics have varying levels of resistance, it is important to identify the plastic type and, when in doubt, conduct preliminary tests.
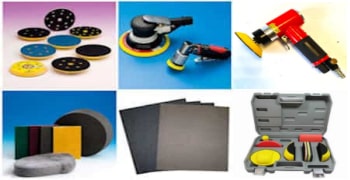
► Sanding
The primary technique for promoting paint adhesion on plastic is abrasion. This removes the glossy, non-porous layer on the surface.
Do not use standard sandpaper—instead, use abrasive sponges (grey or green).
Abrasive sponge equivalents:
→ Grey sponge → Approx. P800 grit
→ Green sponge → Approx. P320 grit
Unlike sandpaper, which heats up and can melt the plastic, abrasive sponges scratch the surface finely and evenly. They also allow for easy sanding of intricate areas.
The action of the abrasive sponge is sufficient to create grip on certain delicate or sensitive plastics such as PS and on the contrary, it is insufficient on other much tougher plastics such as PP or PE.
- Soft or delicate plastics (e.g., PS) → use isopropyl alcohol for gentle cleaning.
- Resistant plastics (e.g., PP, PE) → Dip the abrasive sponge in paint thinner for more aggressive sanding.
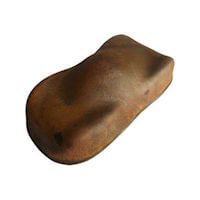
After treatment and drying, the previously glossy plastic will appear whitish and matte—this indicates good adhesion potential.
► Flaming: the technique of flaming plastics.
Flaming is a very effective technique (but should be used with caution) which allows you to create excellent adhesion on certain difficult plastics. We use this technique on bumpers, Quad fairings, Polyethylene (PE) fuel tanks... Please note, this technique should not be used on certain plastics!
The technique is very simple: Use a gas burner with a flat nozzle to produce a blue or yellow flame. Do not use a heat gun—it does not have the same effect.
With the flame, you have to make 1 or 2 rapid back and forth movements on the surface of the plastic.
We can observe a sort of "sweating" of the plastic which occurs very succinctly. The grip is not the result of “sweating the plastic solvents” but rather the result of the removal of electrical voltage from the surface. After applying the flame, we benefit from around twenty minutes during which adhesion to the plastic will be facilitated.
⚠ Avoid excessive heat, as thin plastics can deform instantly.
⚠ The flaming technique is reserved only for very resistant plastics such as polyethylenes (PE) and polypropylenes (PP).
⚠ Danger: Always work in a well-ventilated area, away from flammable vapours!
Here is the list of the main plastics and the methods for preparing them.
Painting PET plastic:
This flexible and glossy plastic is highly resistant to solvents. It can be rubbed with an abrasive sponge and thinner without issue. However, it is sensitive to heat, and its shape may deform instantly if exposed to a flame. This plastic is relatively easy to paint plastic adhesion primer.
Painting HDPE LDPE PE PP plastics:
This is a family of flexible plastics that are highly resistant to solvents.
They must be scrubbed vigorously using thinner and an abrasive sponge, followed by flame treatment. (HD = High-Density / LD = Low-Density → Keep this in mind when handling!). These are some of the most common plastics in automotive applications, yet they are the most difficult to paint due to adhesion challenges.
Painting PVC plastic:
This is a type of flexible and durable plastic. It is not at all resistant to solvents: if you apply a little thinner to its surface, it will leave a permanent mark. This is a separate plastic for which there is a specific and ultra-effective liquid PVC primer.
Painting PS (Polystyrene) plastic:
This plastic varies in fragility depending on the type.
It is advisable to proceed carefully and perform preliminary tests before using solvent-based sanding methods.
Dry sanding is advised. This plastic does not tolerate flame treatment, as it may crack or fracture. It is relatively easy to paint.
Painting PC (Polycarbonate) plastic:
This rigid or flexible plastic is glossy and solvent-resistant.
It is extremely durable and is commonly found in vehicle headlights and radio-controlled vehicle bodywork. It can be rubbed with thinner and an abrasive sponge.
This plastic does not tolerate flame treatment, as it may develop cracks or fractures quickly.
For this particular plastic, there is a dedicated 100% water-based primer available, either the Lexan primer or Flexiplast clearcoat.
It is advised to sand the surface first, followed by flame treatment where applicable.
► Degrease
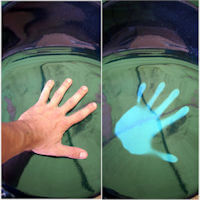
The final stage of preparation is degreasing. This step also has the advantage of eliminating static electricity, which is harmful to adhesion. Of course, this helps remove invisible contaminants.
When the plastic allows it, it is possible to clean with thinner.
When the plastic is fragile, we use a degreaser.
 Step 3 ► Apply an adhesion primer for plastics
Once the part has been properly prepared, dried, dusted and degreased, the plastic primer can be applied. This product is available in variable form and may be called a “plastic adhesion promoter”. This is a fancy way of saying that the primer does not guarantee adhesion, it simply helps the paint to adhere to the plastic.
In the bodywork sector, there are adhesion primers for two-component plastics. We advise against them on really soft plastics, as these primers are quite hard and thick, and as a result, they can crack and peel on soft plastics.
♣ In general, on all soft surfaces and plastic surfaces it's advisable to apply as little thickness as possible to avoid cracking and peeling.
We offer a primer for transparent plastic, which is particularly effective on a majority of plastics, particularly PP and PE. This primer is effective even without any preparation on many plastics (including PE).
Plastic primer is applied in 1 or 2 thin coats. It dries very quickly and is very thin. It is therefore advisable to apply the following paint directly (1 to 2 minutes later) over the freshly applied plastic primer.
A thin coat of paint should be applied, to allow the plastic primer and paint to blend.
If it is not possible to paint quickly after application of the plastic adhesion promoter, then allow to dry completely, then sand with a grey or green abrasive sponge.
Step 4 ► Apply paint to plastic
Here's a good old rule: Any surface can be painted as long as it has been properly prepared and/or primed.
This means that absolutely any paint can be painted once the plastic preparation work has been properly carried out.
If we take the example of a Quad Fairing
→ Without proper preparation: The paint will start peeling within a month.
→ With thorough surface preparation: The paint will last as long as the coating itself allows.
Here are 2 tips on what to avoid!
⚠ Excessive layer buildup. Plastics are flexible and exposed to impacts.Thick paint layers increase the risk of cracking and peeling. Keep primer, paint, and clearcoat layers as thin as possible.
⚠ Paints are naturally flexible. However, two-component polyurethane paints and clearcoats are a little harder. Their rigidity increases with age, until it becomes rigid and brittle after a few years.
On flexible plastic parts, it is therefore strongly recommended to use an additive which serves to keep the coatings flexible without breaking.
The use of a flex additive is only necessary for 2-component polyurethane paints. 1K basecoats (water-based or solvent-based) do not require this additive.
How to paint on glass or ceramic ?
How to paint on ferrous metals?
How to print on concrete?